Host Your Web Application For Free With Firebase (step-by-step)
Do you want to learn how to host your next web application for free with Firebase? In this post, you will learn what is required to host your site, and then I will show you how to step-by-step!
In this post, we will cover the following topics:
- What is Firebase?
- Some questions regarding Firebase
- How to host your application for free with Firebase?
- Conclusion
What is Firebase?
Firebase is an app development platform that helps you build apps with different features and tools they provide. Firebase Hosting is one of these services, and it allows you to host your web application for free on the web. Other services are, for example, databases or authentication.
Some questions regarding Firebase
What can you host with Firebase and what not?
Firebase allows you to host both dynamic and static sites.
How is the URL of your final site structured?
The URL structure is: https://<project-name>.web.app/ or https://<project-name>.firebaseapp.com/
If this guide is helpful to you and you like what I do, please support me with a coffee!
Can you use a custom domain?
Yes, for in-depth instructions, check here.
What state does the repository have to be in (Github)?
The repository can be either private or public.
Which requirements apply to using Firebase for free?
You can use any project with Firebase (commercial and non-commercial). You just have to comply with the limits that you can find here.
What happens when you exceed the free plan limits?
Your web app will be turned off till the limits are reset.
How to host your application for free with Firebase?
To host a web application with Firebase for free, you have to create a project in the web ui and then deploy it with the help of the firebase cli. In the following section, I will show you how to do it with the website created in this post here.
- Create a new project

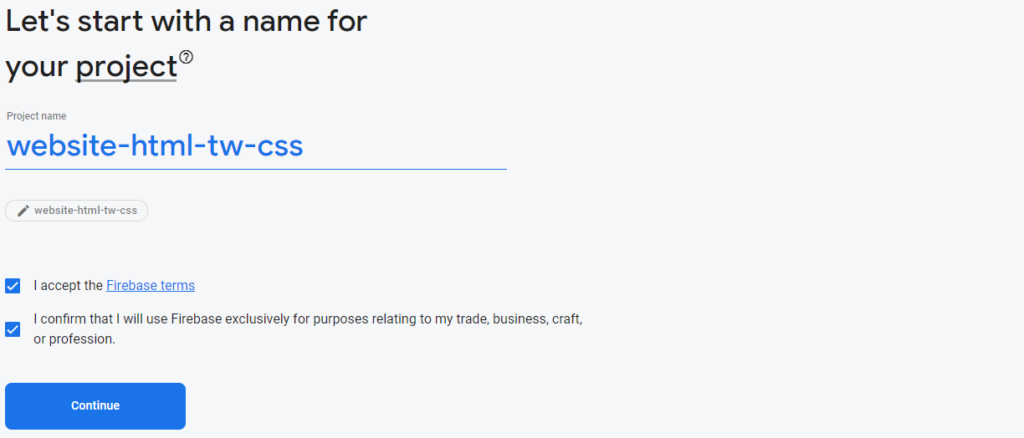
- Name the project
- Decide if you want to use Google Analytics or not, then create the project
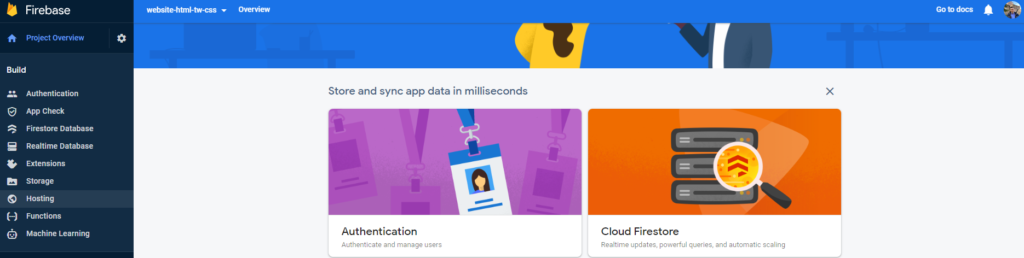
- Open Hosting tab
- Select “Get started”
- If not already installed, you need to install the Firebase CLI:
npm install -g firebase-tools - Execute the following commands:
- firebase login
- firebase init # configure as you need. My selection as an example
? Are you ready to proceed? Yes
? Which Firebase features do you want to set up for this directory? Press Space to select features, then Enter to confir
m your choices. Hosting: Configure files for Firebase Hosting and (optionally) set up GitHub Action deploys

=== Project Setup

First, let's associate this project directory with a Firebase project.
You can create multiple project aliases by running firebase use --add,
but for now we'll just set up a default project.

? Please select an option: Use an existing project
? Select a default Firebase project for this directory: website-html-tw-css (website-html-tw-css)
i  Using project website-html-tw-css (website-html-tw-css)

=== Hosting Setup

Your public directory is the folder (relative to your project directory) that
will contain Hosting assets to be uploaded with firebase deploy. If you
have a build process for your assets, use your build's output directory.

? What do you want to use as your public directory? dist
? Configure as a single-page app (rewrite all urls to /index.html)? No
? Set up automatic builds and deploys with GitHub? Yes
+  Wrote dist/404.html
+  Wrote dist/index.html

i  Detected a .git folder at C:\_root\projects\website-html-tw-css
i  Authorizing with GitHub to upload your service account to a GitHub repository's secrets store.

Visit this URL on this device to log in:
https://github.com/login/oauth/authorize?client_id=89cf50f02ac6aaed3484&state=871323357&redirect_uri=http%3A%2F%2Flocalhost%3A9005&scope=read%3Auser%20repo%20public_repo

Waiting for authentication...

+  Success! Logged into GitHub as programonaut

? For which GitHub repository would you like to set up a GitHub workflow? (format: user/repository) programonaut/website
-html-tw-css

+  Created service account github-action-496902177 with Firebase Hosting admin permissions.
+  Uploaded service account JSON to GitHub as secret FIREBASE_SERVICE_ACCOUNT_WEBSITE_HTML_TW_CSS.
i  You can manage your secrets at https://github.com/programonaut/website-html-tw-css/settings/secrets.

? Set up the workflow to run a build script before every deploy? Yes
? What script should be run before every deploy? (npm ci && npm run build) npm run build
? What script should be run before every deploy? npm run build

+  Created workflow file C:\_root\projects\website-html-tw-css\.github/workflows/firebase-hosting-pull-request.yml
? Set up automatic deployment to your site's live channel when a PR is merged? Yes
? What is the name of the GitHub branch associated with your site's live channel? main

+  Created workflow file C:\_root\projects\website-html-tw-css\.github/workflows/firebase-hosting-merge.yml

i  Action required: Visit this URL to revoke authorization for the Firebase CLI GitHub OAuth App:
https://github.com/settings/connections/applications/89cf50f02ac6aaed3484
i  Action required: Push any new workflow file(s) to your repo

i  Writing configuration info to firebase.json...
i  Writing project information to .firebaserc...

+ Firebase initialization complete!- firebase deploy
Open the hosted web app under: https://<project-name>.web.app/ or https://<project-name>.firebaseapp.com/
Conclusion
In this post, we learned how to use Firebase to host your application for free. The special thing with Firebase is that you can host everything, not just personal projects, for free.
Did you use Firebase hosting already? Share your experience in the comments below!
In case you got some questions regarding this post or anything else regarding your projects, feel free to ask! I would love to help you 🙂
And lastly, if you liked this blog post, consider subscribing to my newsletter. In it, I send a monthly update on all the posts I created!
[convertkit form=2303042]
Discussion (0)
Related Posts