Host Your Web Application For Free With Netlify (step-by-step)
Do you want to learn how to host your next web application for free with Netlify? In this post, you will learn what is required to host your site, and then I will show you how to step-by-step!
In this post, we will cover the following topics:
- What is Netlify?
- Some questions regarding Netlify
- How to host your application for free with Netlify?
- Conclusion
What is Netlify?
Netlify is an all-in-one platform for hosting your web applications, it supports continuous integration and deployment pipelines. In addition to that, it also offers serverless functions, user authentication, and form handling. We will check out how you can use Netlify’s free plan to host your web application!
Some questions regarding Netlify
What can you host with Netlify and what not?
Netlify allows you to host both dynamic and static sites. For better accessibility, they offer templates for different kinds of projects you might host with Netlify.
How is the URL of your final site structured?
The URL structure is: http://<random-string>.netlify.app.
If this guide is helpful to you and you like what I do, please support me with a coffee!
Can you use a custom domain?
Yes, for in-depth instructions, check here.
What state does the repository have to be in (Github)?
The repository can be either private or public.
Which requirements apply to using Netlify for free?
You can use any project with Netlify (commercial and non-commercial). You just have to comply with the limits that you can find here.
How to host your application for free with Netlify?
We will have a look at two different methods offered by Netlify. First by connecting to Github and second by deploying a project manually. For both ways, we will use the website created in this post here.
Host with GitHub
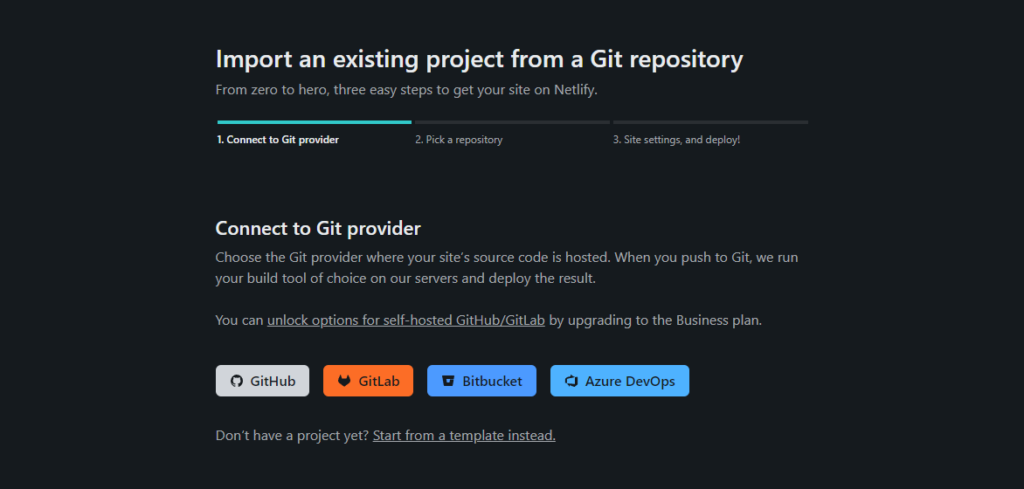
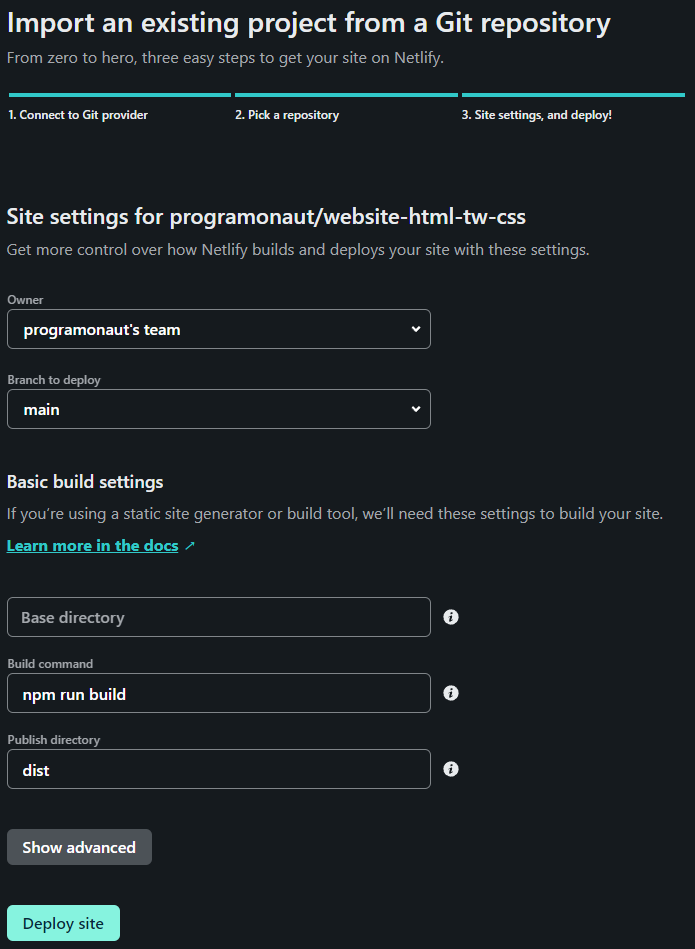
To host your application with Netlify through a GitHub Repository, follow these steps:
- Create a new project (like in the picture or by clicking “add a new site>import an existing project” or following this link)

- Connect to git provider (GitHub)
- Install Netlify either to one or all repositories
- Pick a repository
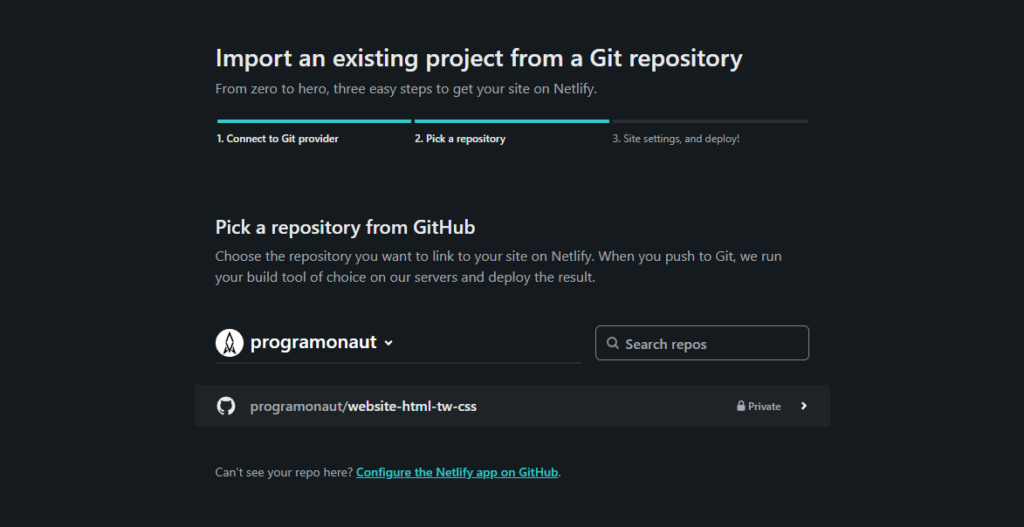
- Deploy the site
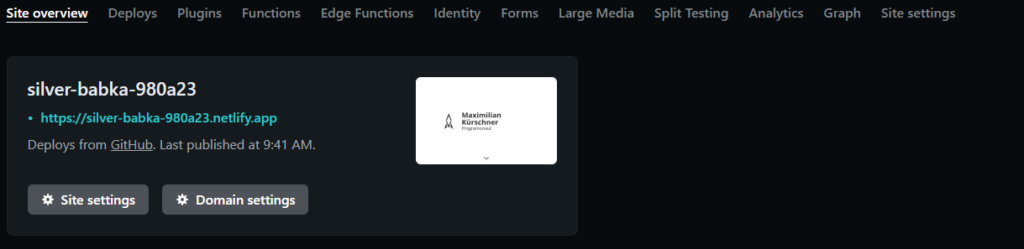
You can find the generated domain by checking the project details:
Host manually
Next, we will learn how to deploy a site manually:
- Create a new project (like in the picture or by clicking “add a new site>deploy manually” or following this link)
- Upload the build directory of your project (in the case of vite, the dist folder)
You can find the generated domain by checking the project details:
Conclusion
In this post, we learned how to use Netlify to host your application for free. The special thing with Netlify is that you can host everything, not just personal projects, for free.
Did you use Netlify already? Share your experience in the comments below!
In case you got some questions regarding this post or anything else regarding your projects, feel free to ask! I would love to help you 🙂
And lastly, if you liked this blog post, consider subscribing to my newsletter. In it, I send a monthly update on all the posts I created!
[convertkit form=2303042]
Discussion (1)
Related Posts