Create a Virtual Machine in Windows 10: The ultimate step-by-step guide
Do you want to create a virtual machine in Windows 10 for development or other purposes? Then you are at the right address because this post will show you how to do it with two popular solutions, VirtualBox and VMware.
Virtual Machines are useful for creating development environments, exchanging predefined systems between colleagues, or trying out a new operating system.
We will first look at the requirements to create a virtual machine; this includes downloading the required tools, an example operating system (Ubuntu), and the hardware requirements set by the OS. Then we will follow a step-by-step instruction manual to complete the virtual machine creation.
Perquisites
The perquisites for the virtual machine are:
- Virtualization Software (VirtualBox, download here or VMWare, download here)
- Ubuntu ISO, download here
- Recommended Hardware Requirements set by Ubuntu 20.04.3 LTS:
- 2 GHz dual core processor
- 4 GB RAM
- 25 GB hard drive
Create a Virtual Machine with VirtualBox
VirtualBox is a free and open-source virtualization software created by Oracle. You can download it here.
1. Install VirtualBox
- Run the installer
- Select installation location
- Select linking locations to VirtualBox
- Accept Network Interfaces (it is needed to connect to the VM via SSH or for the VM to connect to the internet)
- Click Install
- Start VirtualBox after the installation
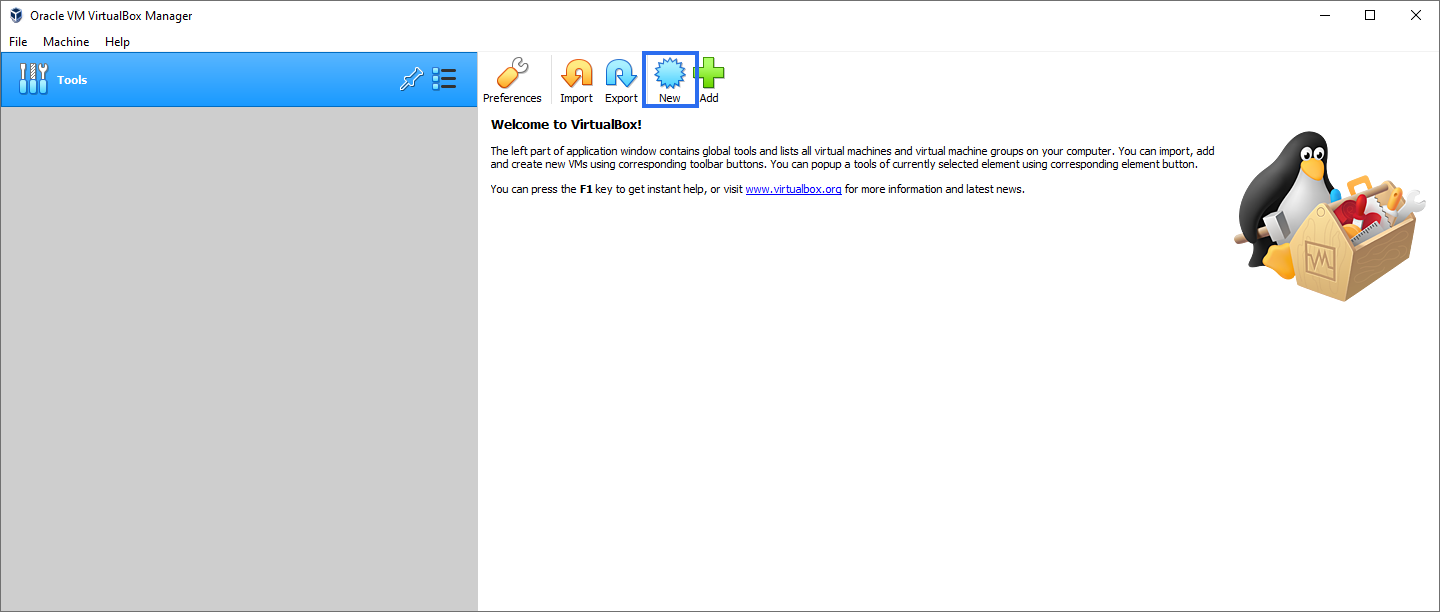
2. Create a new Virtual Machine
- Click on ‘New’ to create a new Virtual Machine

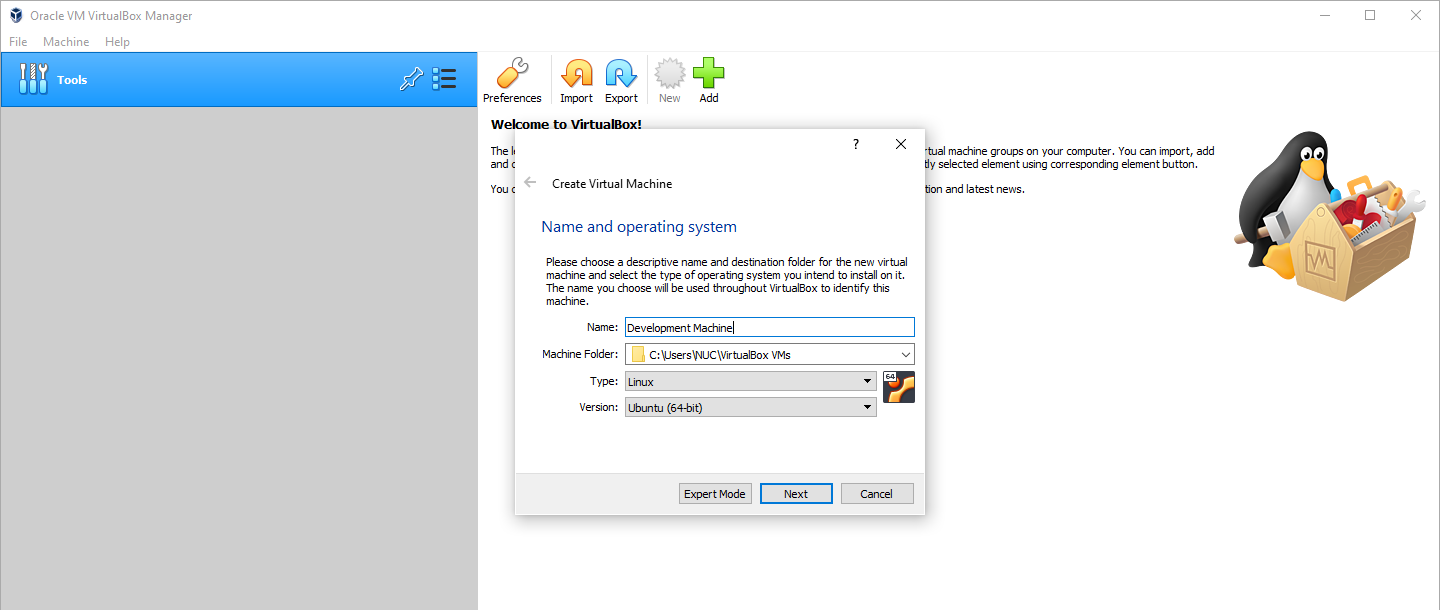
- Give the Virtual Machine a Name and select Type: Linux and Version: Ubuntu (64-bit)
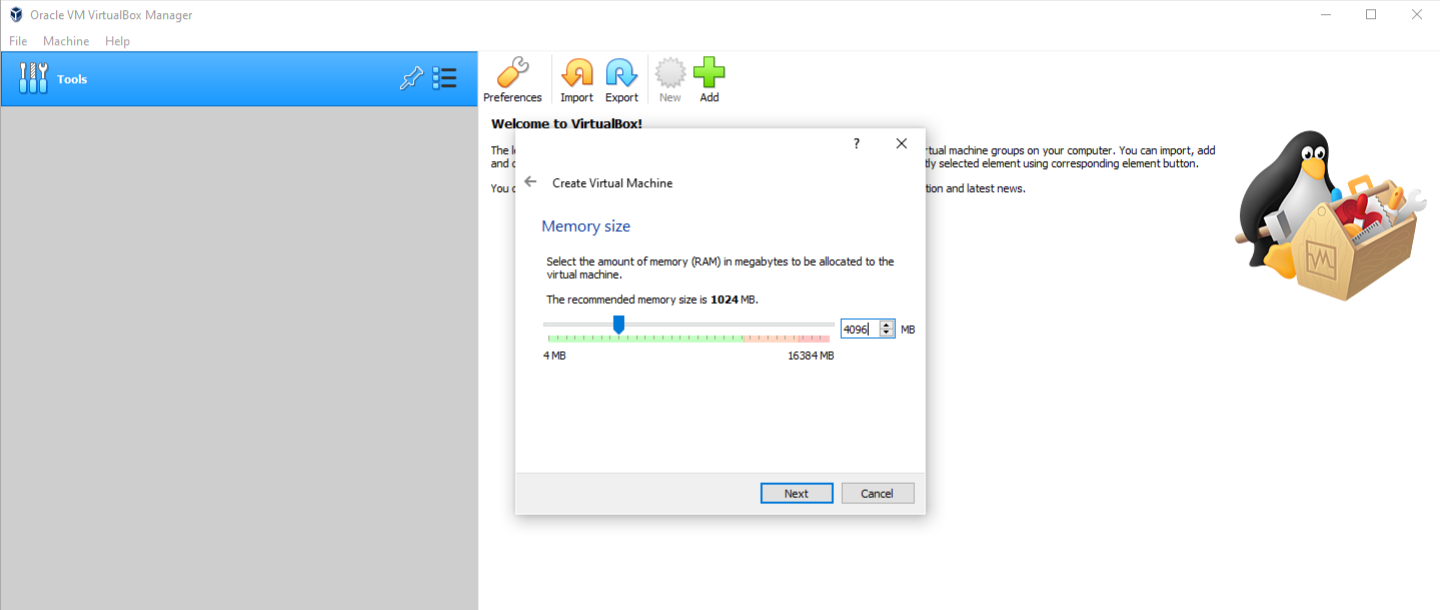
- Select 4GB of RAM
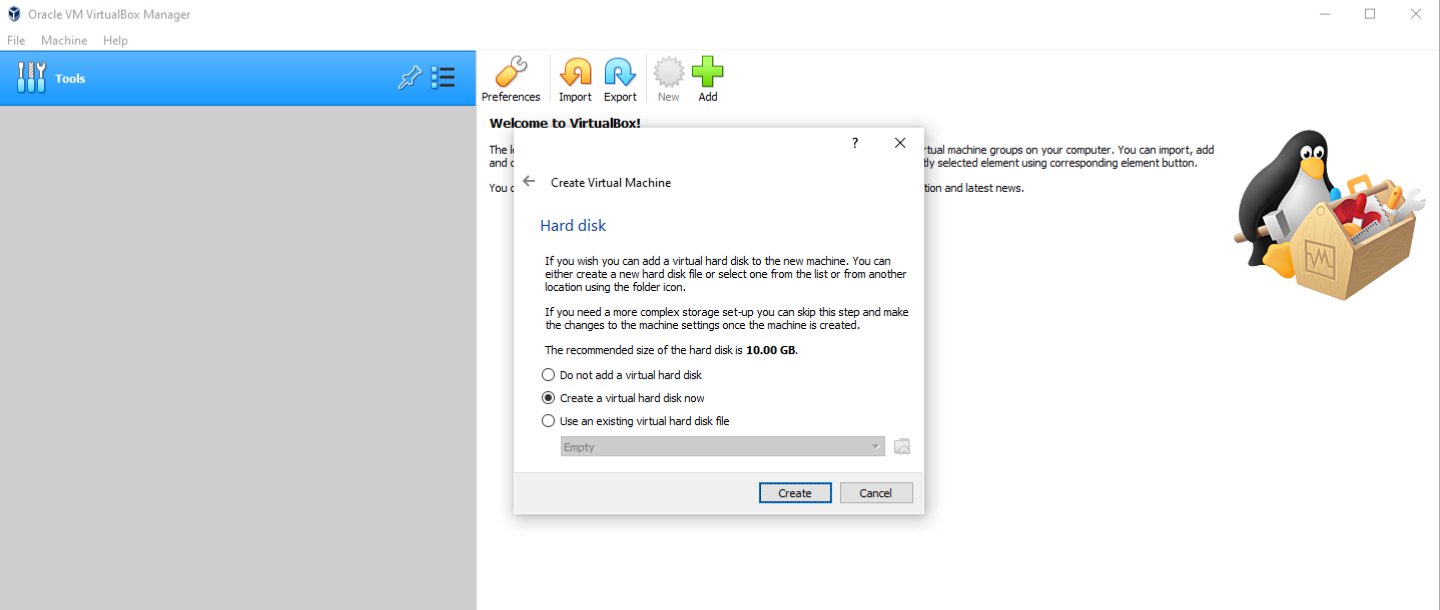
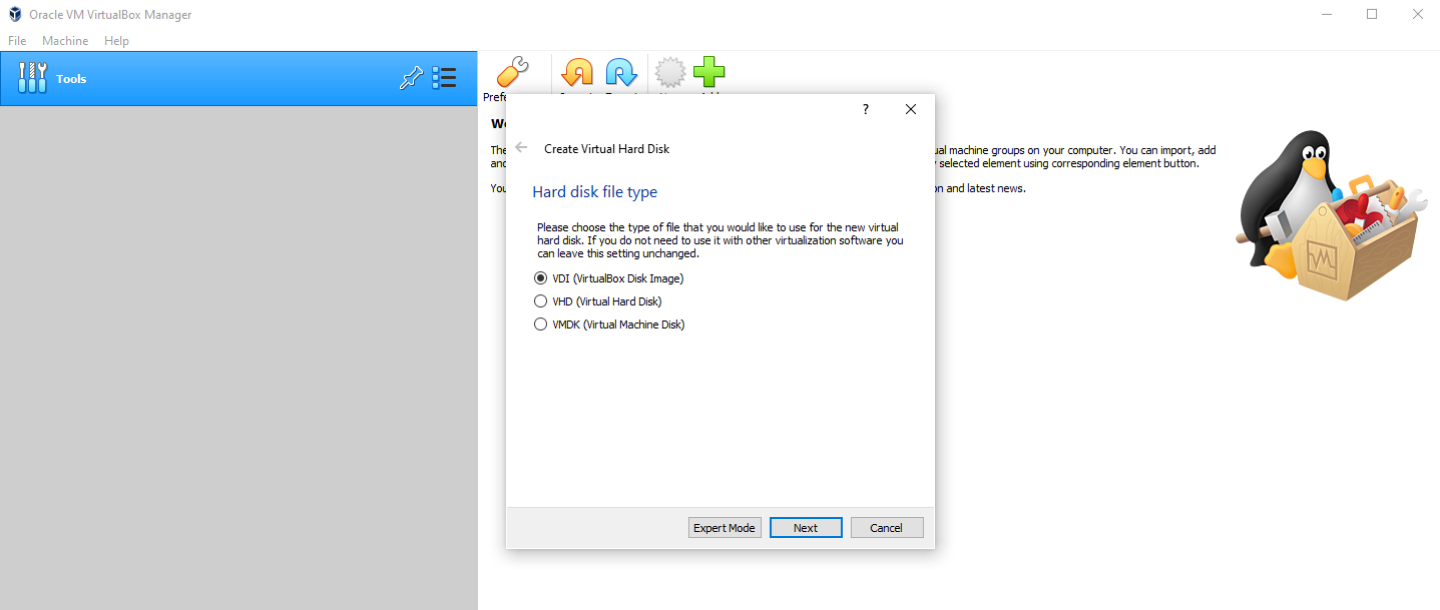
- Create a new virtual disk
- Choose any type, I will go with VDI
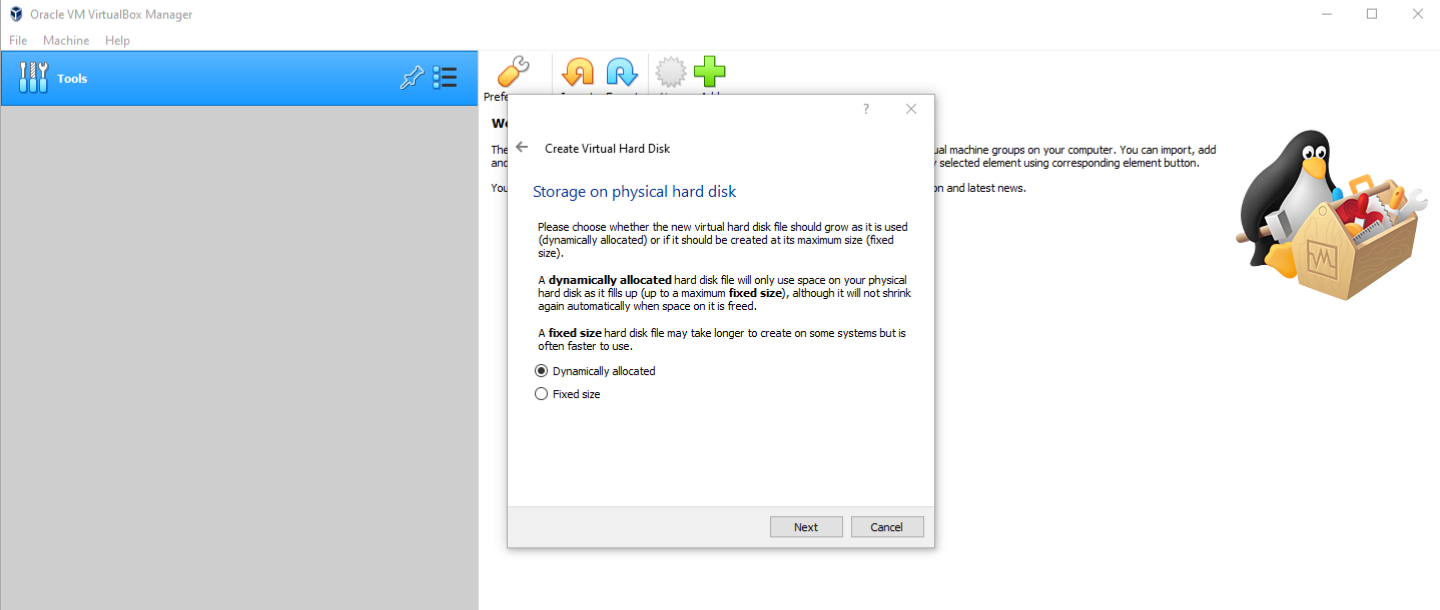
- Select storage type: dynamically allocated
- Select a storage capacity of 25GB
- Choose any type, I will go with VDI

3. Install the Operating System
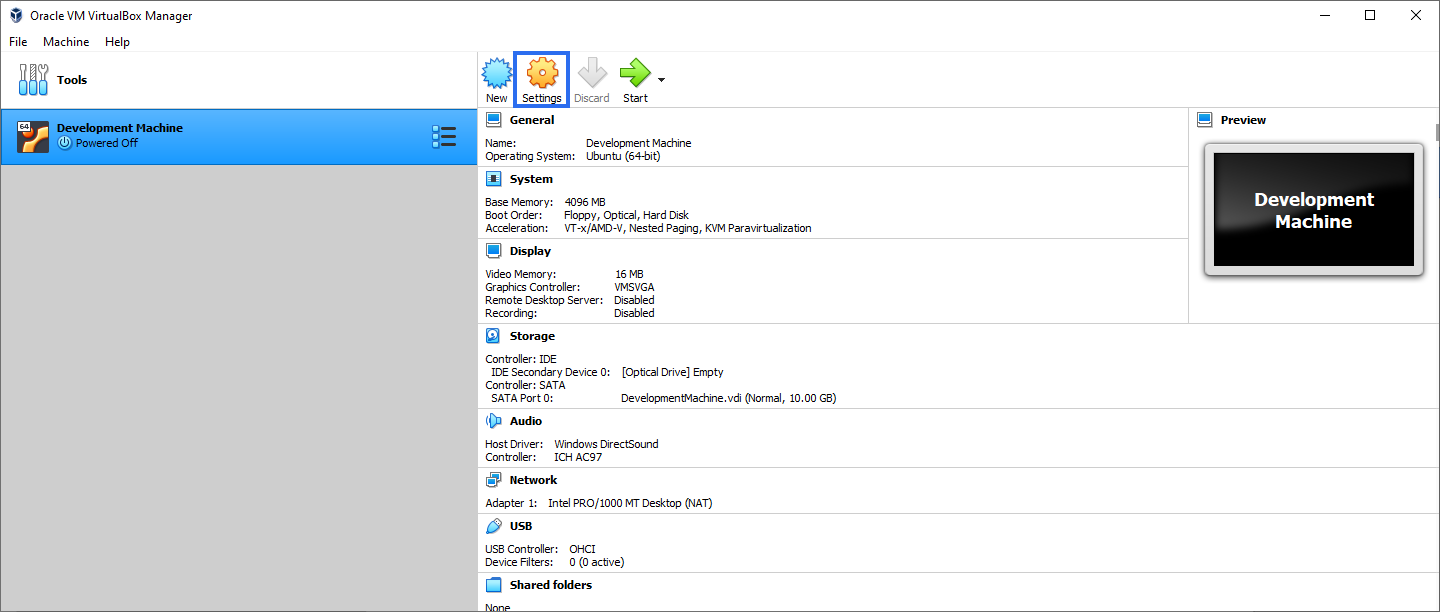
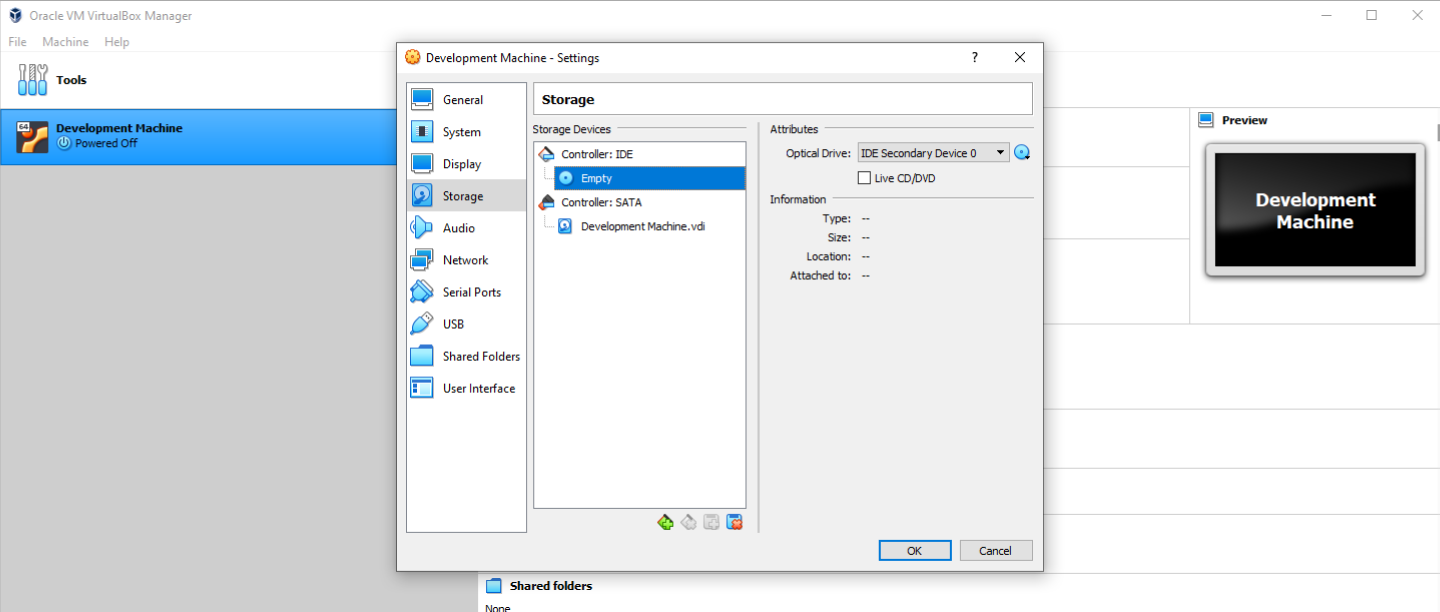
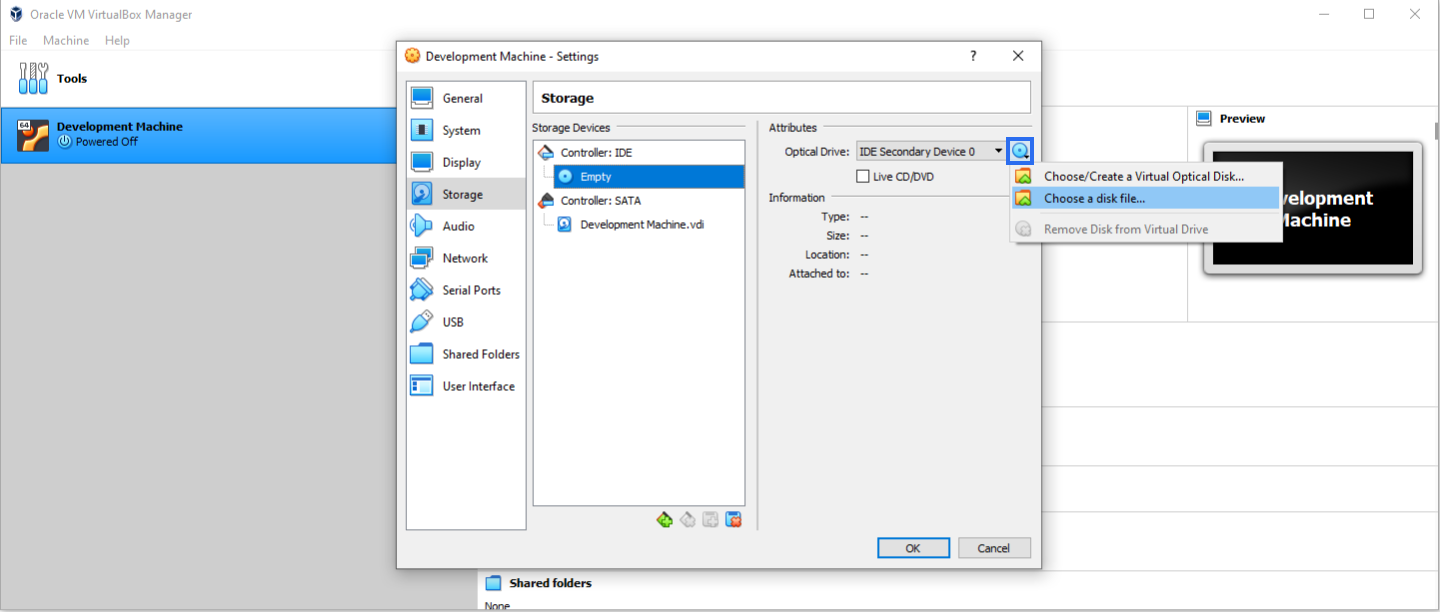
- Open the VM Settings
- Select the Storage tab and select the disk in the storage devices
- Insert the Ubunut ISO into the Virtual Machine
- Select ‘choose a disk file’
- Select the Ubuntu ISO
- Click OK
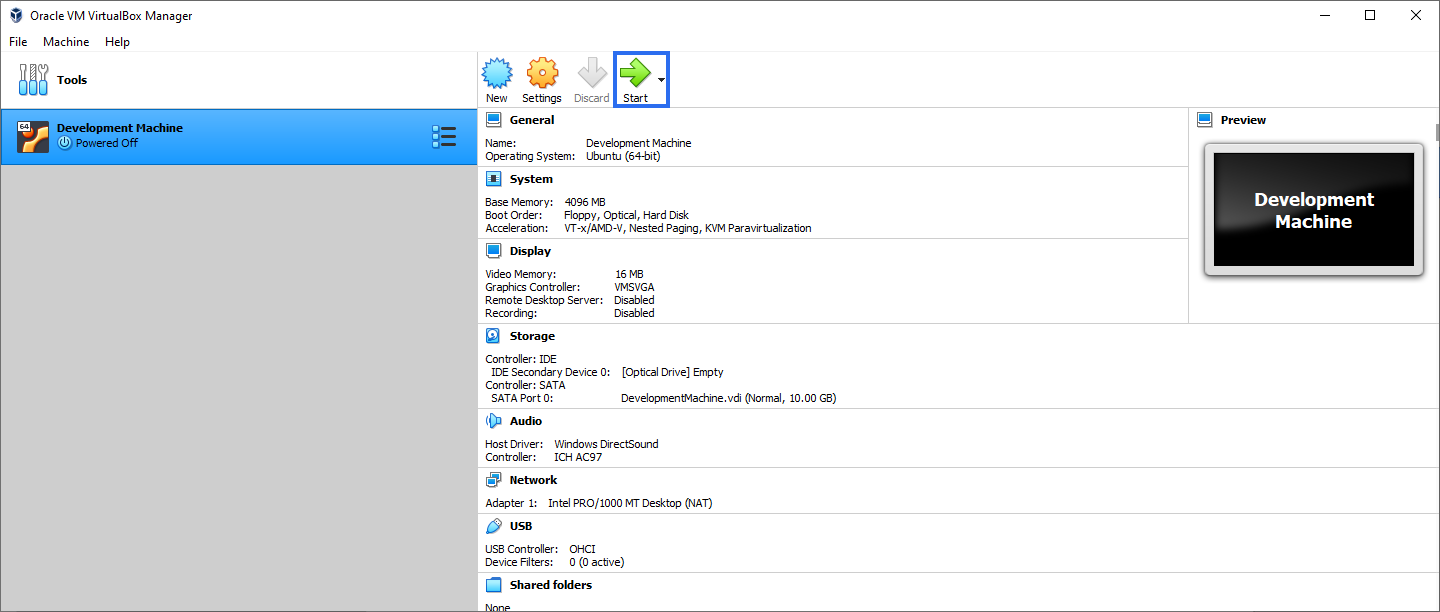
- Close the VM Settings and Start the Virtual Machine
- After launching, complete the installation wizard
- Click the restart button and finish the installation
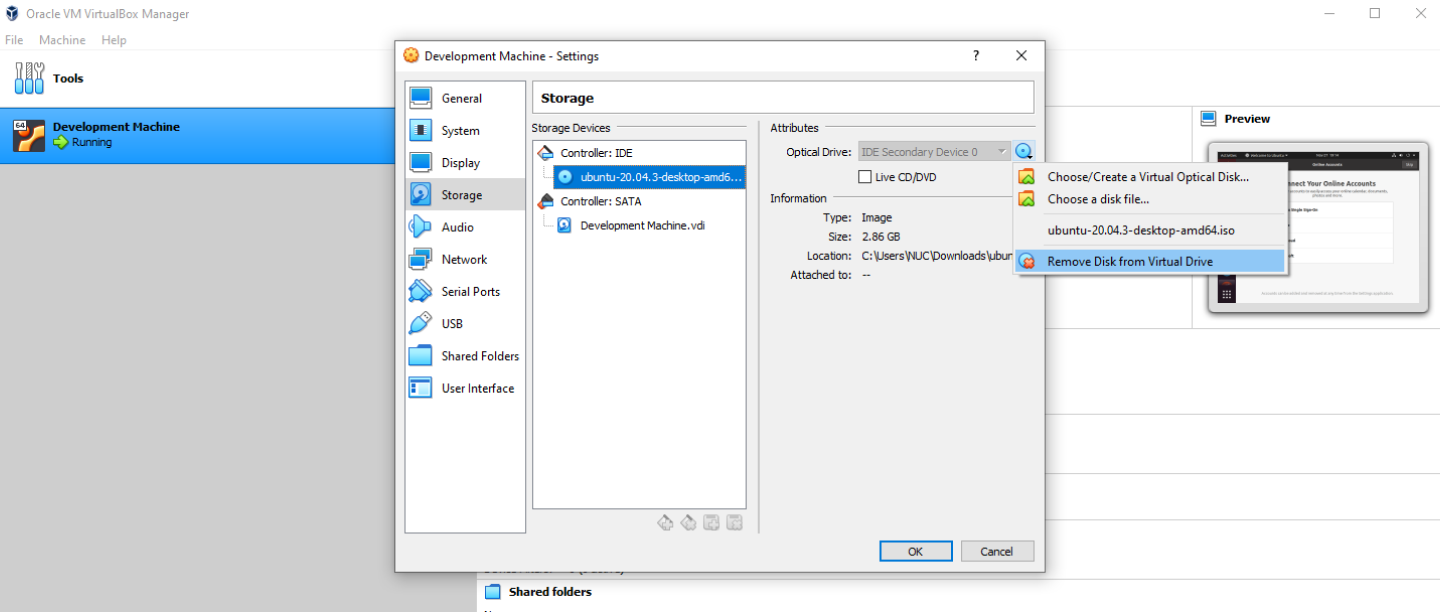
- During restart Ubuntu will ask you to remove the ISO
- Either it is already removed, then just press enter
- Other open the VM Settings and remove the ISO
- After the restart finished Ubuntu is fully installed and ready to use… Hurray!
Additional Tips for the Virtual Machine in Virtual Box
- Suspend will save the current state on the machine and will load it on a new boot
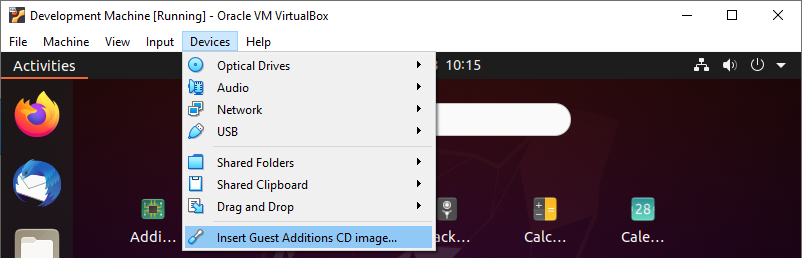
- Install the Guest Additions for Linux → After installation restart the machine
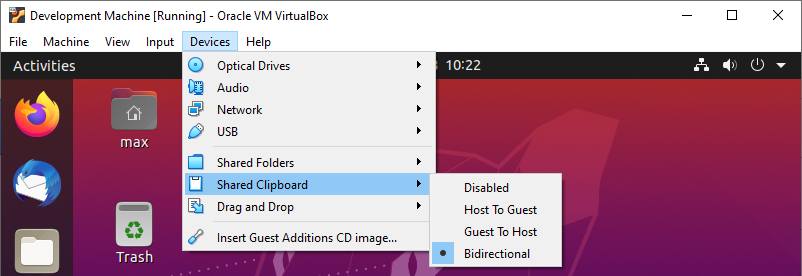
- Shared properties
- Folders
- Copy and paste
- Drag and drop
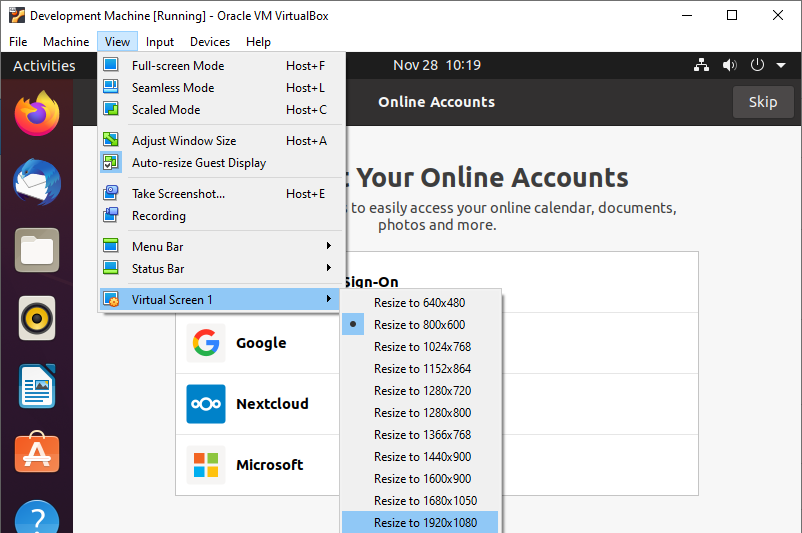
- Setting the screen resolution
- Shared properties
Create a Virtual Machine with VMWare
VMWare Player is free for personal and non-commercial use. You can download it here.
1. Install VMWare
In case nothing is said, click next.
If this guide is helpful to you and you like what I do, please support me with a coffee!
- Run the installer
- Select installation location and add the console tools to PATH
- Select linking locations to VMWare
- Click Install
- Start VMware after the installation
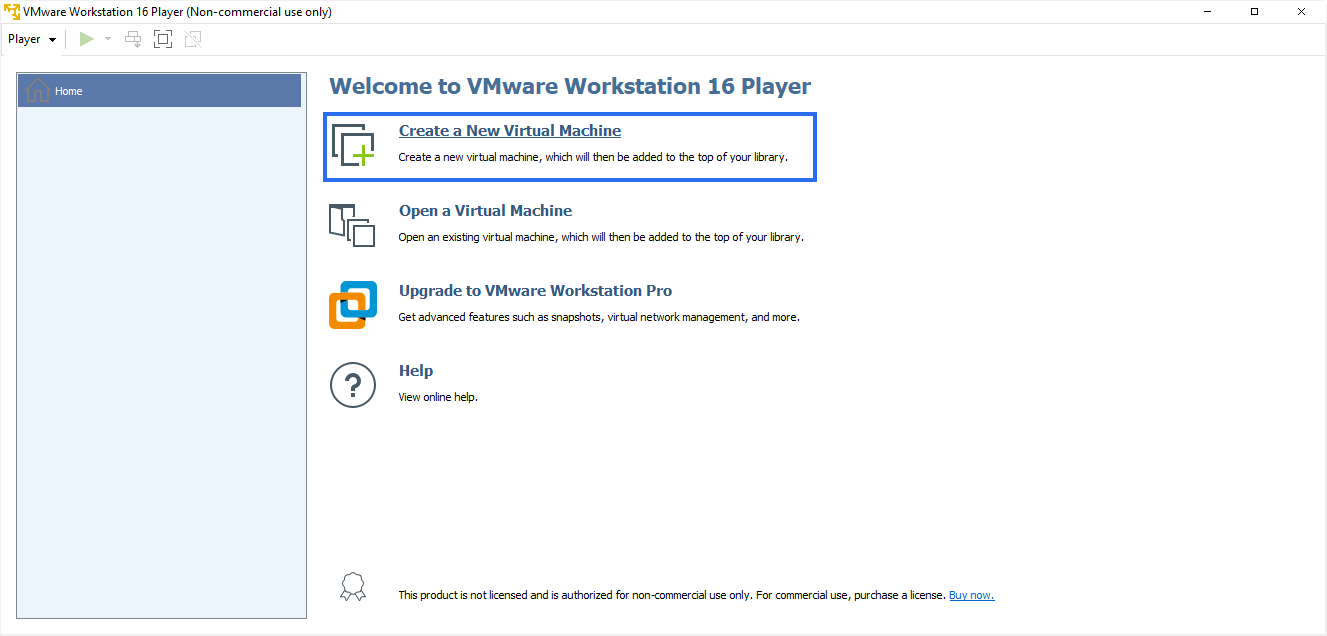
2. Create a new Virtual Machine
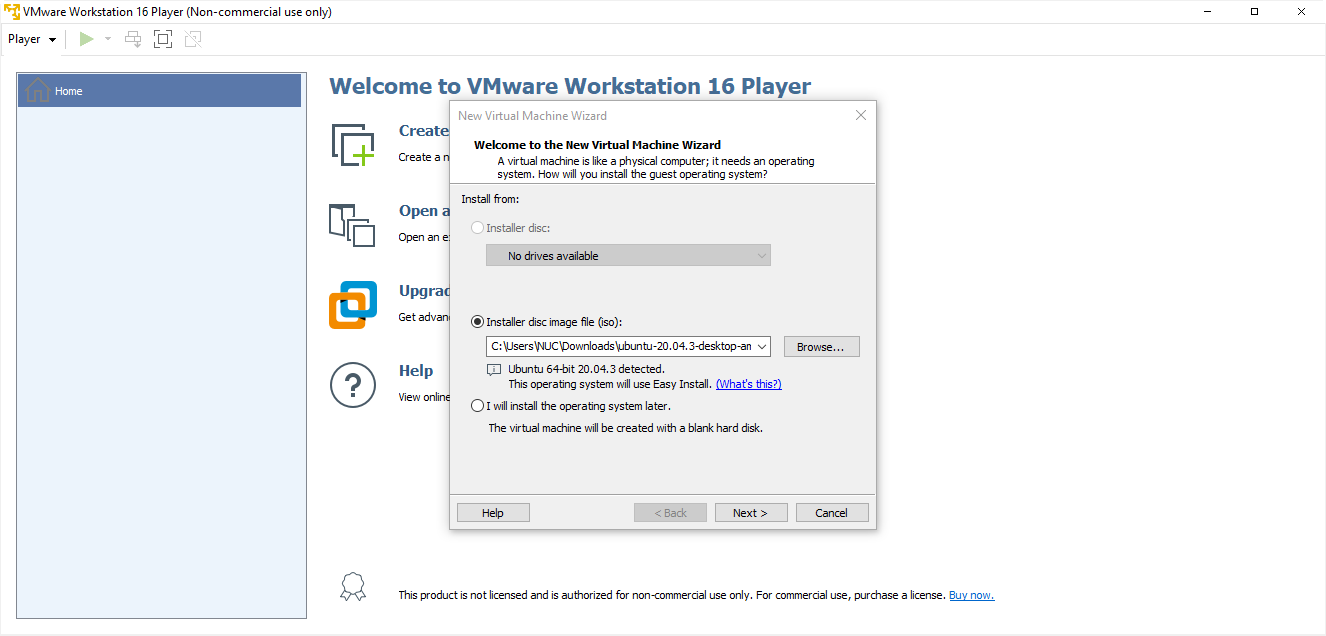
- Click on ‘Create a New Virtual Machine’
- Select the Ubuntu ISO
- Enter the credentials you want for your installation
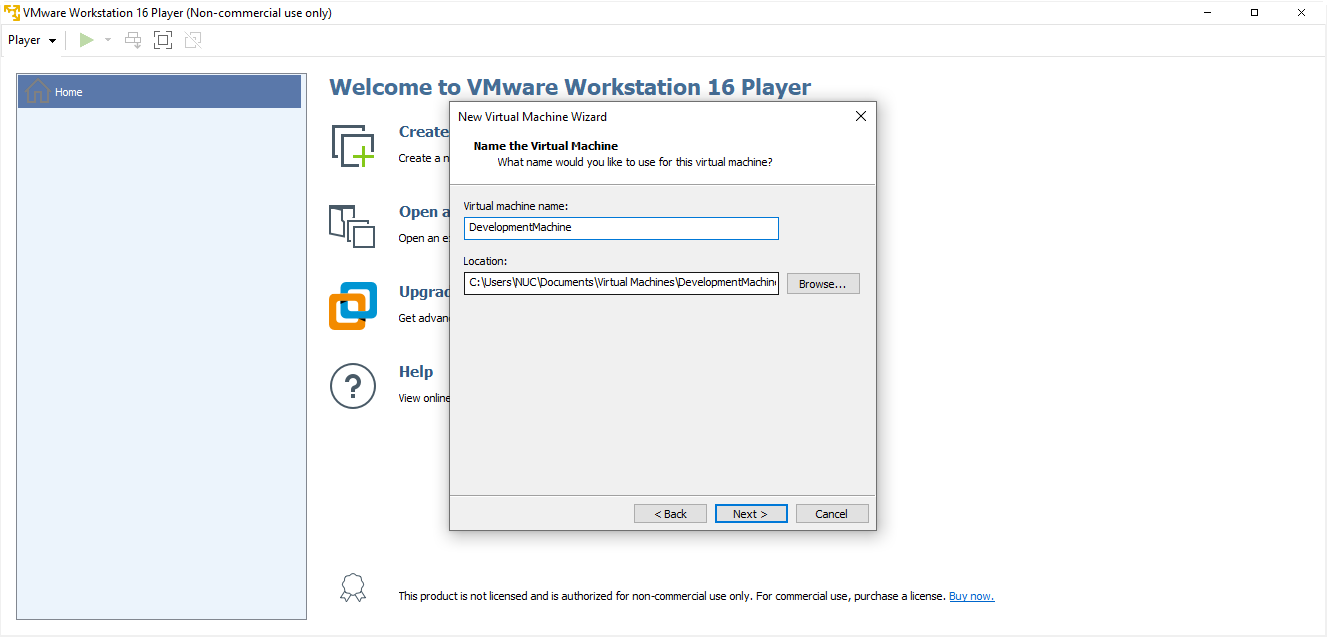
- Define a name for your VM
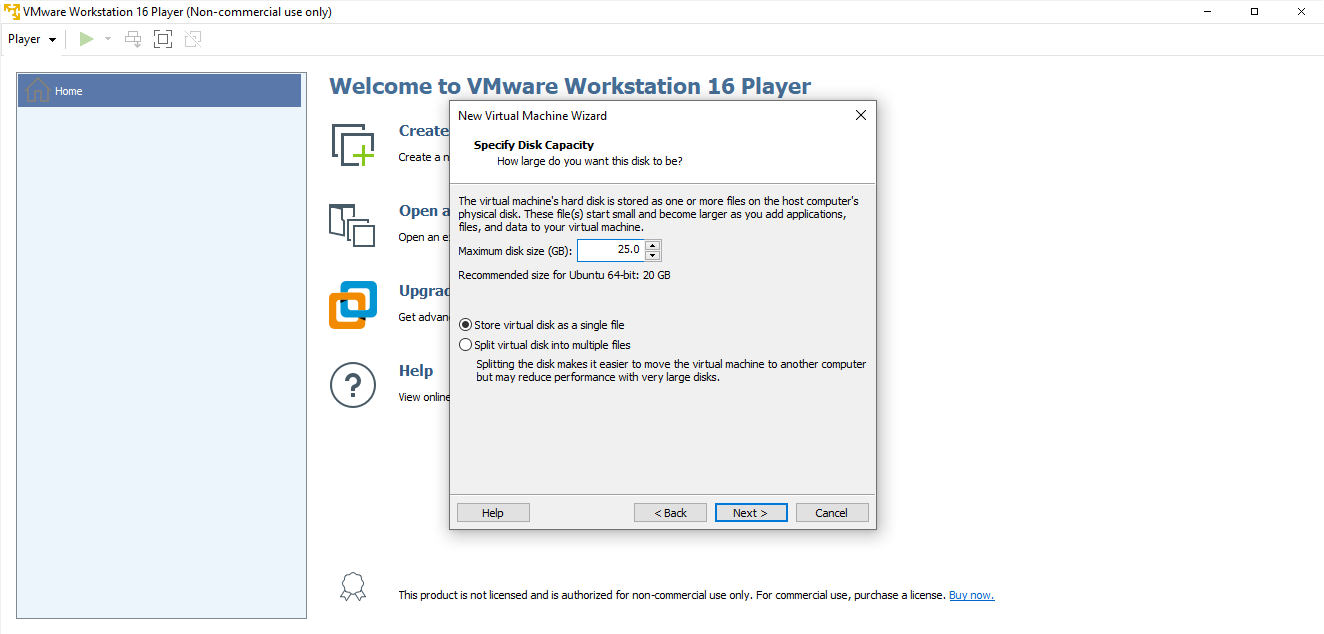
- Set the maximum disk size of 25GB and choose whether to split the disk into multiple files
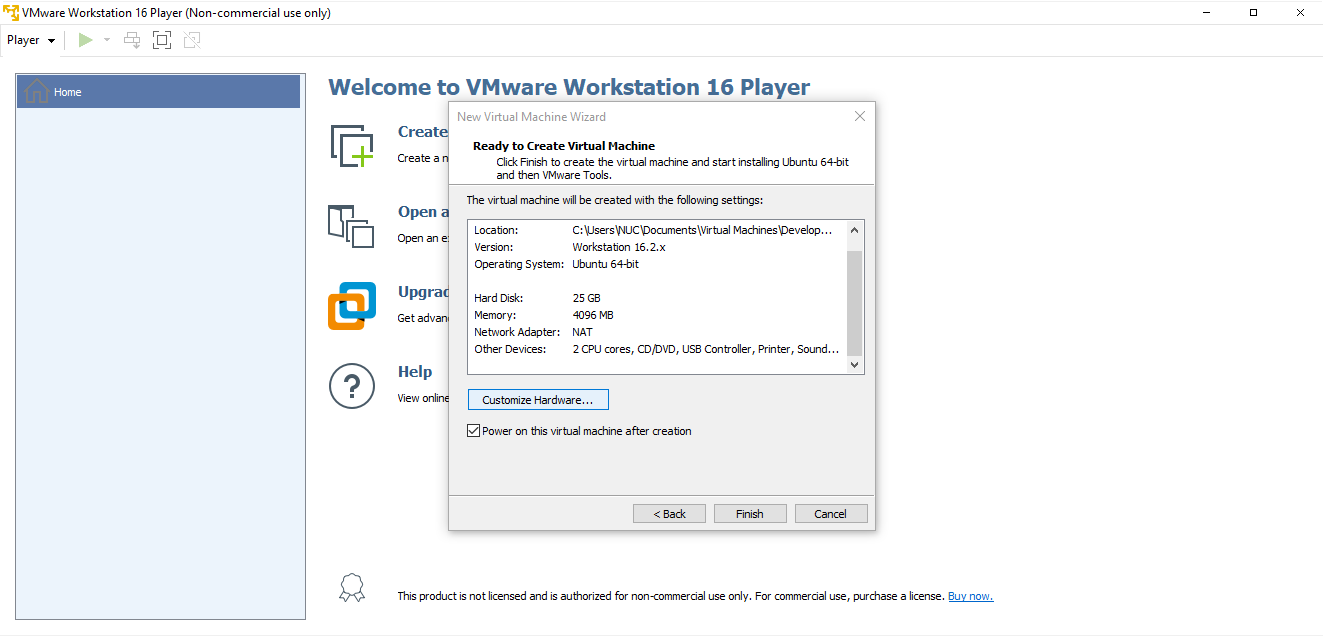
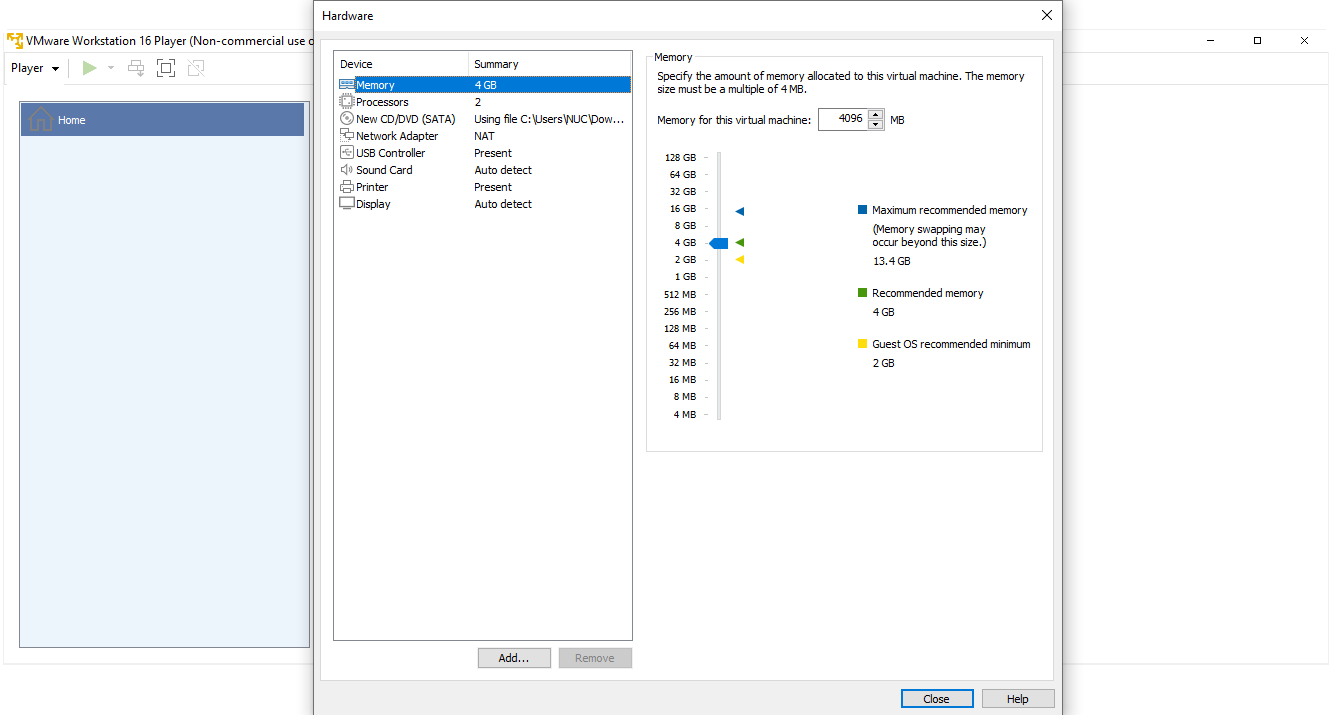
- Customize Hardware if they do not fit the required settings
- Set the before defined settings, for me they are filling all requirements
- Set the before defined settings, for me they are filling all requirements
- Finish installation on select ‘Power on this virtual machine after creation’
3. Install the Operating System
- After the launch finished, VMWare already starts with the installation (you do not have to complete the installation wizard)
- VMWare automatically restarts your system and removes the ISO
- After the restart finished Ubuntu is fully installed and ready to use… Hurray!
Additional Tips for the Virtual Machine in VMWare
- Suspend will save the current state on the machine and will load it on a new boot
- VMWare automatically installs the VMWare Tools, so you can use the following features after a restart:
- Shared copy and paste
- Option for shared folder
- Open virtual machine settings
- Open options and then shared folders
- Open virtual machine settings
- VMWare automatically adapts to the screen size (enter full screen)


Conclusion
In this post, we learned how to create a virtual machine step-by-step in two popular virtualization software. One way is always free to use (VirtualBox), whereas the other is easier and perfectly fine if you just need it for personal use (VMWare).
I hope the post helped you create a virtual machine for your use case. If you have any questions feel free to ask in the comments or email me at mail@programonaut.com. In case you are interested in software development related content, consider subscribing to my newsletter!
[convertkit form=2303042]
Discussion (0)
Related Posts