How To Release A Chrome Extension (Step-By-Step)
Do you want to learn how to release your own Chrome extension to the store? In this guide, we will do exactly that. We first have a look at what you need, and then we will publish it in a step-by-step manner.
Requirements
Before you can start publishing extensions to the extension store, you need to have a developer account. In case you already have one, great just continue! If not, visit: https://chrome.google.com/u/1/webstore/devconsole/register and create your self an account. The account costs 5$. After you created it you have to fill in your data and verify your email.
After this is done, you have to go to the accounts tab and fill in a contact email address, which you also need to verify.
With this, you have the account set up done. The next thing is that you need a working Chrome extension and the manifest.json needs to contain the properties name, version, icons and description.
Next, we need to have a description of a maximum of 16000 characters, a store icon with 128 x 128 px, and a screenshot with 1280 x 800 or 640 x 400 px. You also will need a maximum of 1000 characters for a single-purpose description, a justification for the different permissions you used, and an explanation for remote code, such as the pico.css framework I used in my posts.
When all of these requirements are met, we can start with the release of our extension. For the following part, I will use the extension that I created in this post here and here (using SvelteKit).
Release a Chrome Extension
To release our first application, we first have to make sure that our extension is working properly. For that, follow these steps:
If this guide is helpful to you and you like what I do, please support me with a coffee!
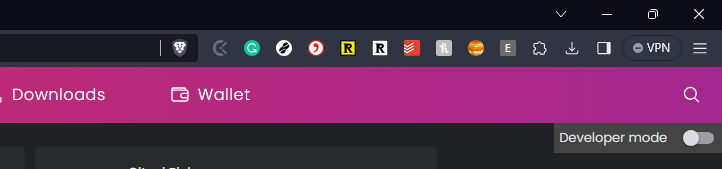
- Open chrome://extensions in your Browser
- Enable dev mode:

- Click on “Load unpacked”
- Load the build directory as a Chrome extension.
- Click on your extensions and pin it.
- Then click on the icon and see if it works.

If everything works as expected, we can go ahead and create a zip from the directory containing the final extension.
With that done, we need to follow these steps:
- Now head to https://chrome.google.com/webstore/devconsole and sign in with your developer account.
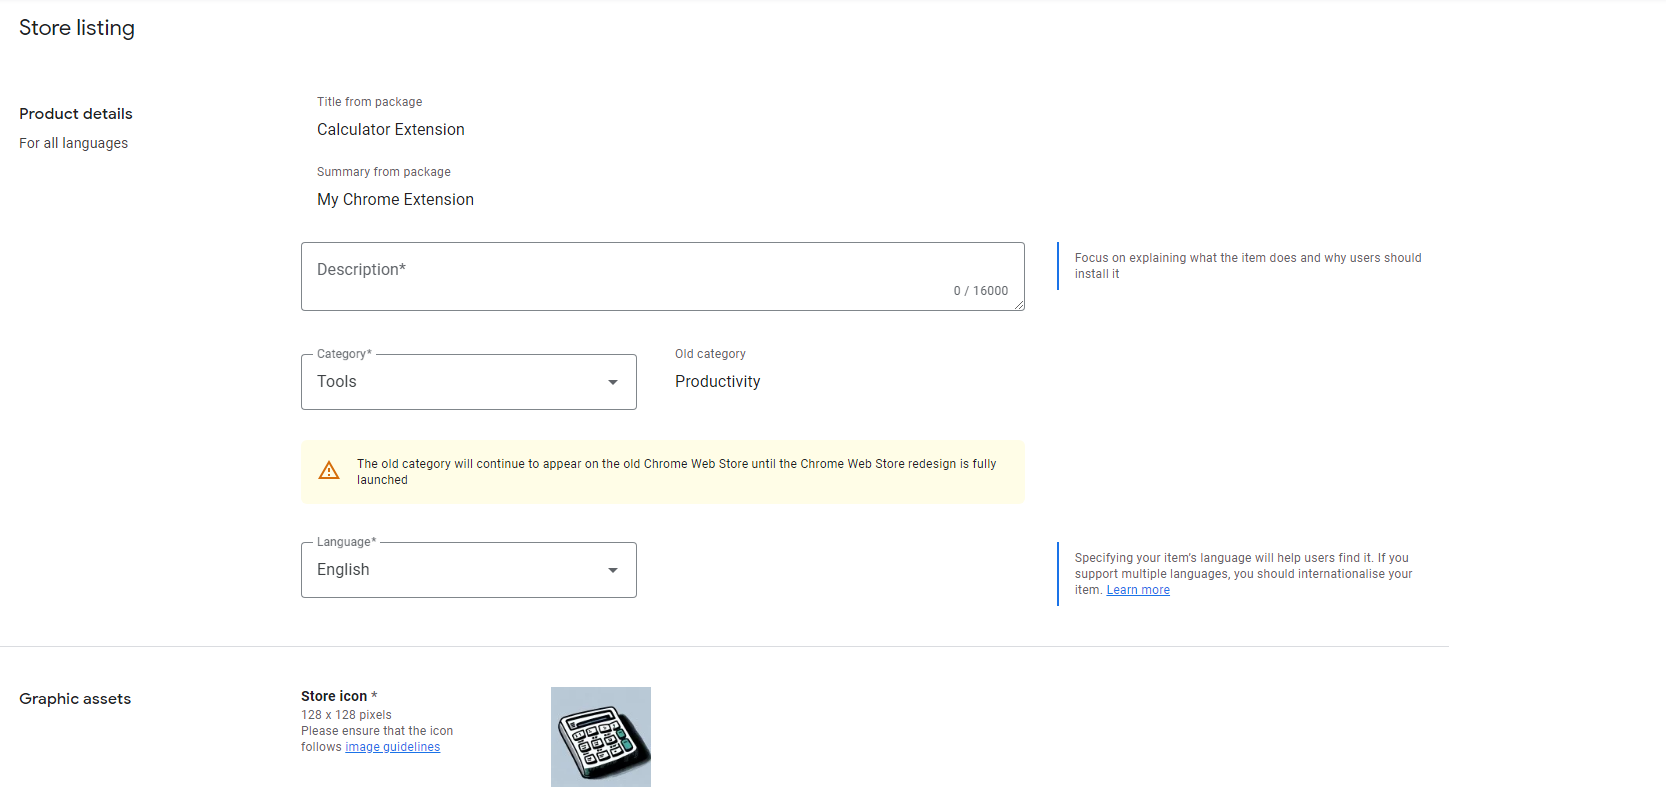
- Click on “New item” and drag and drop the zip there.
- Fill out the missing information with the items created before.
- Then click “Save draft”
- Now go to the privacy tab and fill out the missing information here.
- Fill out all the other pages till you are able to submit for review (Click on “Why can’t I submit?” to get detailed information on that). For me, this was privacy and account-related stuff, such as a contact email
- Then click on “Submit for review” and wait till it is published 🙂
Conclusion
With that, you created a first release for your own Chrome Extension. After some waiting, it should be published to the Chrome store, and then you can install it in your browser!
I hope this quick guide helped you! If there are any questions, feel free to ask!
And finally, if you want to hear more from me, consider subscribing to my monthly newsletter!
[convertkit form=2303042]
Discussion (0)
Related Posts