How to set up a WordPress Development Environment
Do you want to create your own WordPress Theme in an easy-to-use setup? You can use Docker to create a WordPress development environment, run it on your local machine and then easily transition it to the web.
In fact I used the same setup to develop the theme for my website.
So lets get started right away!
Steps
What is Docker?
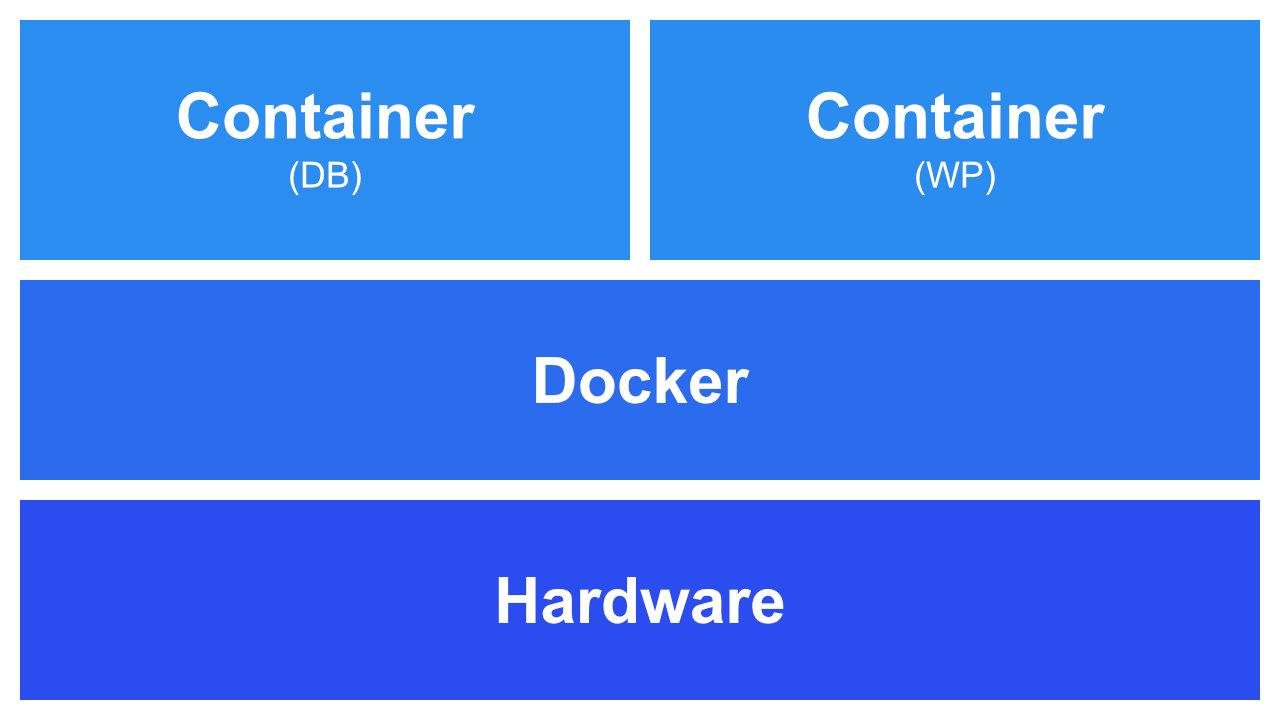
Docker is a platform to develop, ship, and run different applications as microservices. These microservices work in a container system where each container is one application. You can see each container as a separate virtual machine — a machine inside of your machine — with exactly one task. That is not really how it works in practice, but it visualizes the concept pretty well. In the following image, you can see that Docker is placed on top of your operating system and is able to deploy an infinite number of small containers.
Because of the way Docker works it is platform-independent and can run every container on every operating system. I personally use this to develop containers and concepts on my Windows machine and transfer them to my Linux server in the web.
Install Docker on your System
Install Docker for Windows
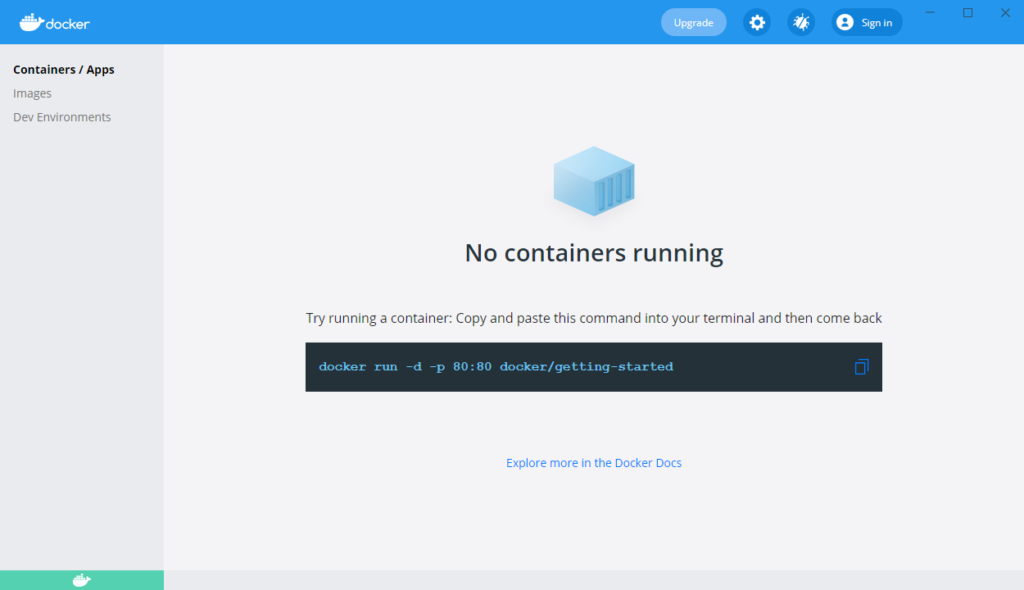
To install Docker on the Windows operating System head to the Docker Website and download “Docker Desktop for Windows”. After the download, execute it and follow the installation to get it running on your system. After the installation start the docker engine by entering the application.
Install Docker for Linux
Docker on Linux can be easily installed through the command line. You can find how to do it on different distributions here. I will show you how to accomplish it on the Debian distribution but it should work similarly on others as well.
If this guide is helpful to you and you like what I do, please support me with a coffee!
First, we have to set up the docker repository on our system. We do this by updating and installing the prerequisites with the apt package manager.
sudo apt-get update
sudo apt-get install \
apt-transport-https\
ca-certificates\
curl \
gnupg\
lsb-release
Next, we will add the official Docker GPG key, to make sure that you receive a valid Docker version. GPG is a standard implementation for utilizing “public” and “private” keys.
curl -fsSL https://download.docker.com/linux/debian/gpg | sudo gpg --dearmor -o /usr/share/keyrings/docker-archive-keyring.gpgThe last thing before installing the repository is to set it up with the wanted version. In our case the stable one. To install the right repository you also need to know the architecture of your system. In this example, I will install it on an x86_64 system. If you have another architecture head to this section of the Docker installation guide.
echo \ "deb [arch=amd64 signed-by=/usr/share/keyrings/docker-archive-keyring.gpg] https://download.docker.com/linux/debian \ $(lsb_release -cs) stable" | sudo tee /etc/apt/sources.list.d/docker.list > /dev/nullAfter setting up the repository we can install docker on our system.
sudo apt-get update
sudo apt-get install docker-ce docker-ce-cli containerd.io
Check that everything is setup correctly with the hello-world container:
sudo docker run hello-worldAdditionally, to Docker, we will install docker-compose. This enables us to create and manage our containers more easily by defining them in a YAML format. With that, we have the ability to move the containers easily from one system to another by just moving the file.
Therefore we have to first get the docker compose binaries and then give them the rights to execute.
sudo curl -L "https://github.com/docker/compose/releases/download/1.29.2/docker-compose-$(uname -s)-$(uname -m)" -o /usr/local/bin/docker-compose
sudo chmod +x /usr/local/bin/docker-compose
To make it available create a symbolic link to /usr/bin and test the installation with docker-compose --version. If something is not working head to the installation section.
sudo ln -s /usr/local/bin/docker-compose /usr/bin/docker-composeSet up the WordPress Development Environment
Now comes the fun and easy part. By using docker we can create the development environment in a few seconds. I will show this on the windows version, but the cool thing is, that it will work exactly the same on every other operating system.
To set up the containers we will create them with a docker-compose file and build them with the appropriate command. Therefore we create a new directory on our Desktop called /wordpress-dev. Afterward, we enter the directory and create the configuration file docker-compose.yml. In the file, we will create one container for the database and one for WordPress.
services:
  db:
    image: mariadb
    container_name: db
    restart: unless-stopped
    volumes:
        - ./db:/var/lib/mysql
    environment:
        MYSQL_ROOT_PASSWORD: 8kfhrPmYw3benskwclwK
        MYSQL_DATABASE: wp
        MYSQL_USER: user
        MYSQL_PASSWORD: password

  wp:
    image: wordpress
    container_name: wp
    restart: unless-stopped
    depends_on:
        - db
    ports:
        - 80:80
    volumes:
        - ./wp:/var/www/html
    environment:
      WORDPRESS_DB_HOST: db:3306
      WORDPRESS_DB_USER: user
      WORDPRESS_DB_PASSWORD: password
      WORDPRESS_DB_NAME: wp
We will now go over the configuration step by step. First we have a look at the database container called “db”.
- image: Mariadb image to create the database.
- volumes: Creates a directory
/dbto persist the data on container removal. - environment: The environment variables are used to configure the database.
Now we have look at the wordpress container called “wp”.
- image: Mariadb image to create the database.
- volumes: Creates a directory
/wpto persist the data on container removal and make it editable to create plugins or themes. - environment: The environment variables are used to configure the database connection.
After getting to know the configurations we are able to build the containers with the following command.
docker-compose up -dThis command builds all the containers in the detached mode. To check if the containers are running you can run:
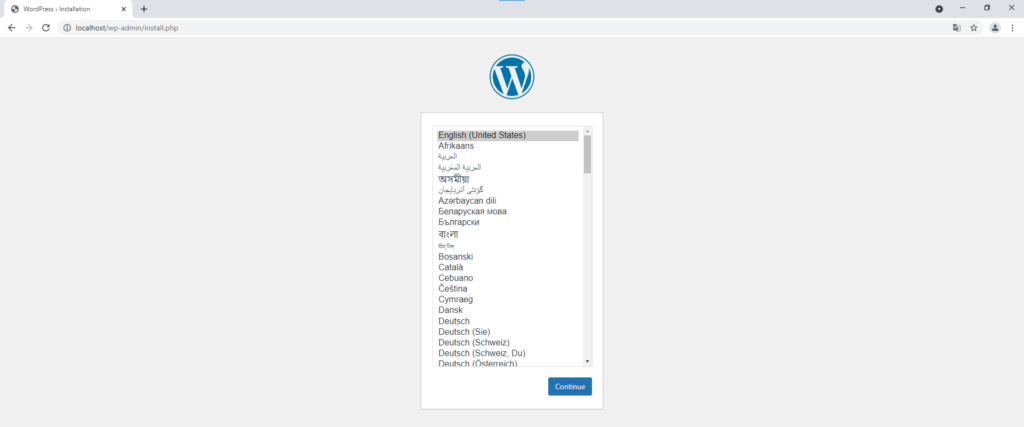
docker ps -aAfter we build our containers we can head into the web browser and checkout our WordPress instance under http://localhost.
It was super easy to set up the WordPress development environment, wasn`t it? If not, please give me feedback on how to make things better understandable. You can leave a comment or send an email to mail@programonaut.com.
Discussion (0)
Related Posts