How To Create An OAuth Login Using Pocketbase and SvelteKit
Learn how to create an authentication system to login and register with OAuth using Pocketbase and SvelteKit. For this, we will create an OAuth flow in addition to the email and password flow from the last part.
So let’s get started!
This is the fourth part of my free Pocketbase course, check the introduction and a list of all posts here.
- Get the Google OAuth credentials
- Set up a OAuth login flow using Pocketbase and SvelteKit
- Set up a log out with Pocketbase and SvelteKit
- Additional changes to the project
- Conclusion
Get the Google OAuth credentials
Before we can start developing, we have to get the OAuth credentials:
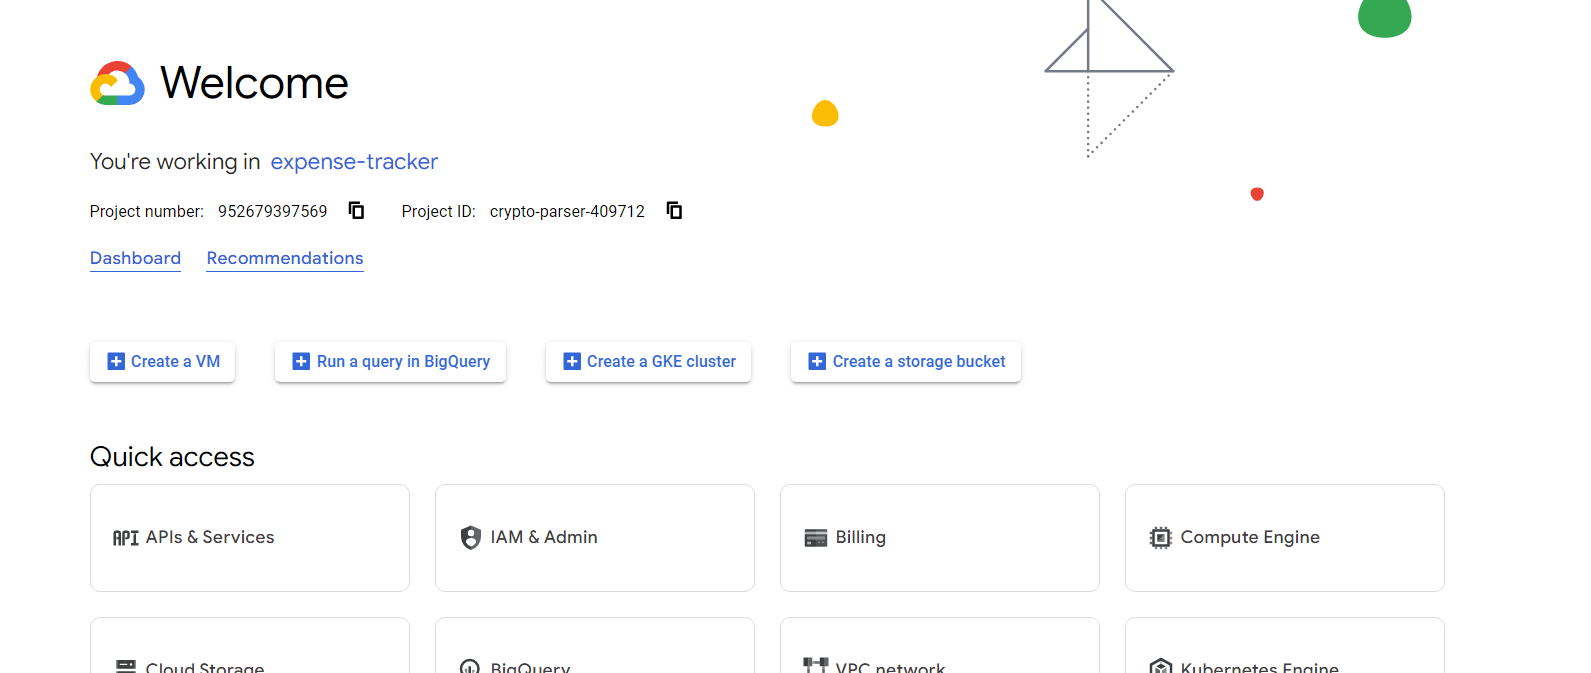
- Go to https://console.cloud.google.com/ and click in the top left on project:

- Create a new project called expense-tracker:
- After the project is created, open “APIs & Services”:
- Go to credentials, click on “+ Create Credentials” and select ” OAuth client ID”
- This might prompt you to configure the Consent Screen, if this is the case do so.
- Enter the required information
- Select the non-sensitive scope:
.../auth/userinfo.email - Finish the setup
- Go to credentials, click on “+ Create Credentials” and select ” OAuth client ID”
- Application Type: Web App
- Name: Expense Tracker
- Authorized JavaScript origins: http://localhost:5173
- Authorized redirect URIs: http://localhost;5173/auth/callback/google
- Click on create
- Now copy the Client ID and the Client Secret
- Make sure pocketbase is running and go to http://127.0.0.1:8090/_/#/settings/auth-providers
- Select Google and enter the Client ID and Secret


With that, you set up the Google OAuth credentials for Pocketbase. Next, we will create the login flow in SvelteKit.
Set up an OAuth flow using Pocketbase and SvelteKit
Before creating the logic of the OAuth flow, we will make it available to the user. For this, we first update the load function inside src/routes/login/+page.server.ts:
export const load = (async ({locals, url}) => {
    if (locals.pb.authStore.model) {
        return redirect(303, '/dashboard')
    }

    const authMethods = await locals.pb.collection('users').listAuthMethods();
    const fail = url.searchParams.get('fail') === 'true';

    return {providers: authMethods.authProviders, fail};
}) satisfies PageServerLoad;
In it, we now additionally get all the possible auth methods that we have set up in the backend. For now, we have only added Google, but you can use more if you want. Besides this, we also check for a fail query parameter, which we will set in case there is an unexpected error during the flow.
If this guide is helpful to you and you like what I do, please support me with a coffee!
Next we will use these two variables in the login, for this we update the login page with the following code. In it, we update the error message and append a form with OAuth buttons:
// ...

<div class="h-full flex flex-col justify-center sm:mx-auto sm:w-full sm:max-w-sm">
    {#if form?.fail || data?.fail}
        <div class="variant-soft-error px-4 py-2 mb-2 rounded-token">
            {data.fail ? "Something went wrong with OAuth!" : form?.message}
        </div>
    {/if}
    <form action="?/login" method="post">
     // ...
    </form>
    <hr />
    <form method="post">
        {#each data.providers as provider}
        <button class="btn variant-filled w-full mt-2" formaction="?/{provider.name}">{provider.displayName}</button>
        {/each}
    </form>
</div>
Inside the code, we can already see a newly added formaction with {provider.name}. So let’s add an action called google to our already existing form actions inside src/routes/login/+page.server.ts:
google: async ({ locals, request, cookies }) => {
    const provider = (await locals.pb.collection('users').listAuthMethods()).authProviders.find((p: any) => p.name === 'google');
    cookies.set('provider', JSON.stringify(provider), {httpOnly: true, path: `/auth/callback/google`});

    throw redirect(303, provider.authUrl + env.REDIRECT_URL + provider.name);
}
Here, we create a redirect to the OAuth UI. The redirect includes a redirect url which we have to add to our .env file. The value that we will use is REDIRECT_URL=http://localhost:5173/auth/callback/. As we can see in the return, we also append the provider name resulting in a final redirect http://localhost:5173/auth/callback/google in the case of using Google.
So let’s create this route by adding src/routes/auth/callback/[provider]/+server.ts. With the [provider] we will use this endpoint for all possible providers as it is a slug (variable). Remember to add the /auth prefix to our unprotectedPrefix array in src/hooks.server.ts.
The code inside the file consists of GET request, which retrieves the cookie that we set in the form action and then logs in the user based on the provider values:
import { redirect } from '@sveltejs/kit';
import type { RequestHandler } from './$types';
import { env } from '$env/dynamic/private';

export const GET: RequestHandler = async ({locals, url, cookies}) => {
    const provider = JSON.parse(cookies.get('provider') || '{}');

    if (provider.state !== url.searchParams.get('state')) {
        throw new Error('State parameters don\'t match');
    }

    try {
        await locals.pb.collection('users').authWithOAuth2Code(
            provider.name,
            url.searchParams.get('code') || '',
            provider.codeVerifier,
            env.REDIRECT_URL + provider.name
        )
    } catch (error) {
        console.error(error);
        return redirect(303, '/login?fail=true');
    }

    throw redirect(303, '/login');
};
Before this will work, we have to replace the last three lines of our authentication function inside of src/+hooks.server.ts with the following ones:
// ...
export const authentication: Handle = async ({ event, resolve }) => {
    // ...

    const response = await resolve(event);

    // send back the default 'pb_auth' cookie to the client with the latest store state
    response.headers.append('set-cookie', event.locals.pb.authStore.exportToCookie({ sameSite: 'Lax' }));

    return response;
}
// ...
To learn why this is needed, check this answer on GitHub.
With that, we have set up the authentication flow using SvelteKit and Pocketbase. You are now able to use Google to log your users in. One side effect I noticed is that if a user with a certain email already exists, Pocketbase will automatically connect them with OAuth if it is used to log in.
Set up a log out with Pocketbase and SvelteKit
Next up, we will add the log-out functionality to our project. For that, we will add yet another action to our action object in src/routes/login/+page.server.ts:
logout: async ({ locals }) => {
    await locals.pb.authStore.clear();
    throw redirect(303, '/login');
}
In the next section, we will add some additional things, including a button that performs the logout, but for now, the functionality is given!
Additional changes
Now that we have implemented to complete auth flows, we also want a way to see if it actually works. Therefore we will create a new route called /dashboard with both a +page.svelte and a page.server.ts file. The +page.server.ts file will load the current user and send it to +page.svelte:
import { serializeNonPOJOs } from '$lib/utils';
import type { PageServerLoad } from './$types';

export const load = (async ({locals}) => {
    const user = locals.pb.authStore.model;

    return {user: serializeNonPOJOs(user)};
}) satisfies PageServerLoad;
Here, you see the function serializeNonPOJOs, which we still need to implement. It is required because otherwise, the return will throw an error. So let’s create it inside a new file called src/lib/utils.ts:
export const serializeNonPOJOs = (obj: any) => {
    return structuredClone(obj);
};
Finally, we can visualize the user and add the ability to log out of the +page.svelte:
<script lang="ts">
    import type { PageData } from './$types';

    export let data: PageData;
</script>

<p>{data.user.email}</p>
<form action="/login?/logout" method="post">
    <button class="btn variant-filled">Log Out</button>
</form>
With that, we set up an OAuth login flow using Pocketbase and SvelteKit. Besides that, we added the functionality to log out and see which user is currently logged in.
You can also access the current state of the project in this repository and the branch called “course-4”.
Conclusion
In this post, we created an OAuth based login flow with Pocketbase and SvelteKit. For it, we first created the OAuth credentials, then set up the OAuth flow and finally visualized the logged-in user. In the next post, we will start building the actual application! I hope you liked the course so far. See you in the next part!
And as always, if you have any questions… ask! 😀
In case you have any questions, feel free to ask them, and if you want to stay up to date with all my posts, consider subscribing to my monthly newsletter!
[convertkit form=2303042]
Discussion (0)
Related Posts