Developing With WordPress Made Simple With This Setup
Do you want to start developing a new Theme with WordPress? Are you wondering if there is a better, more intuitive way? In this post, I will show you my new way of developing WordPress Themes. You will be able to create a new WordPress Instance with just a few clicks and then develop your new Theme with Instant Reload!
In the following guide, we will first look at my old way of developing with WordPress and why I switched. Then we will set up the new development environment and have a quick look at how I am using it to redesign my website.
- My old development setup
- Creating a new WordPress Instance with Local
- Setup a new Theme in the new WordPress Instance
- Add Instant Reload for a better experience while developing with WordPress
My old development setup
The old development setup was based on docker and allowed for an easy transition of the locally developed website to the web, for example, hosted on a VPS (Virtual Private Server). After creating the initial version inside a docker-compose file, the setup process was simple and done with one command (docker-compose up -d).
Sadly after a while, I encountered some problems with this approach. First, the website loaded slowly for me; thus, working with it was no pleasure. Additionally, I needed to install Browser Extensions to allow for an Instant Reload of the Page when a change occurred.
These problems don’t have to occur for you, and I only ran it on my Windows machine, so if you want to try this approach, you can read my previous guide here.
Creating a new WordPress Instance with Local
My new setup for developing with WordPress is using LocalWP. It is a WordPress development tool that lets you spin up new WordPress Instances with a few clicks. In addition, LocalWP allows you to install plugins like Instant Reload, so you do not need any external tools anymore (like a browser extension that allows for page reloads).
Before creating a new WordPress instance, you can download and install Local from their website here. It is available for all major OS like Windows, macOS, and Debian-based Linux.
If this guide is helpful to you and you like what I do, please support me with a coffee!
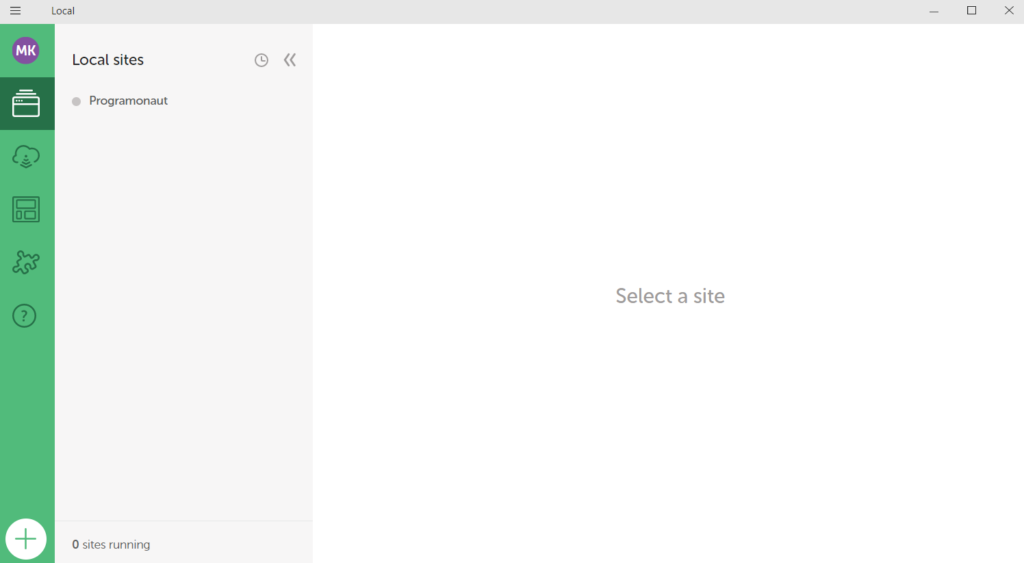
So let us create a new WordPress Instance to start developing a Theme. After installing LocalWP for the first time, you will be welcomed by a screen like this (without the “Programonaut” instance):
Then to create a new instance, you have to click on the big plus in the bottom left of the screen. From there, Local will guide you through multiple steps. I chose the following settings:
- Setup: Create a new site
- Name:
wp-test-instance - Environment: Preferred
- Set your credentials
- Click on “add site”
After this step, LocalWP will create a new WordPress Instance with the name wp-test-instance. When the creation is finished, you will get an overview screen that looks like this.
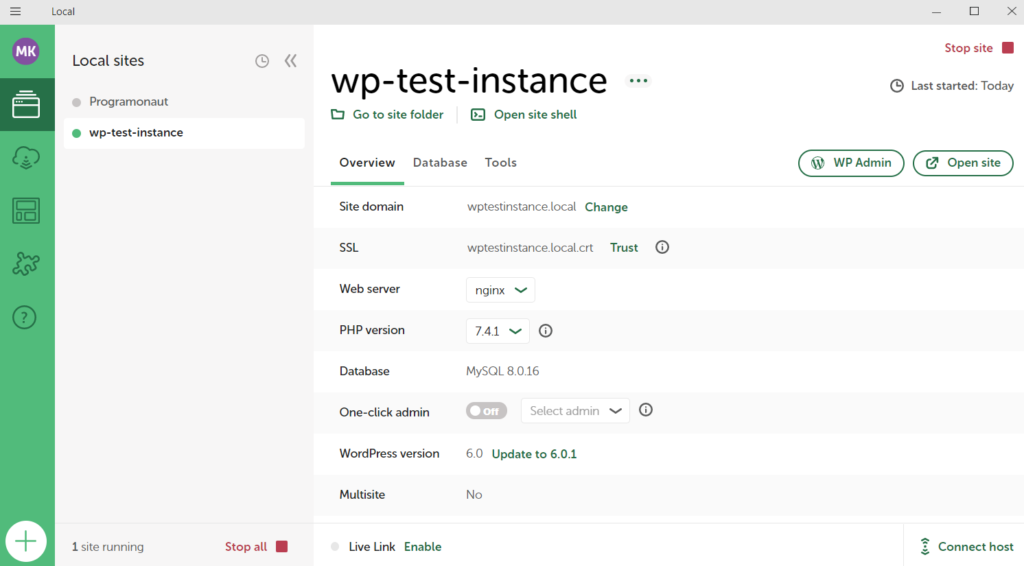
And in addition to that, your WordPress instance is already started, and you can visit it under: http://wptestinstance.local/.
Setup a new Theme in the new WordPress Instance
To create a new Theme in WordPress, you need to create a new directory inside the theme folder. These steps are the same as if you would create a theme with every other WordPress installation.
For easy access to the themes, directory click the button “Go to site folder” in the overview of your WordPress instance.

From there, you have to follow the path: app/public/wp-content/themes. Inside this directory, you create a new directory with the name of your new theme, and then you are ready to go.
Inside this directory, you need multiple different files, and you can learn more about themes inside of the codex here.
In case you already have a theme that you want to develop further, or you want to use a theme template like this, you can simply clone the repository inside of the themes folder.
Add Instant Reload for a better experience while developing with WordPress
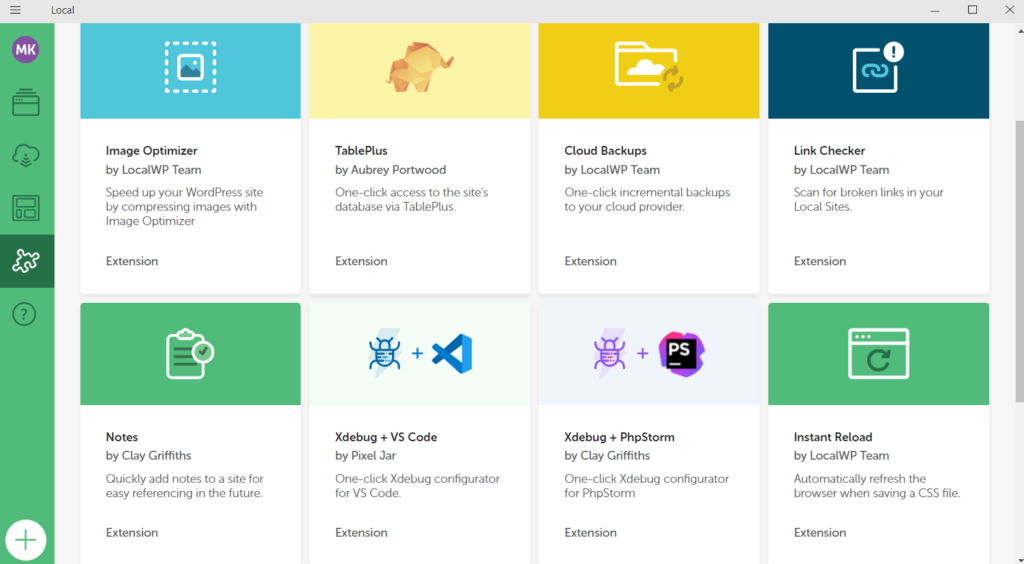
As explained in the introduction, LocalWP allows you to install different Addons that make your life easier. One of these addons is called Instant Reload, and it helps you by reloading the website when changes on your CSS are detected.
You can simply install it by opening the Addons Tab in the Local Application. Then in the overview, you look for Instant Reload, click on it and then click on “Enable & Relaunch”.
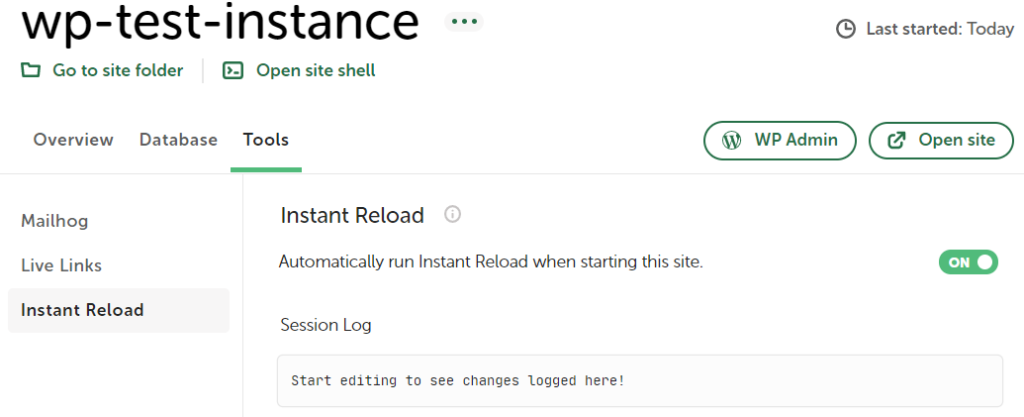
After Local relaunched, go to your WordPress Instance>Tools>Instant Reload and enable that it starts when you launch your WordPress Instance.
Sadly the official Addon only supports automatic reload on changes in the CSS, but while creating WordPress Themes, you will also edit PHP files. Thus the extension is not super helpful.
Because of this reason, I forked the addons repository and updated it so that it will also check for changes on your PHP Files. You can find the repository here. To install it, you have to follow the following steps:
- Clone repo directly into the addons folder (paths described above)
yarn installornpm install(install dependencies)yarn buildornpm run build- Open Local and enable Addon
Addon Directory:
- macOS:
~/Library/Application\ Support/Local/addons - Windows:
C:\Users\username\AppData\Roaming\Local\addons - Linux:
~/.config/Local/addons
Conclusion
Developing new Themes or Plugins for WordPress does not have to be hard. With LocalWP and the Addon Instant Reload, the process got simplified a lot, and I have to say, since I am using this setup, I enjoy building the redesign of my website way more!
I hope this setup can save you a lot of stress and time while developing with WordPress. So tell me in the comments if you have tried it out already and what you think about it!
In case you liked this post consider subscribing to my newsletter. In it, I am informing you at the end of each month what I blogged about!
[convertkit form=2303042]
Discussion (0)
Related Posts