How To Easily Set Up A Server (VPS) For Your Side Projects
Do you want to start self-hosting your side projects and websites?! Then a private server is a right thing for you! In this series of guides, I will show you how to set up a new server (VPS) from scratch!
- Introduction
- How to choose a server for your setup
- How to set up the new server
- Create a new user
- Easy access to your VPS
- Conclusion
Introduction
Are you looking to self-host your side projects and websites? Then a private server may be the perfect solution for you! In this blog post, we will explore the benefits and drawbacks of setting up a private server (VPS), and we will also learn how to set one up.
Setting up your own server means that you have complete control and flexibility over your server, as well as a clear understanding of your monthly costs (you have a fixed monthly price). By learning how to set up a server, you’ll gain valuable knowledge and experience with servers, Linux, and more. However, taking care of your own server is not the easiest thing to do, and thus it requires some knowledge of Linux (but don’t worry, you will learn it by doing it!).
This series of posts will guide you through the whole process, and in the end, you will know how to easily set up a VPS, host your own applications, and connect them to a domain (with SSL certificates). The best thing is, as a result, you will have an easy-to-use setup for all your sites and projects.
So if you’re ready to self-host your applications, keep on reading! As always, if you have any questions, feel free to ask.
How to choose a server (VPS) for your setup
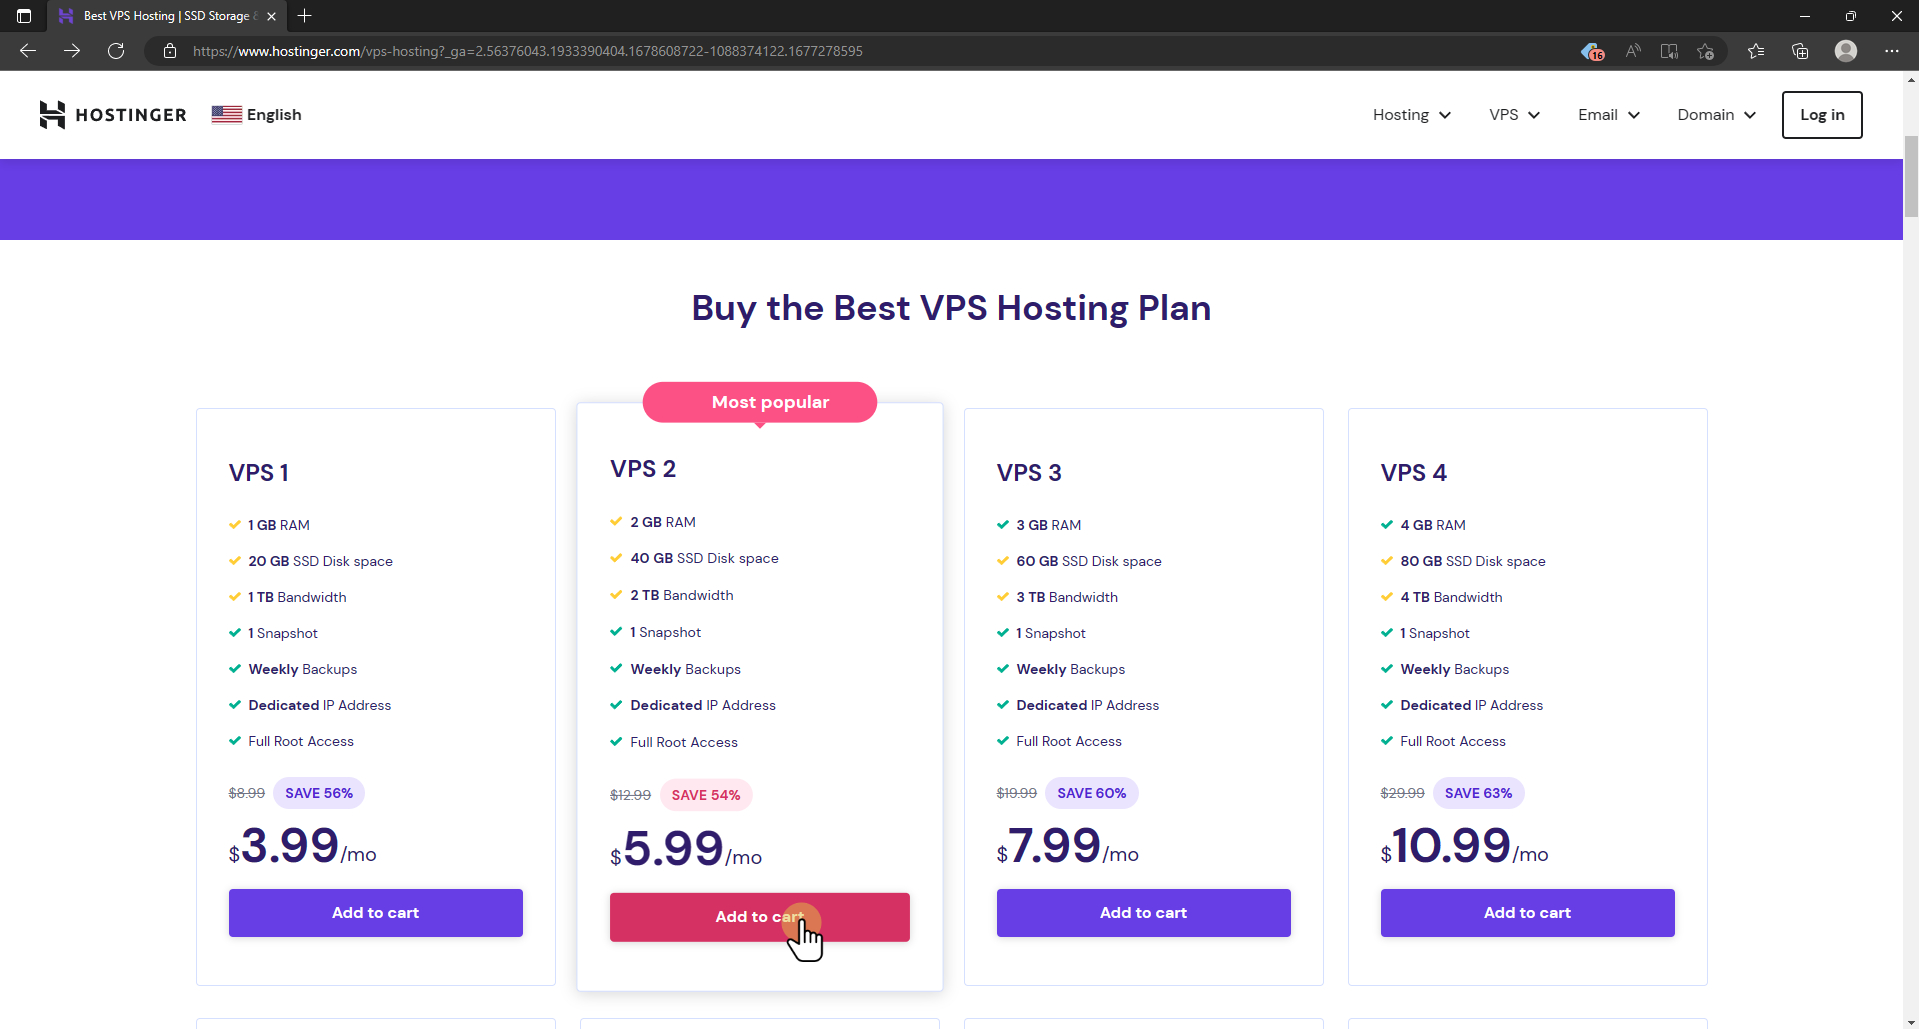
When choosing a server for your setup, consider the cost, the specifications, such as the number of cores, RAM, and storage, and whether you need support. Your budget and the needs of your applications should determine the specifications you require. Most of the time, a cheap or medium-priced VPS should suffice to host multiple websites and applications. Some hosting companies also offer support services, which may be beneficial if you’re new to server administration. The hosting provider that I use for this guide is Hostinger.
If you still need a server and would like to support me, you can use the following affiliate links when getting a server:
If this guide is helpful to you and you like what I do, please support me with a coffee!
- Hostinger: https://pgnt.xyz/hostinger-vps – for everyone
- Netcup: https://pgnt.xyz/netcup-vps – for german users
How to set up the new server (VPS)
Once you have chosen a server provider and have access to your new server, the first step is to choose an operating system. For beginners, I recommend using Ubuntu, as it is widely supported and has a large community.
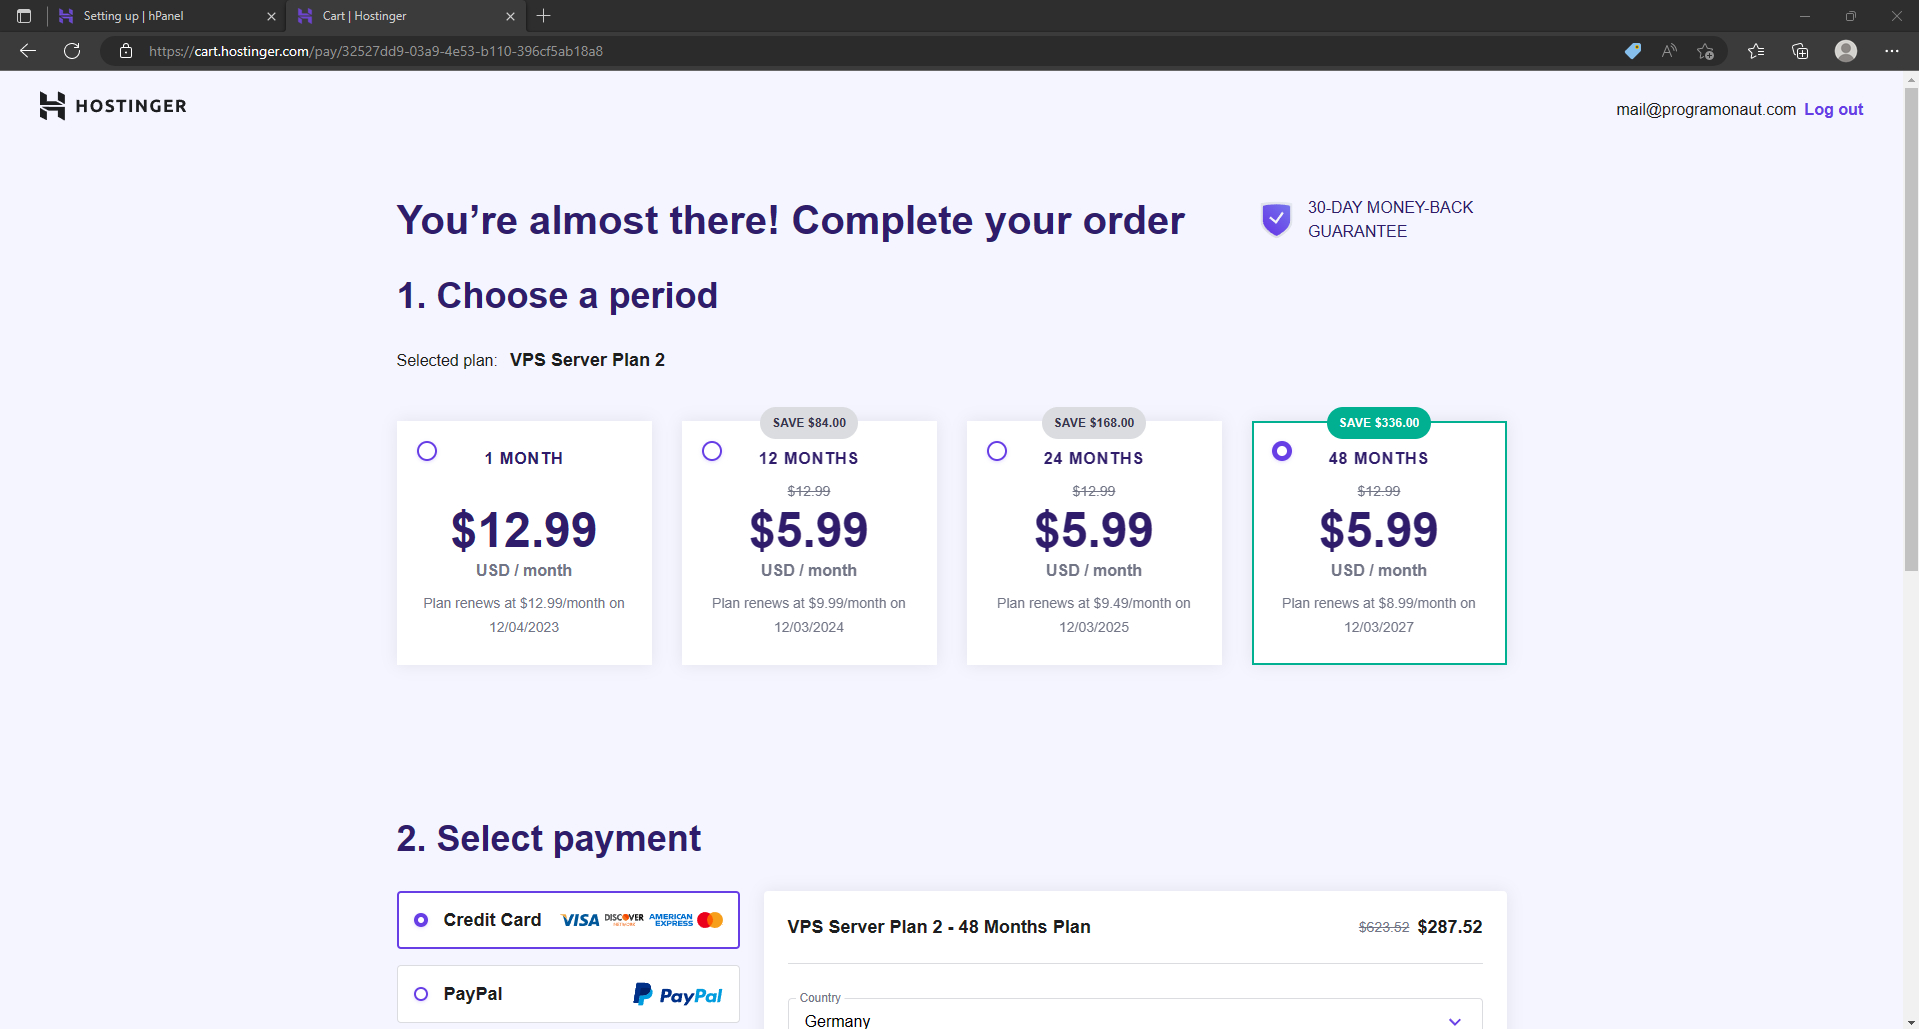
On Hostinger, the process is as follows (for other providers, it works similarly):
- Choose a server that fits your needs (for example, VPS 2).

- Choose the runtime of your server.
- Go to hpanel.hostinger.com and click on setup. Then, click on Start now.
- Choose the location for your server (e.g., Netherlands) and then click continue.
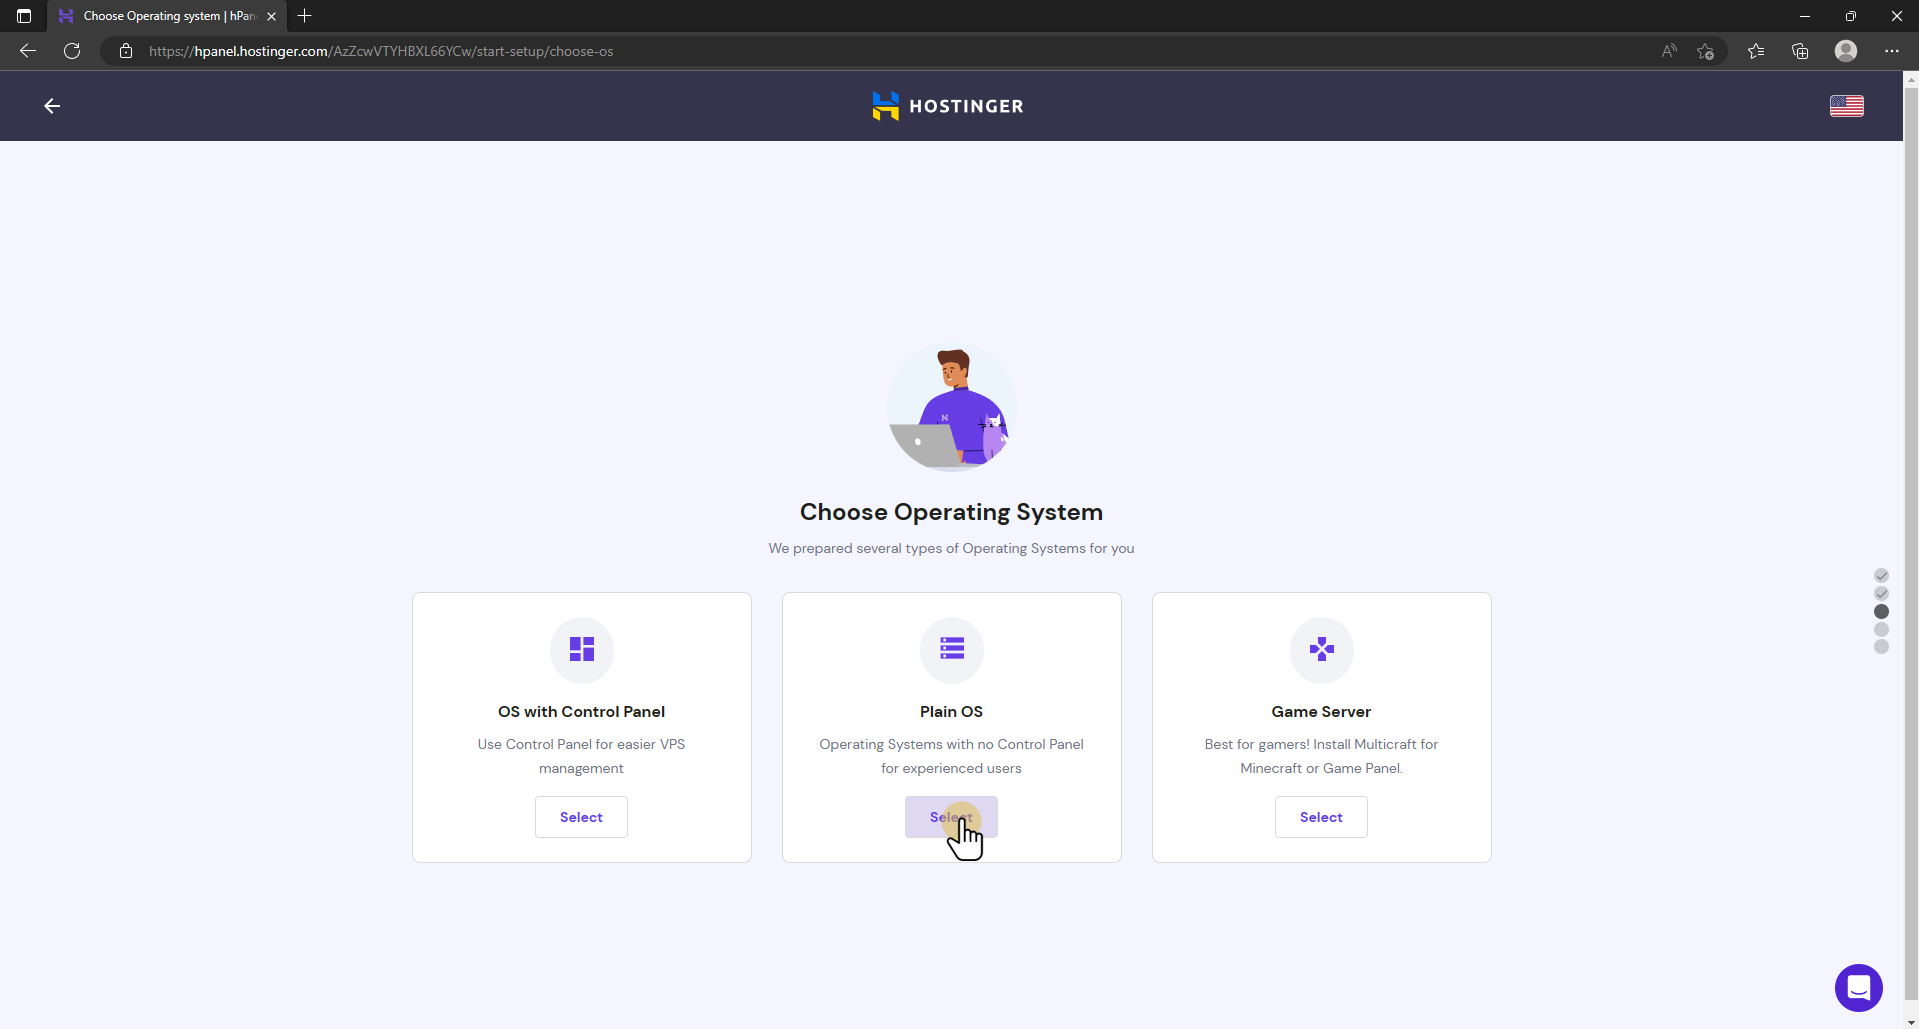
- Choose Plain OS.
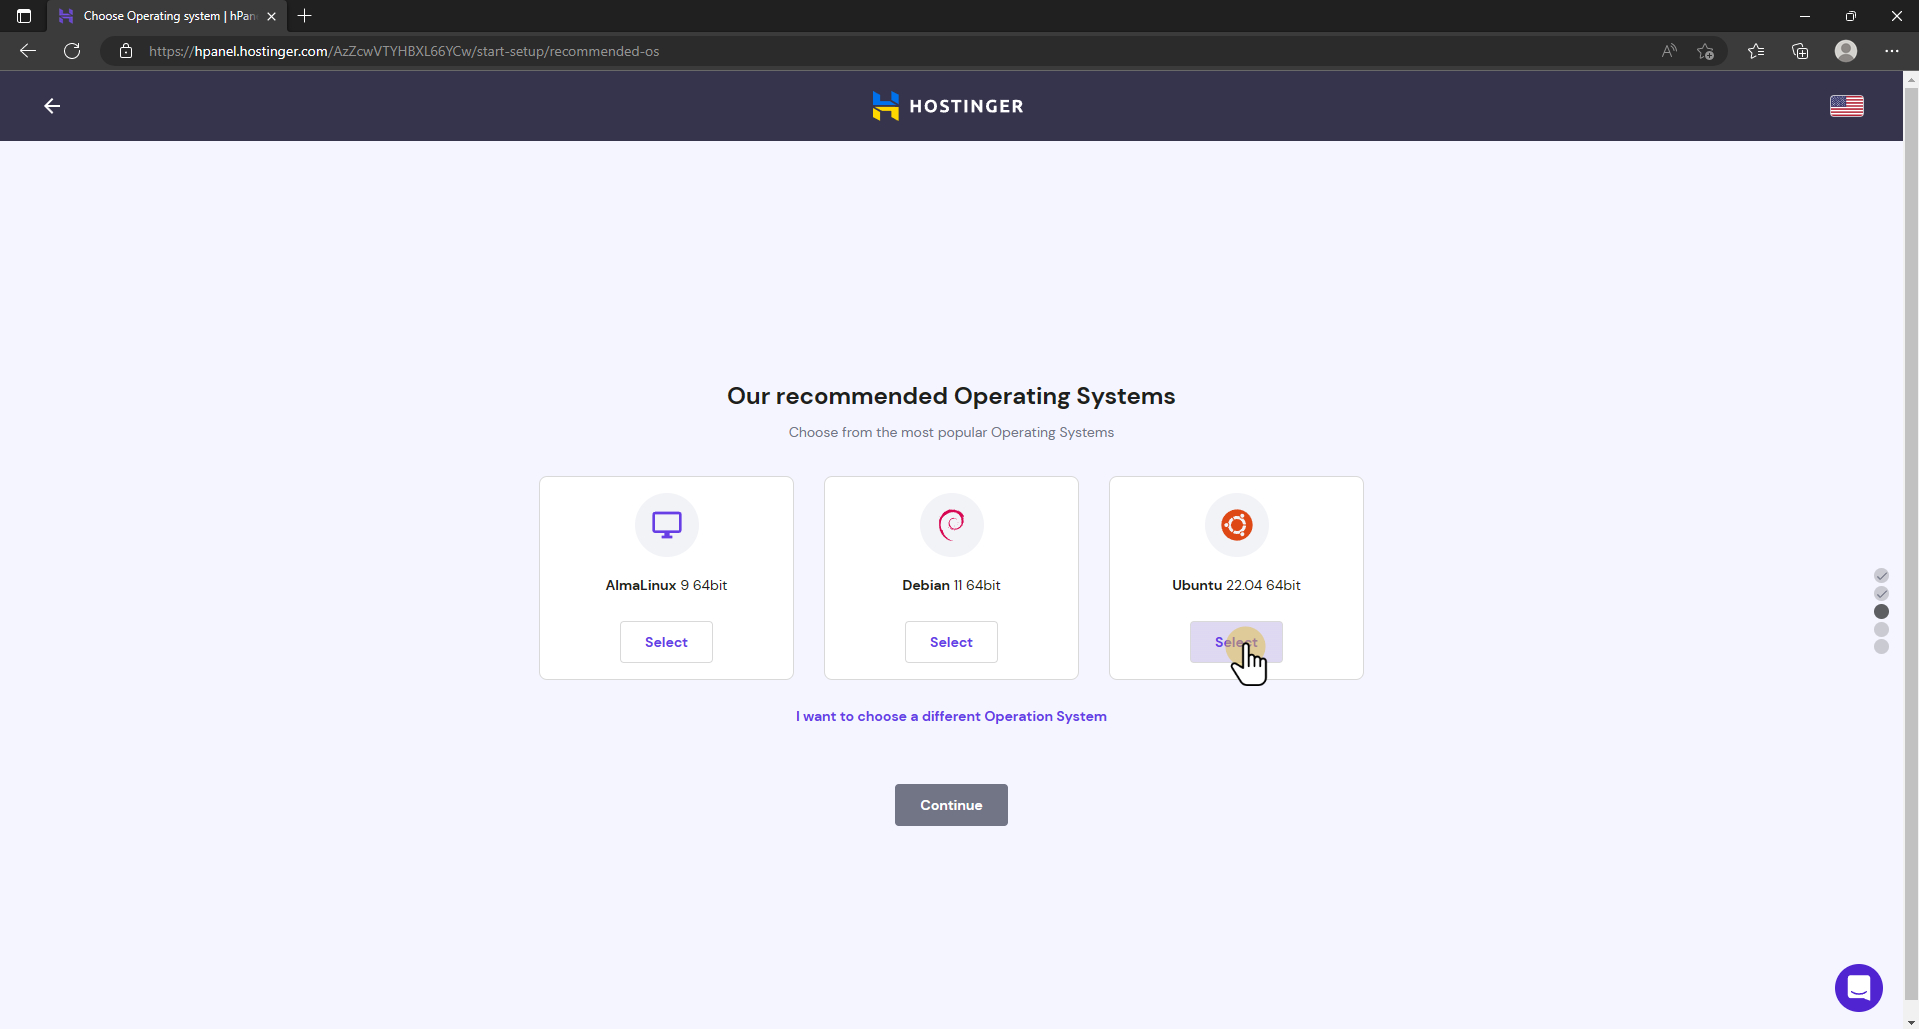
- Choose Ubuntu and then click continue.
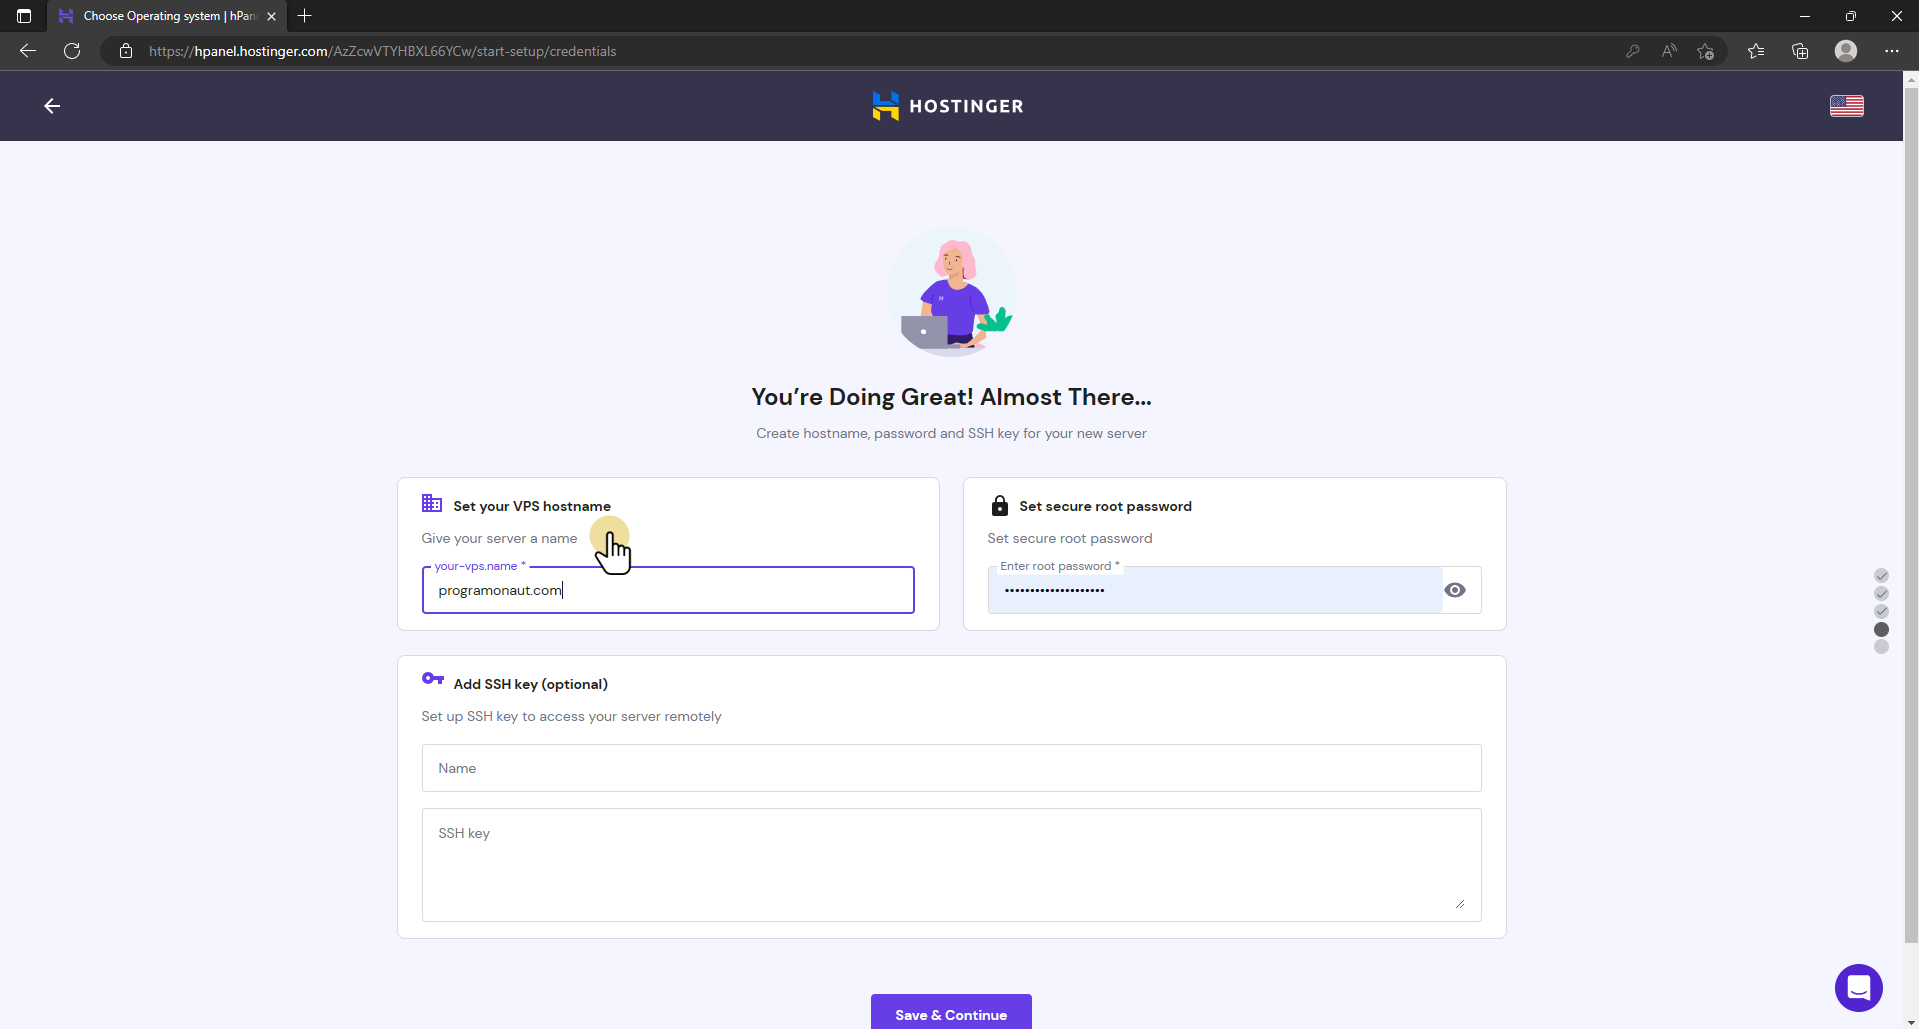
- Enter a hostname and a root password. (We will create the ssh key in the next section, so people using another hosting provider can do it as well). Then click on Save & continue.
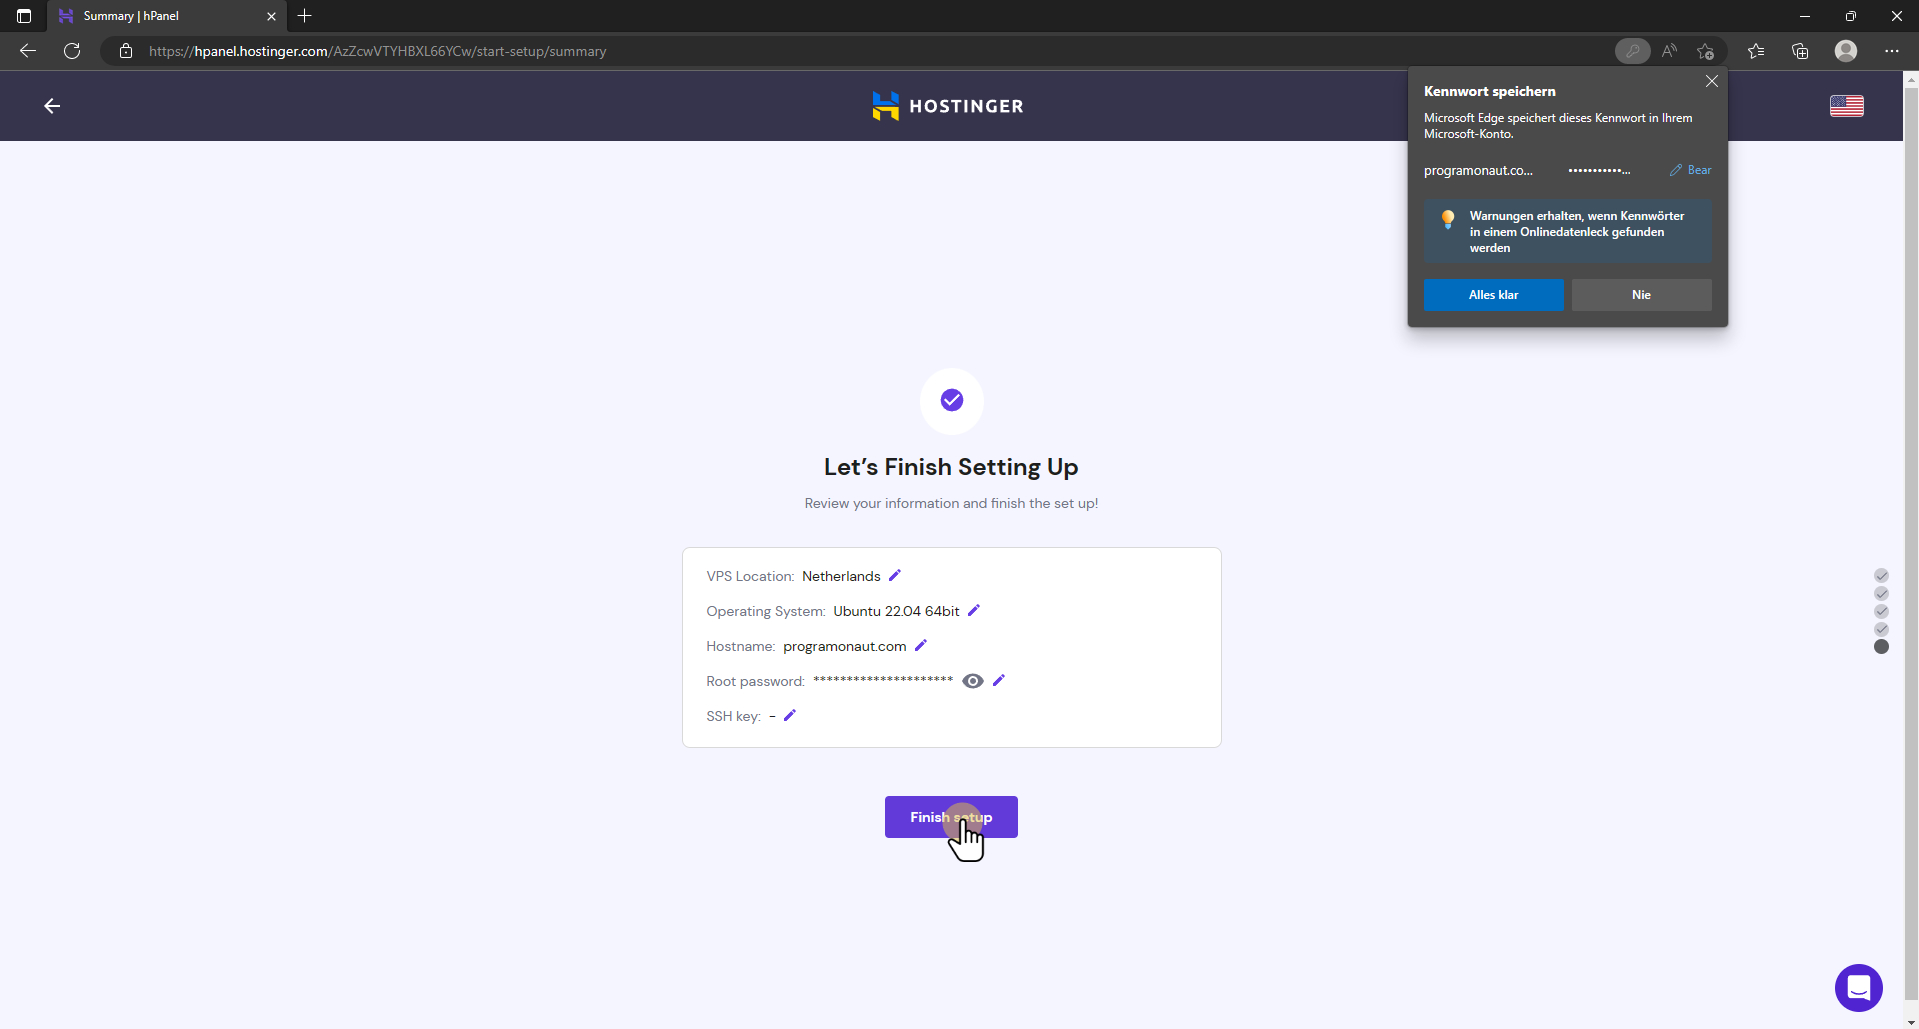
- Click on Finish setup.
- Wait till the setup is finished.
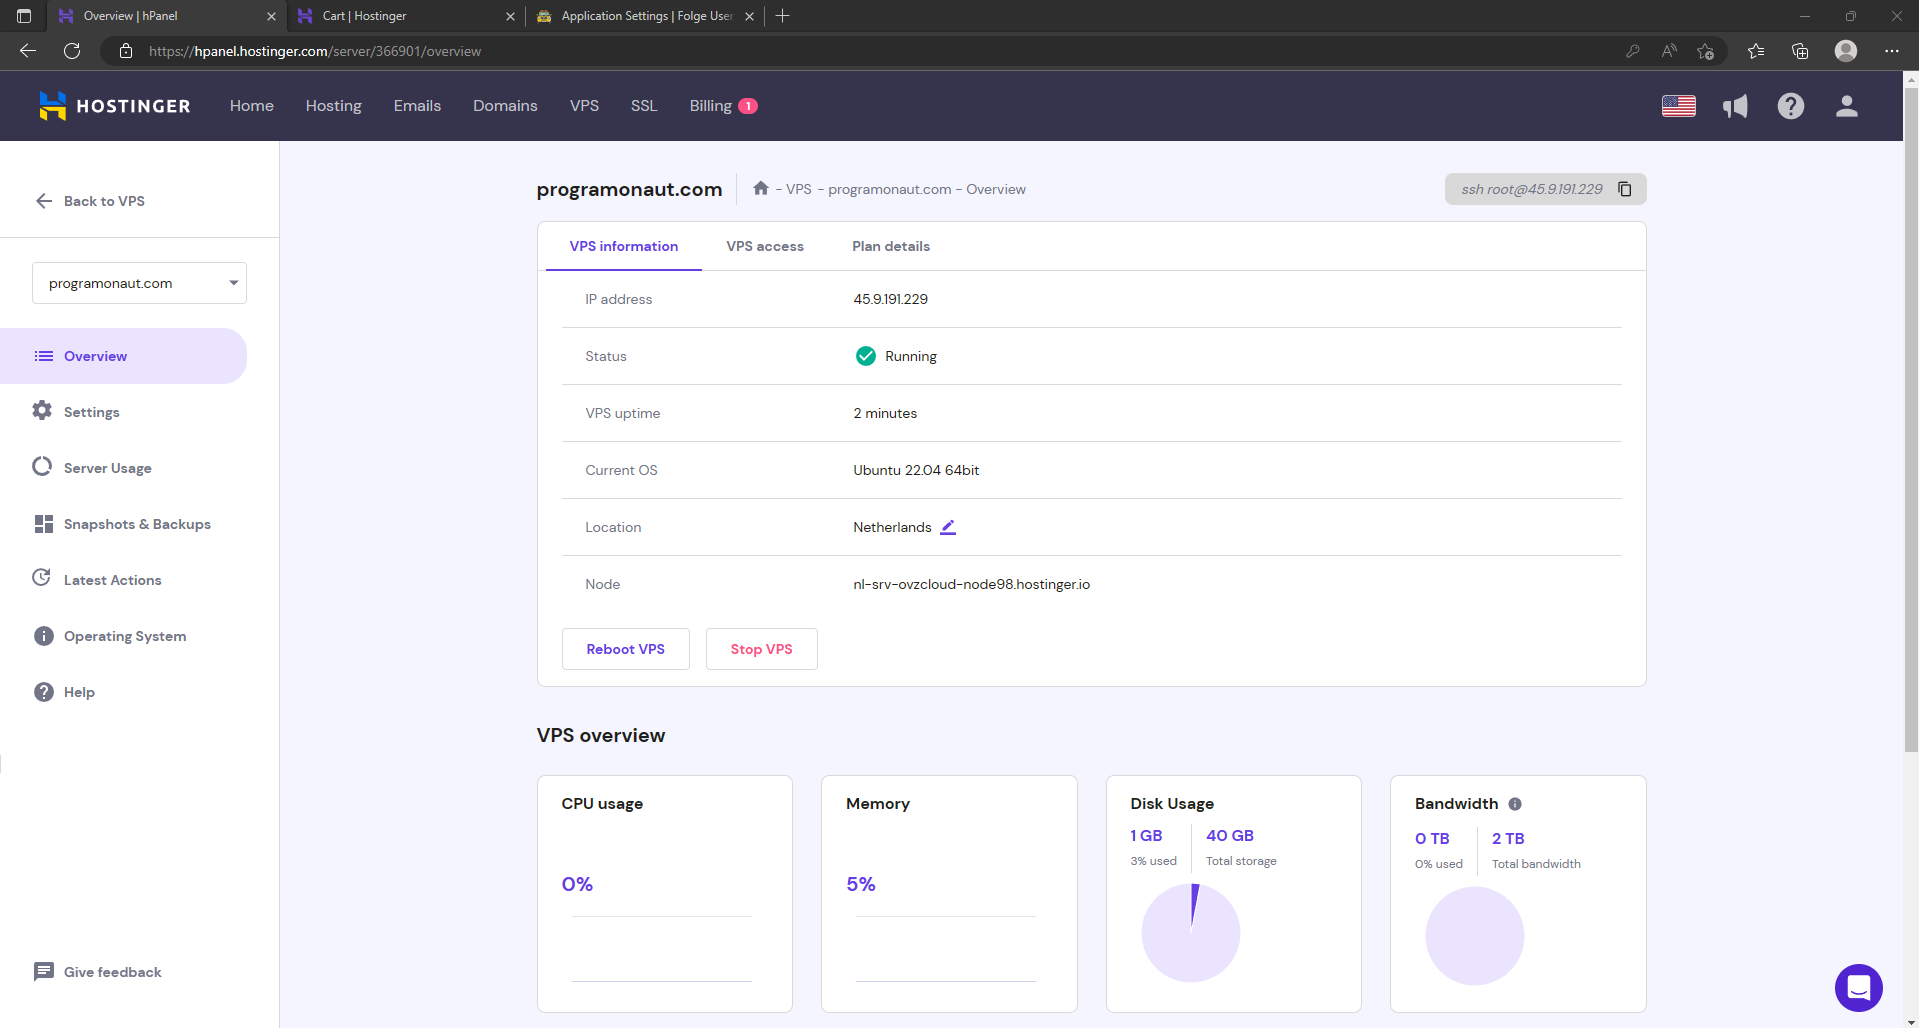
- Open the VPS (in the hpanel) to find the ip address.


Once the setup is finished and you have the IP of your server, you can connect to your server using a tool like PuTTY or the built-in Terminal app on Windows, Mac, or Linux (I will use my standard terminal).
In the following, we will use a standard terminal and connect to our server:
ssh root@<host>Then enter your password, and you are on your server.
Create a new user
The next step is to create a new user on your server. This is an optional step, but for a bit higher security and to reduce the risk of destroying things on your server, I recommend it. For that, you run:
adduser <username>Follow the steps in the CLI. This creates a new user with a home directory and a password. Next, give the new user privileges to use sudo:
usermod -aG sudo <username>Now you can log out of the system by running:
exitEasy access to your VPS
It is really annoying to always enter the password. Because of that, we will use the private/public key method to authenticate with the server. We can do so by creating a new key pair on our machine and copying the public key to our server (the following works on windows with git bash and on Linux, I don’t know about mac).
First, we create the new pair. Run the following command and either give the key a new name or use the default (I will use the default because that way, it is used as a default when trying to log in):
ssh-keygen -t rsa -b 4096Next, we copy the public key to our server (user is either root or the user you created):
ssh-copy-id -i <rsa-pub-key-path> <user@host>After that, we can enter our server by running the following command, and we will not be prompted for the password anymore (in case you did not use the default id_rsa files, you have to specify the private key using the -i <path/to/private> option:
ssh root@<host>With that, we have set up our server, a user for the server, and we made it easily accessible. In the next part of this series, we will have a look at how to host our first application on the server, and in the last part, we will connect it to a domain.
Conclusion
In this guide, we learned why to use a VPS and how to set one up. For that, we used Hostinger and chose Ubuntu as our operating system. In the next steps, we added a user and set up easy access for ourselves.
I hope this guide was helpful. If you have any questions or want to chat, feel free to send me a message. And in case you liked this post, consider subscribing to my newsletter to get updates on my latest posts.
[convertkit form=2303042]
Discussion (0)
Related Posts