How To Set Up A Domain For Your Application and Server!
Are you looking to set up a domain for your hosted application and server? Look no further! In this comprehensive guide, we’ll go through the entire process step-by-step. From purchasing a domain to setting up DNS records so that you can bring your side project online!
Introduction
In this four-part series, we already learned how to set up a server (VPS), and we successfully hosted a simple application using Docker, making it accessible through a web browser using the server’s IP address. However, to give our project a unique identity and make it easier to find, we need to set up a domain for our application. By the end of this post, you’ll be able to access your application under your domain with HTTP, and in the next post, we will secure it with HTTPS, giving your project a more professional and secure look.
Get a domain and set it up for your server
Before we can set up the domain for your server and, ultimately, for your application, we need to purchase a domain. In this post, I will show you how it works when using Hostinger, but it works similarly with other domain providers.
In case you do not have a domain yet, you can support me by buying a domain through one of the affiliate links below:
- Hostinger: https://pgnt.xyz/hostinger-domain – for everyone
- Netcup: https://pgnt.xyz/netcup-domain – for german users
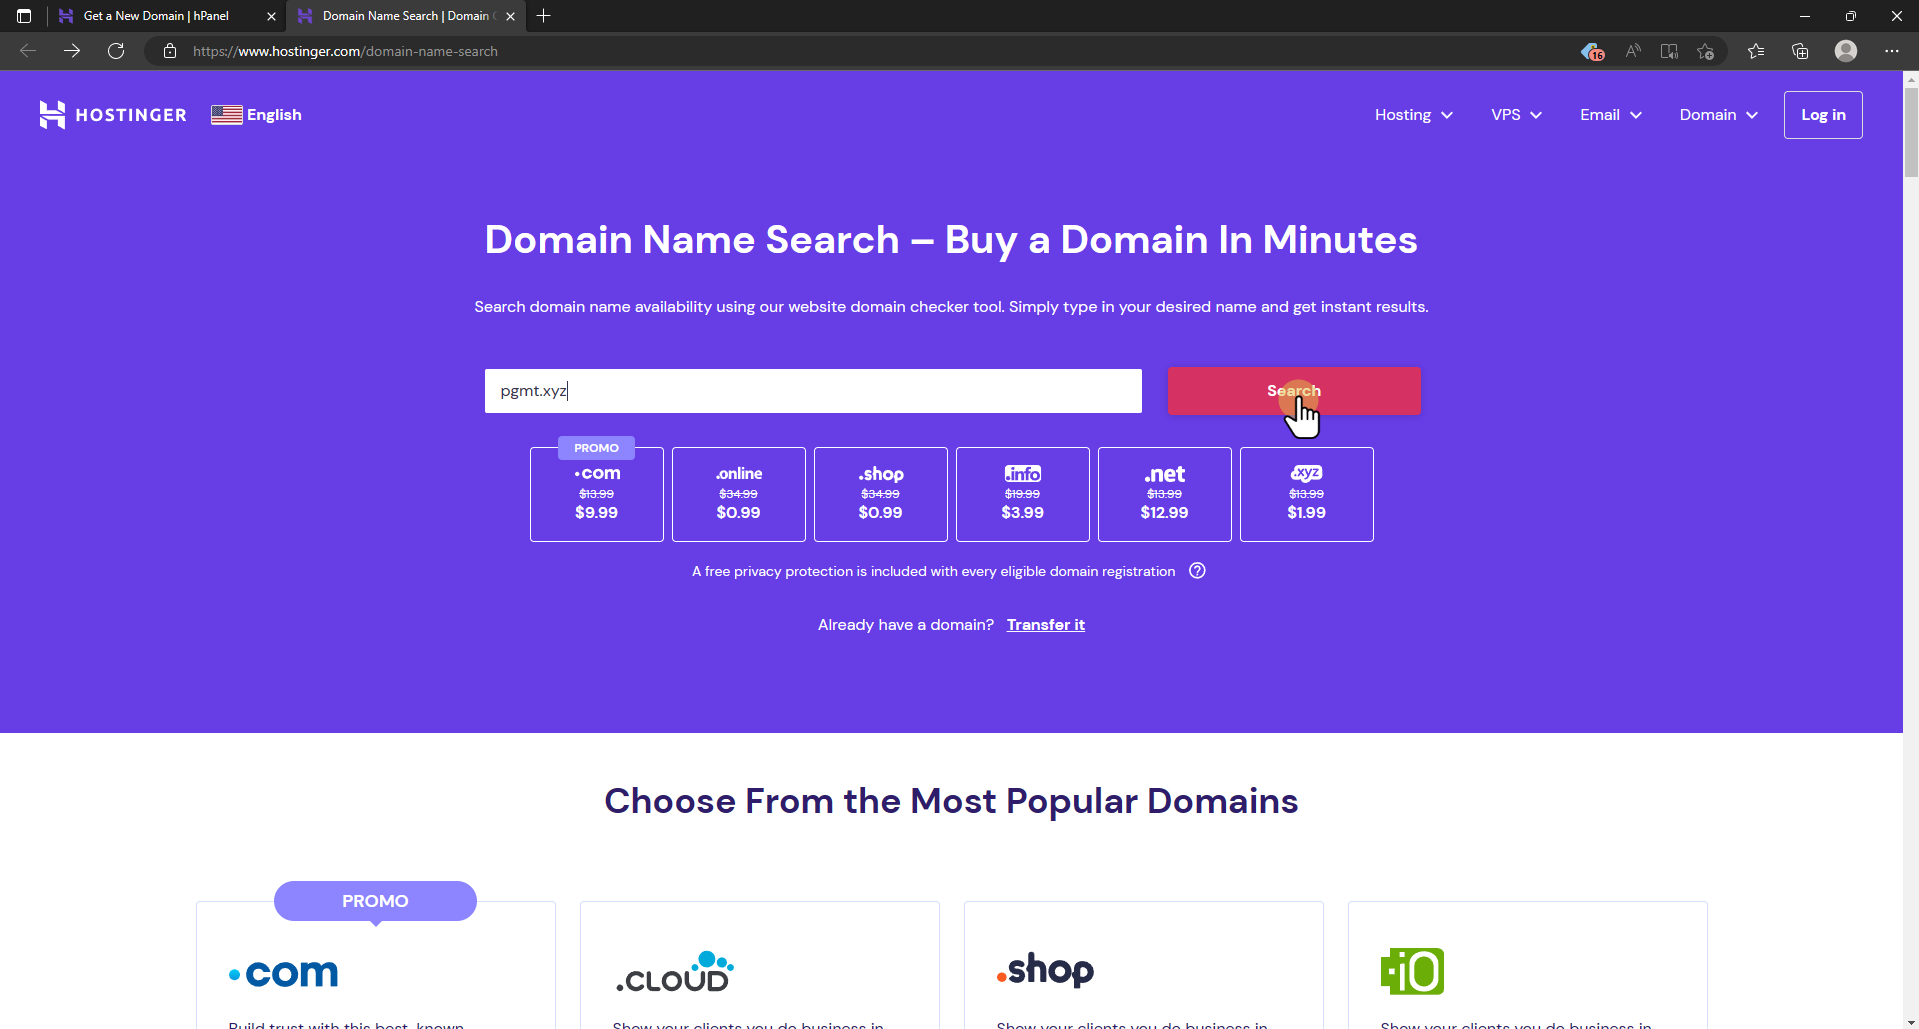
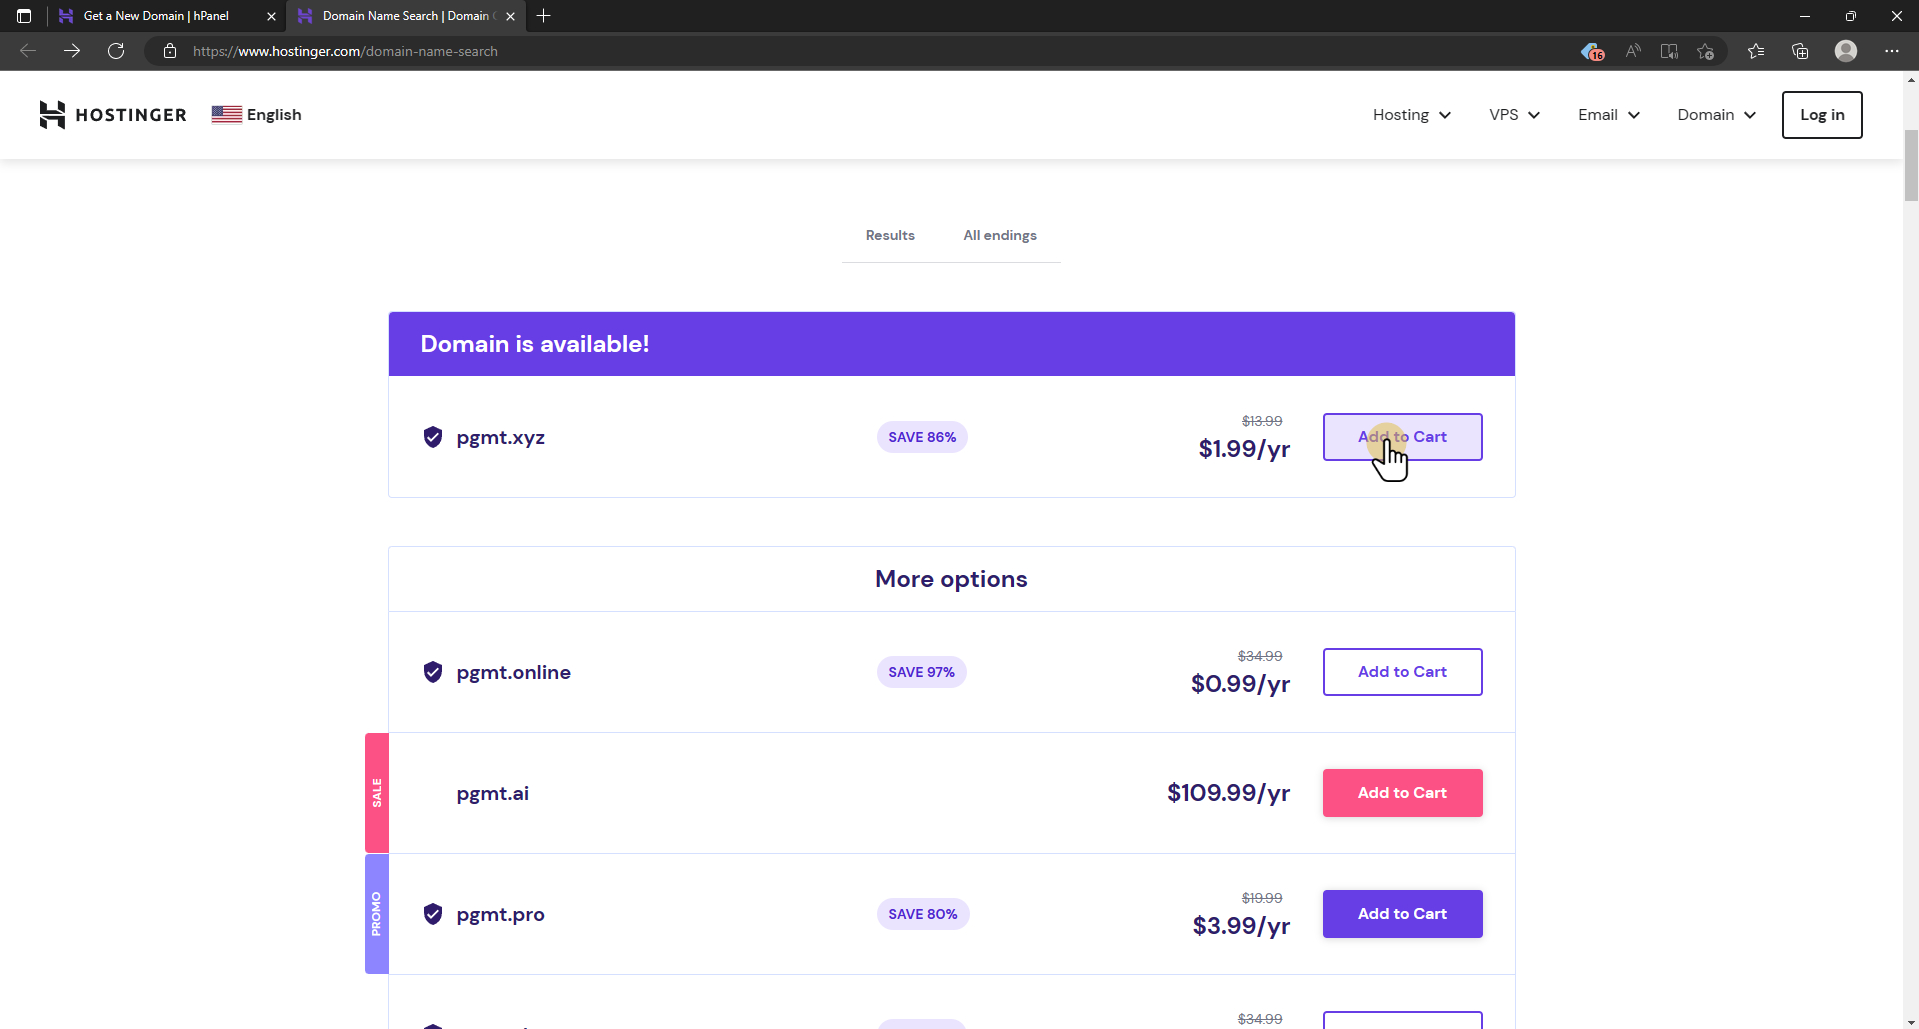
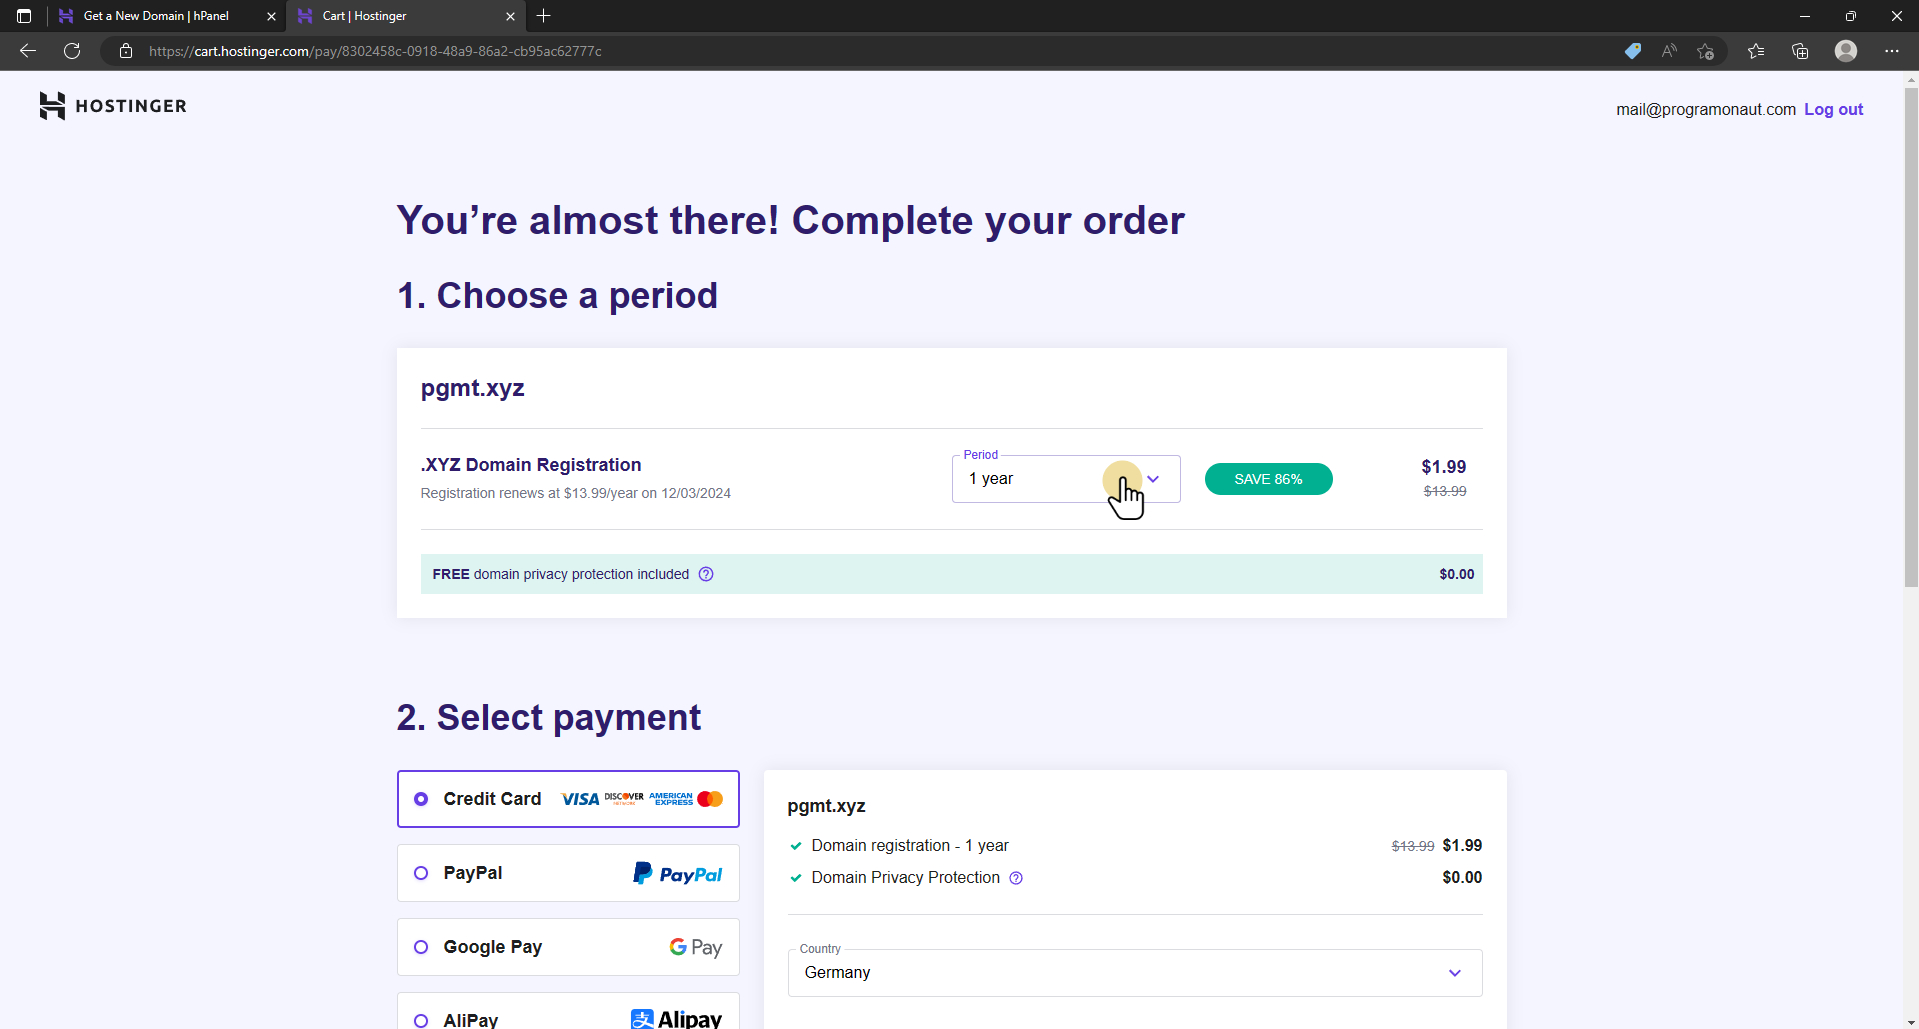
For Hostinger, the steps are as follows:
- Go to Hostinger domain search.

- Enter the domain you want and click on search.
- Add the domain to the cart.
- Choose the plan you want.
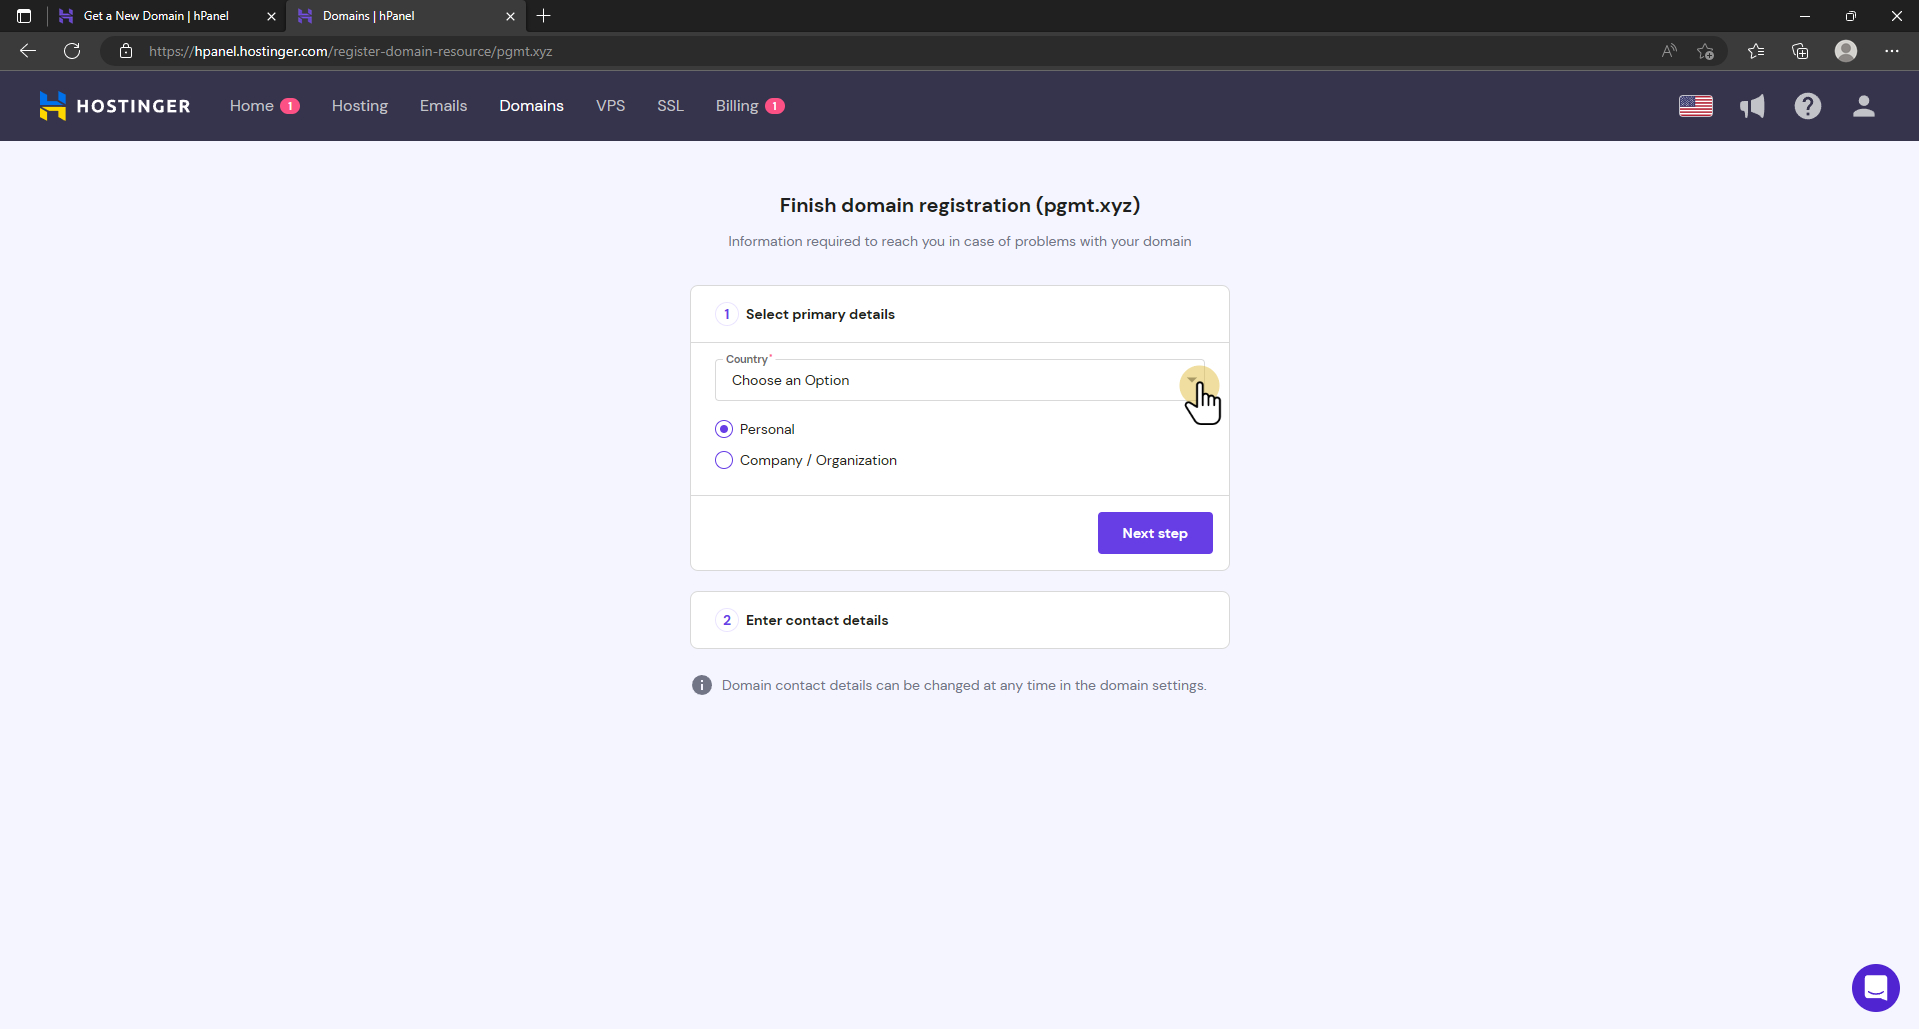
- After paying, finish the domain registration.
- Click continue (and check your email to verify the domain).


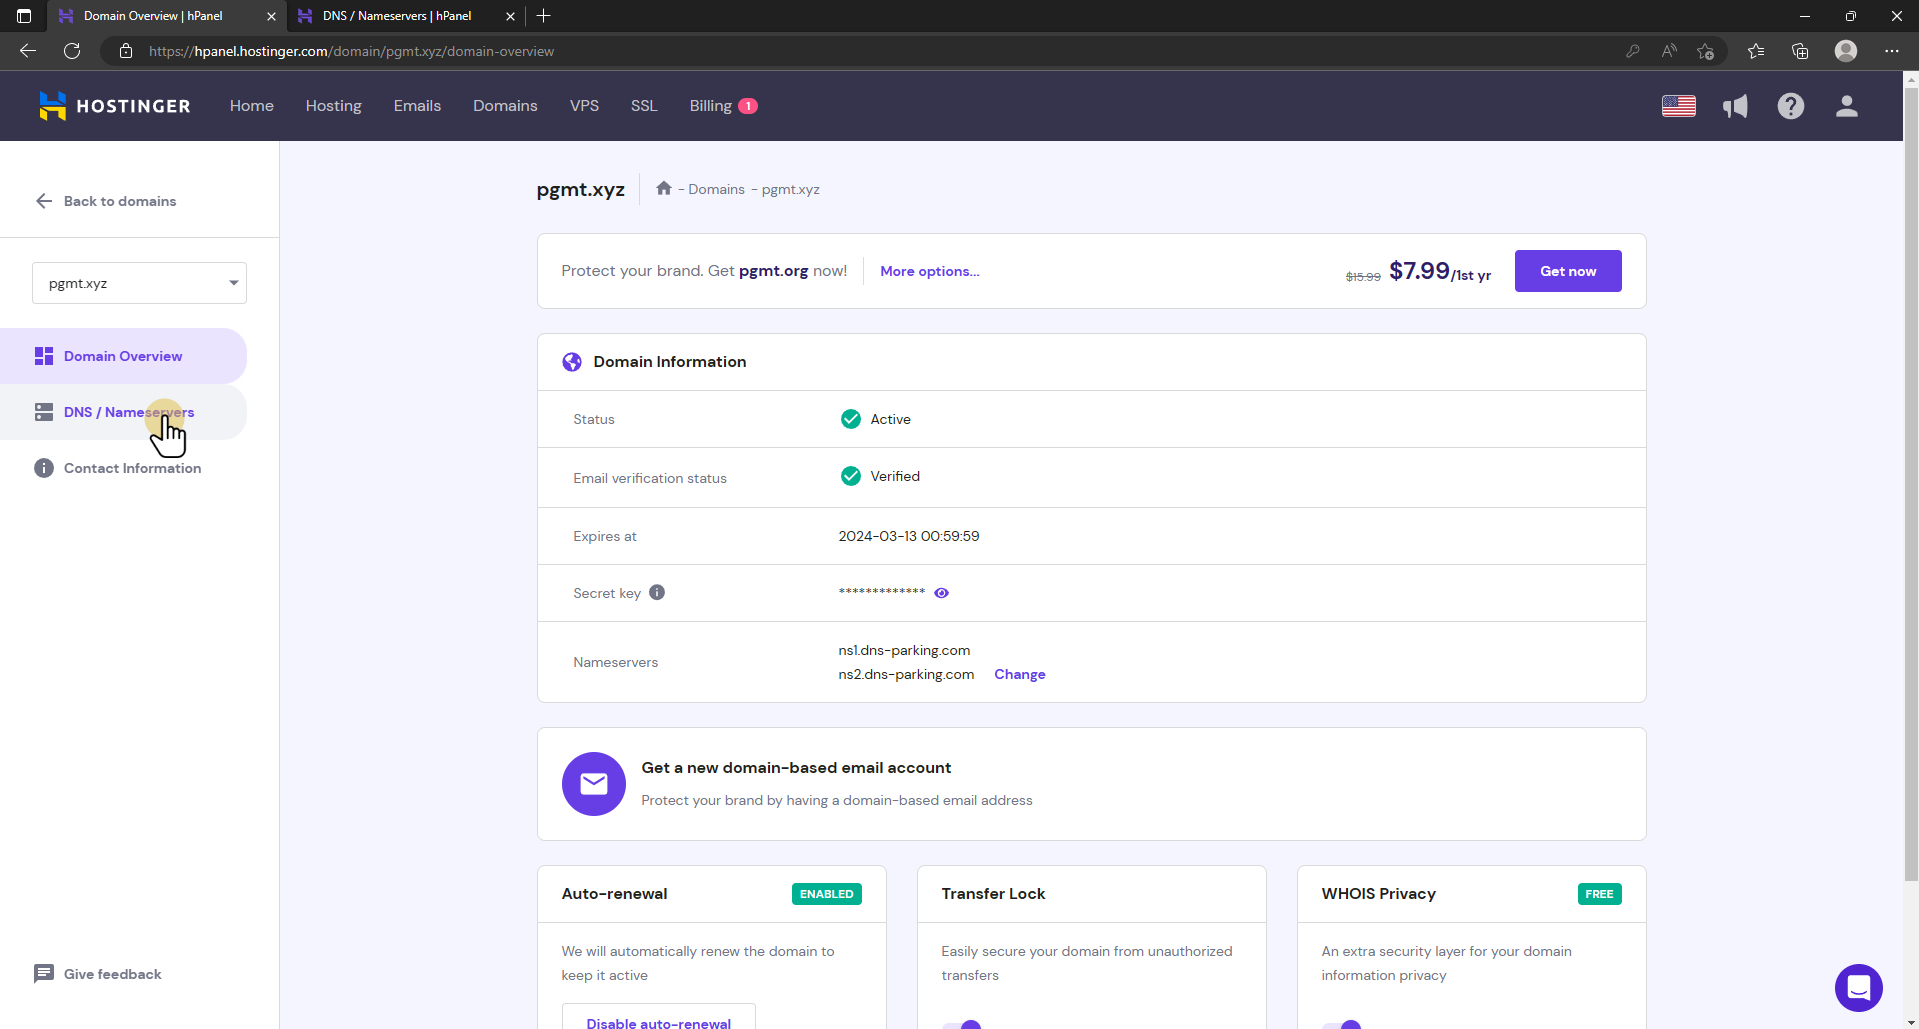
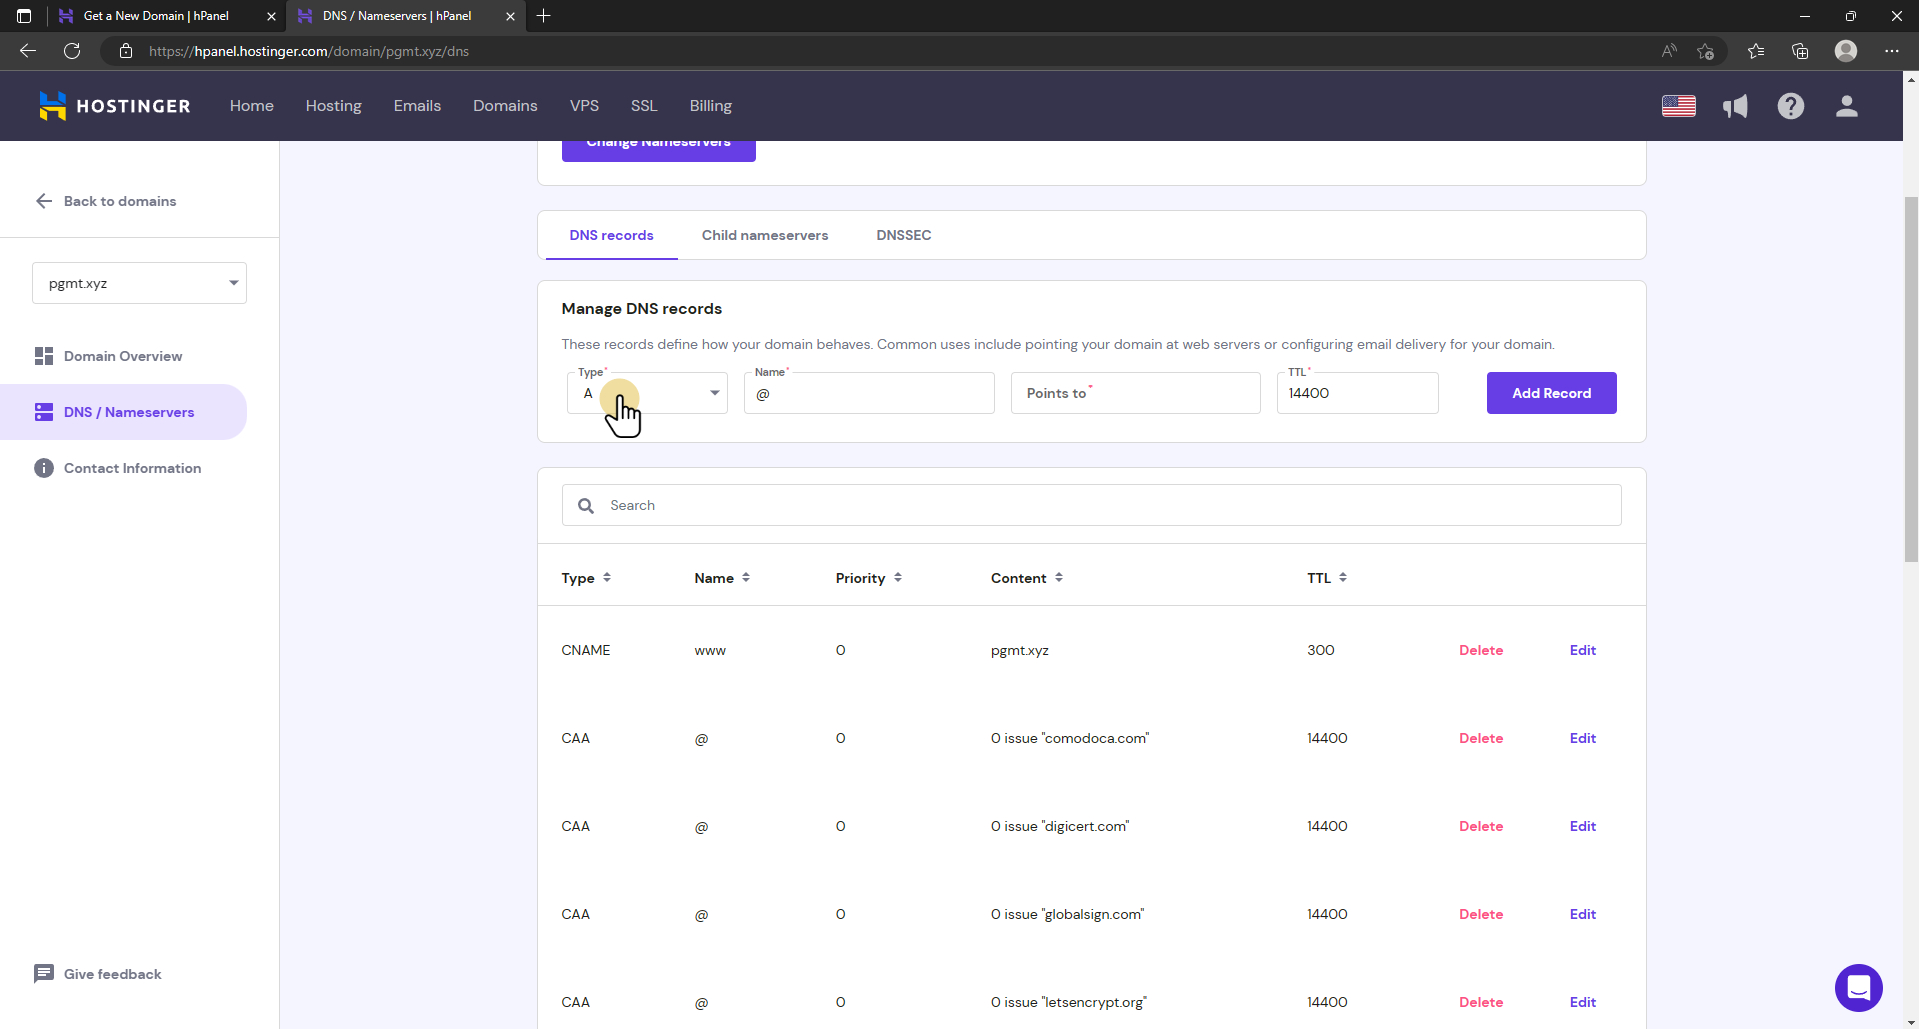
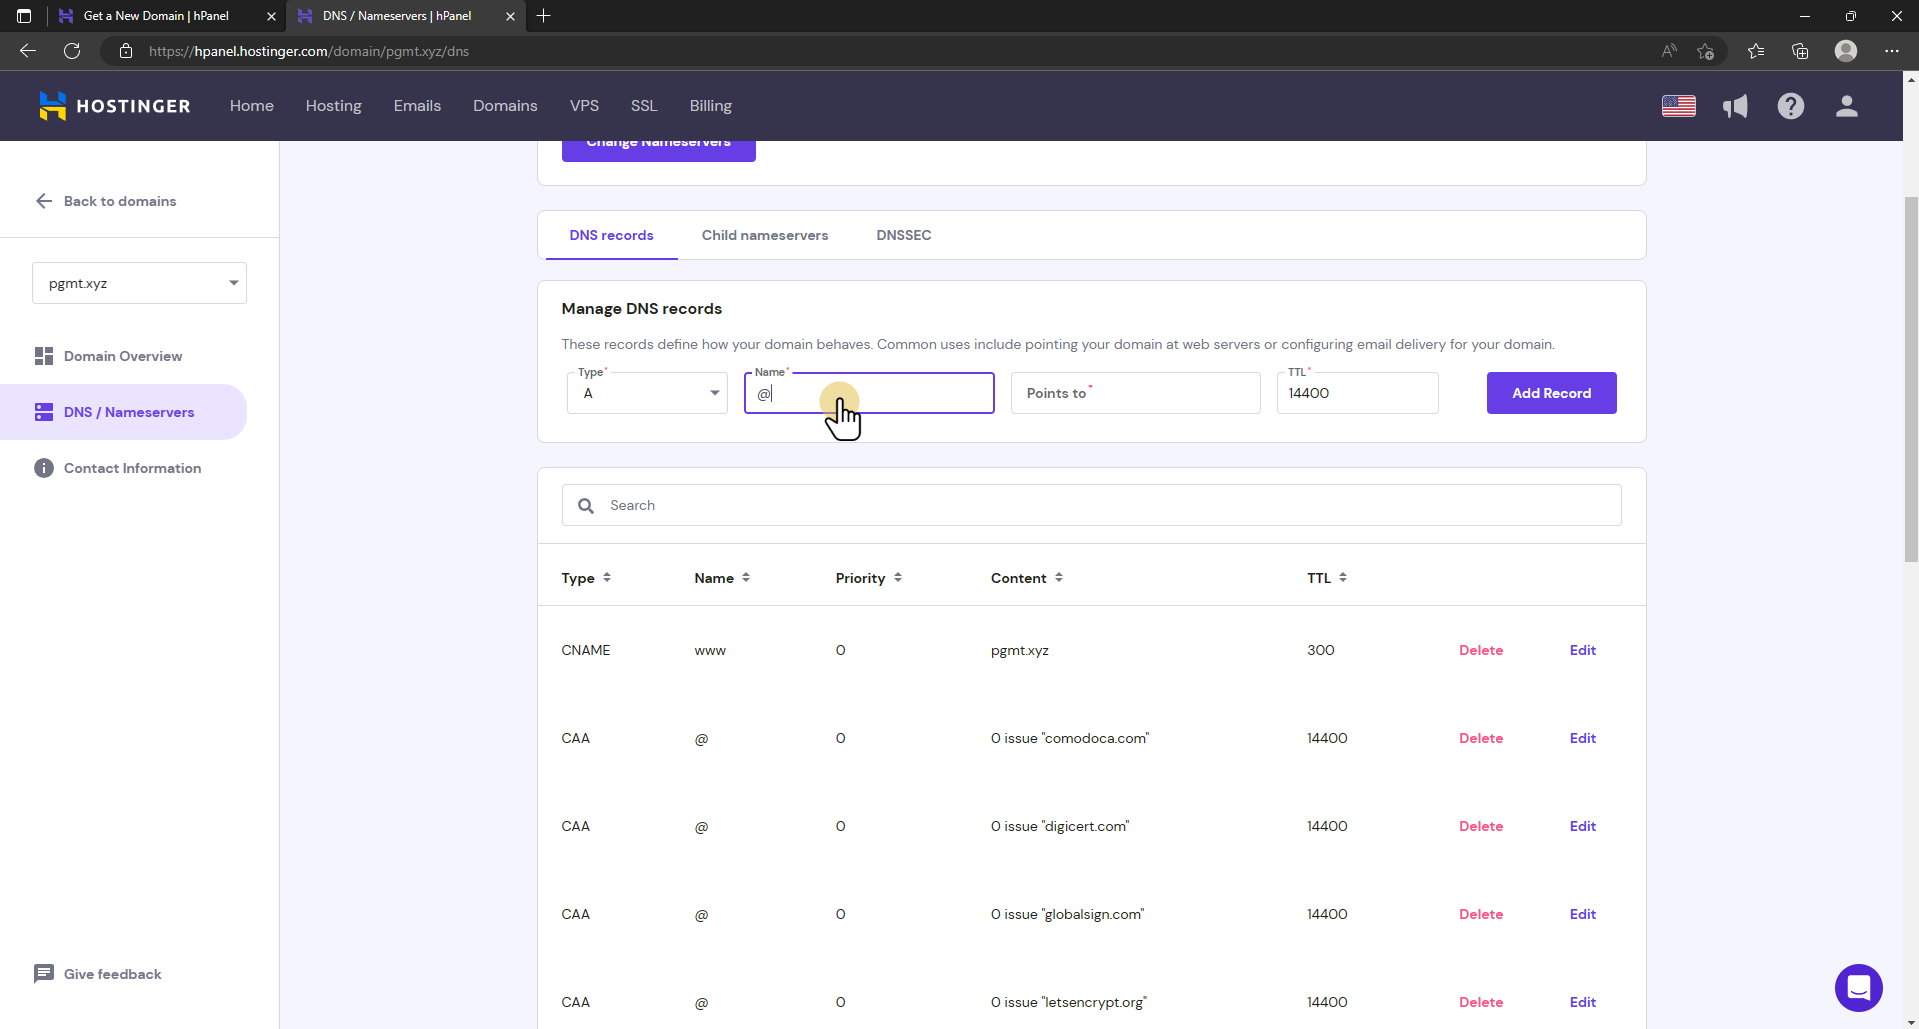
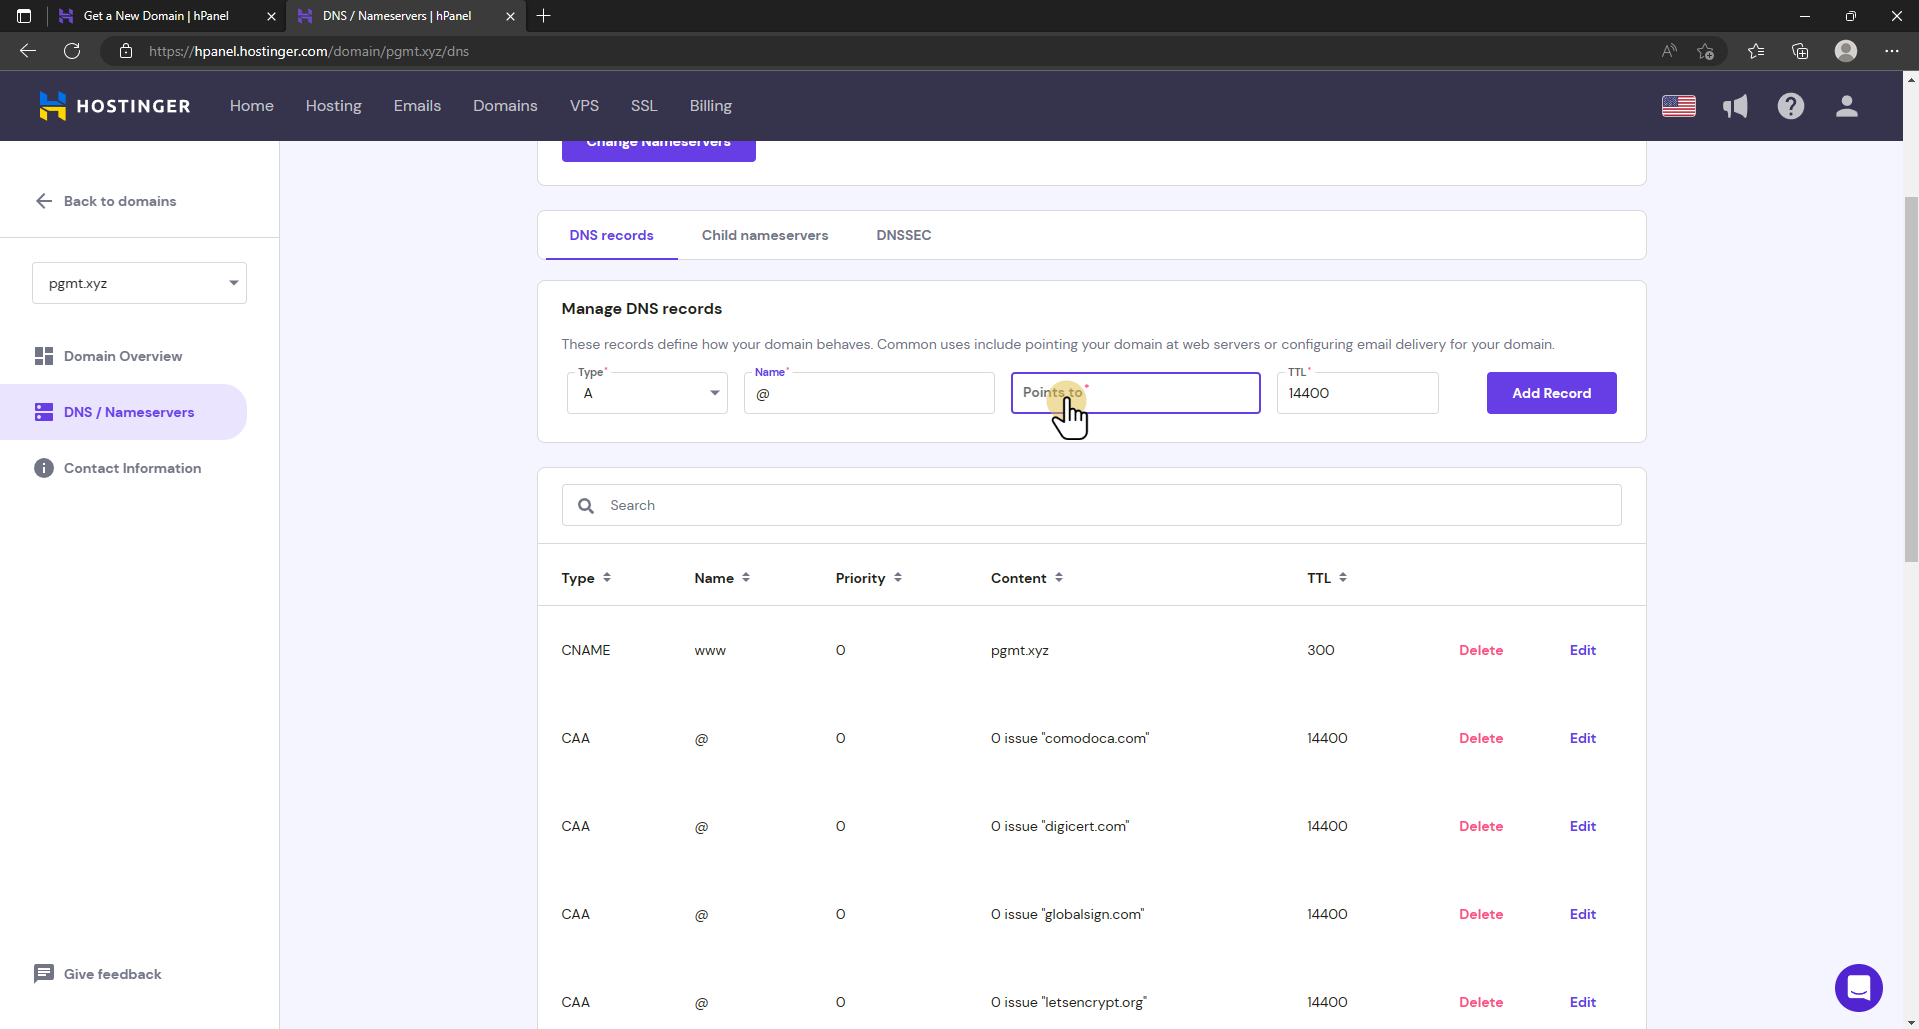
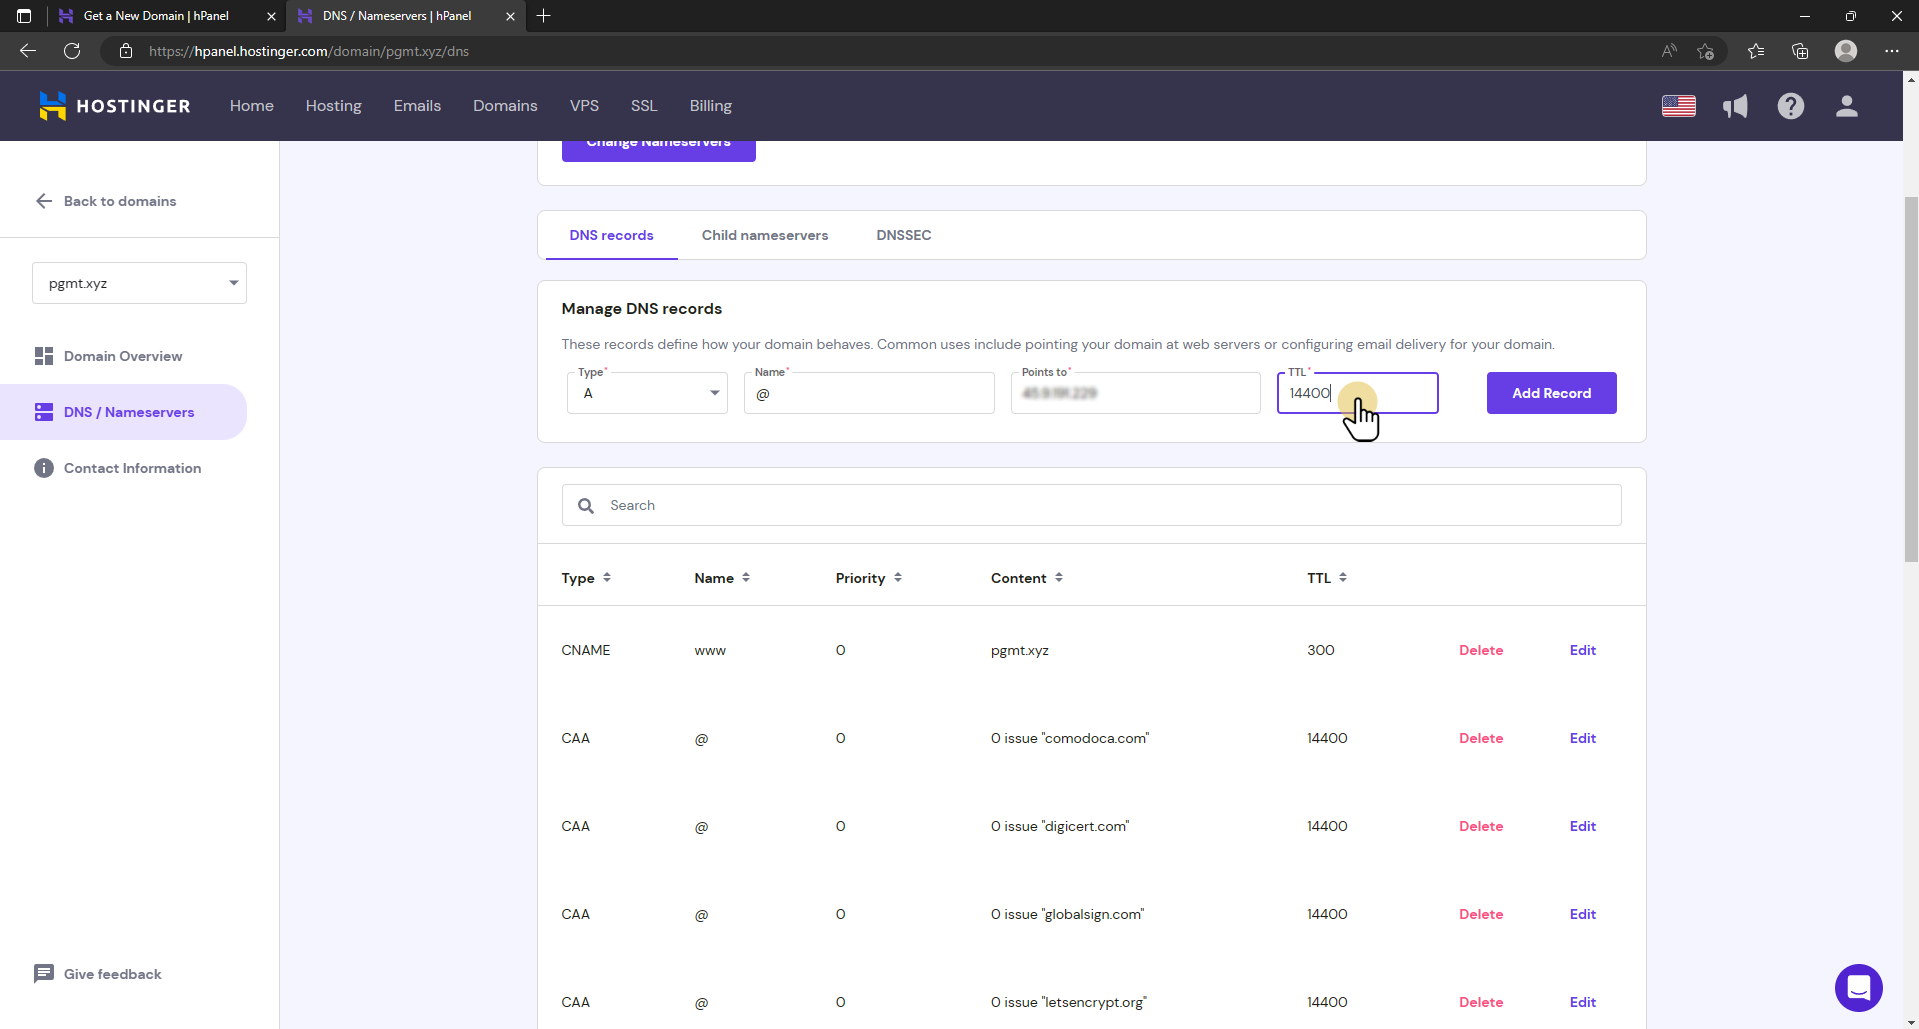
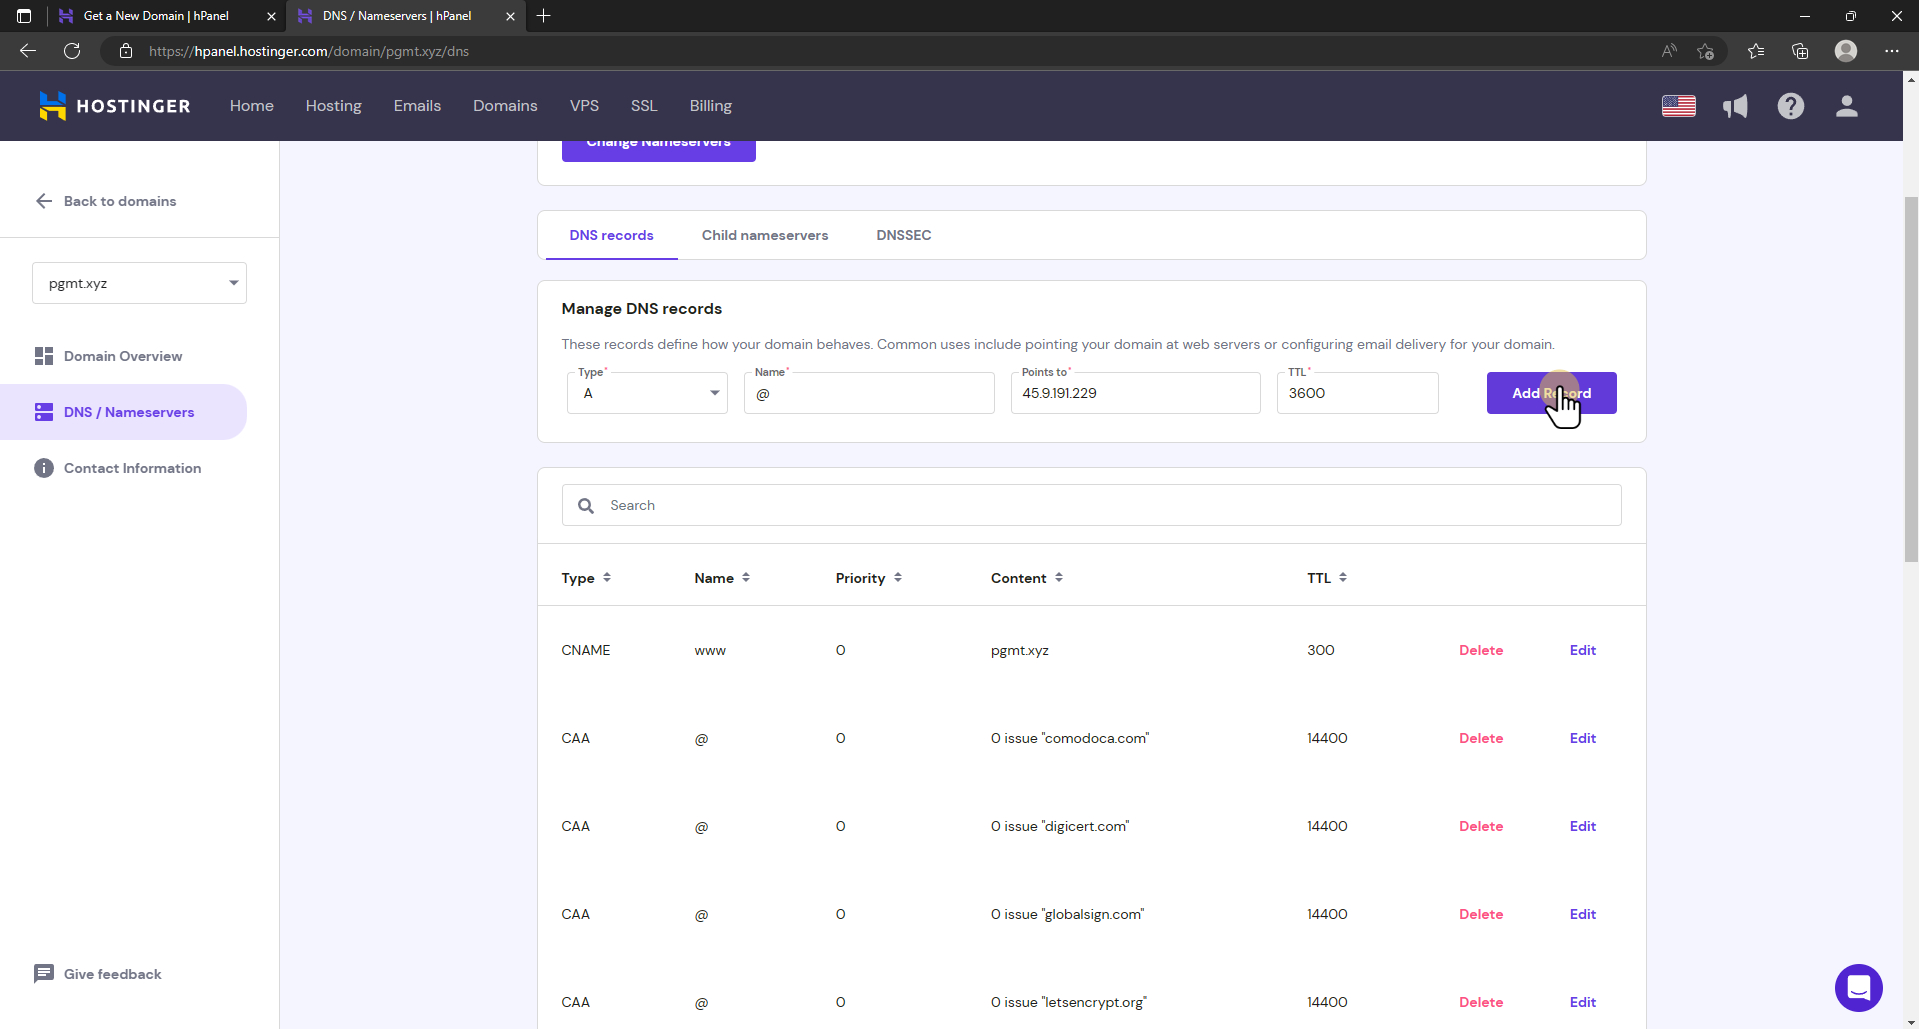
After purchasing the domain, you must create an A record pointing to your server. This basically tells the DNS where the requested resource is (your server).
For Hostinger, the steps are as follows:
If this guide is helpful to you and you like what I do, please support me with a coffee!
- Go to DNS / Nameservers.
- Select A record type.
- Enter subdomain or @ for the main domain.
- Enter the IP of your server.
- Change TTL to 3600 or leave it as is.
- Finally, add the Record.
Conclusion
In this series of posts, we already learned how to set up a server (VPS), how to host our first application using docker, and how to set up a domain. In the next post, we will learn how to secure it using reverse proxy and SSL certificates. There are three different options available for the next step. Just continue with the one that sounds the best to you, try all of them out, and find your favorite (mine is option 2), or you can read my comparison of them:
- traefik: a bit more complex but more powerful and automated
- caddy: simple, powerful, but manual
- nginx-proxy and letsencrypt-companion: simple and automated
I hope these posts were helpful to you. If so, share them with your friends, and let me know if you have questions!
In case you liked this consider subscribing to my newsletter and joining my discord community!
[convertkit form=2303042]
Discussion (0)
Related Posts