How To Create A Windows Installer For Your Unity Game
Are you interested in learning how to create a windows installer for your Unity game? In this post, I will show you how to do so step-by-step! I needed this solution because I participated in the Game Off 2022 over the past weeks and wanted to submit my game with a working installer! So let’s head right into it!
Requirements
Before we can start, you will need the following things:
- A working Unity project
- Inno Setup (a tool to create the installer)
Create a build for your Unity game
First, we have to create a build of your Unity game. If you already did that, you can skip this step.
- Go to “File > Build Settings”.
- If not already done, add all the scenes you want to be build

- Click on “Build”
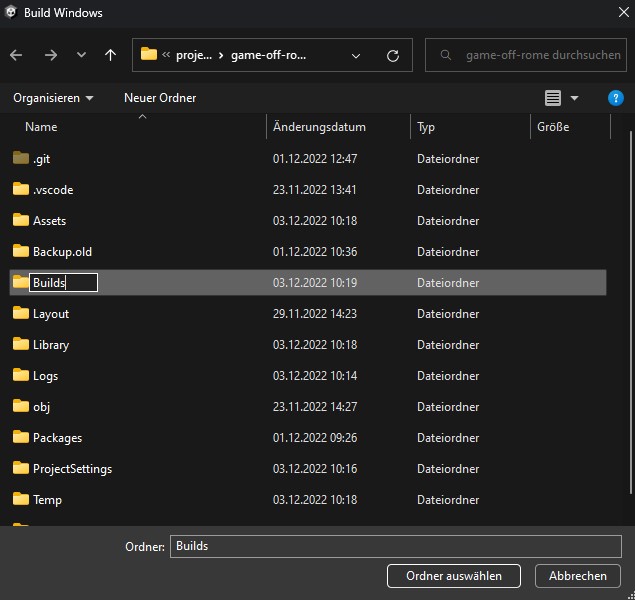
- If you don’t already have a folder to store your build create one at the root of your project.
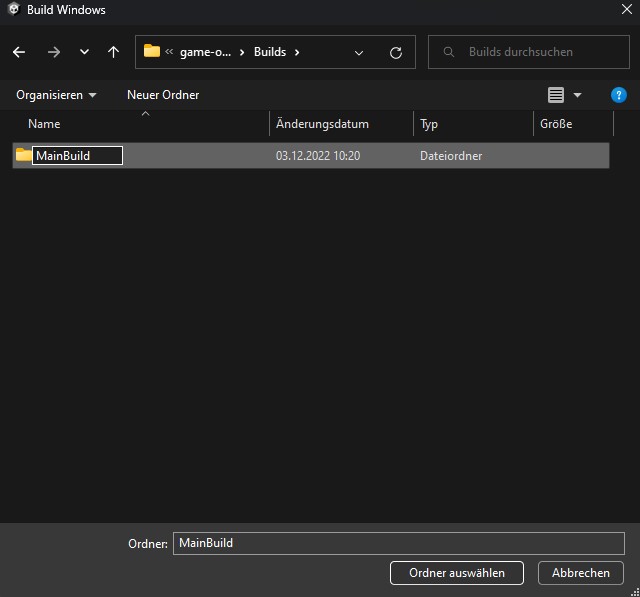
- Inside this folder, create another one called “MainBuild”.
- Then select this folder to hold your new build.
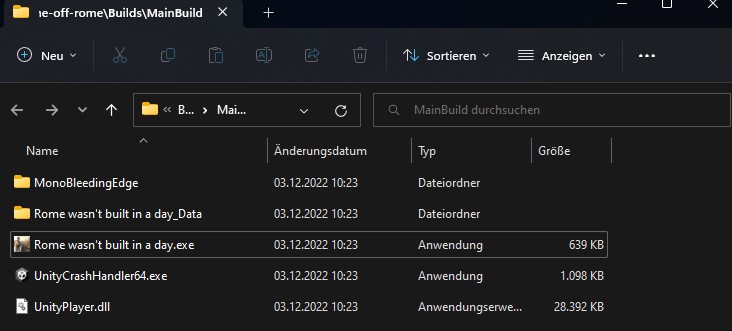
- After the build finishes, you can check the directory for an executable with your game’s name.

Create a windows installer for your Unity game
Now that we have a build directory with the game and all the needed files, we can go ahead and create the installer:
- Start Inno Setup
- Choose “Create a new script file using the Script Wizard” and click on “OK”
- Click on “Next” and don’t select “Create a new empty script file”
- Fill in the four fields: Application name, Application version, Application publisher, Application website, and click on “Next”
- Leave the settings as is, or change them the way you want. Then click on “Next”
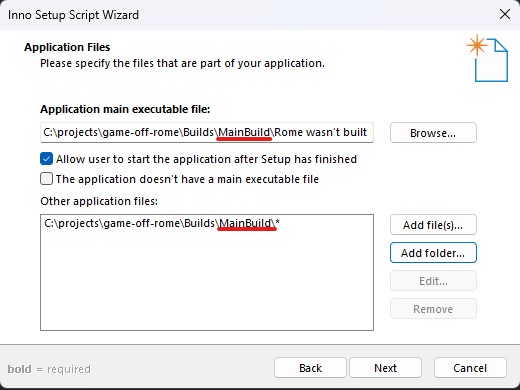
- This step is important. Select your main executable in the build directory, and then click on “Add folder…” in the lower section. Here you choose the root folder (we called it MainBuild) of your executable.
- Deselect “Associate a file type to the main executable” and click on “Next”.
- Leave the settings as is, or change them the way you want. Then click on “Next”.
- Click on “Next”.
- Select “Ask the user to choose the install mode at startup” and click “Next”.
- Choose which Installer languages should be included and click “Next”.
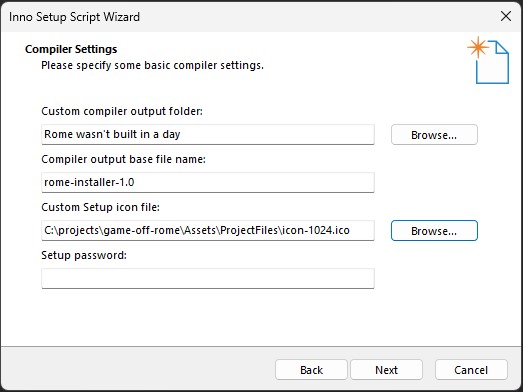
- Now select the output folder and the base file name, and if you have an Icon (it needs to be a .ico file). After that, click “Next”.
- Click on “Next”.
- Then, click on “Finish”.
- You will be asked if you want to compile the script. Click on “Yes” and continue.
- You will be asked if you want to save the script. Click on “Yes” and continue. (I chose the Builds directory that we created earlier, in the root of my project)
- After the script finishes the compilation, you will find an installer in the specified directory.
- Try it out and celebrate your installer!🎉

Conclusion
This guide taught us how to create a Windows installer for our Unity Game. If you have any questions or encounter any problems, feel free to leave a comment or email me at mail@programonaut.com.
In case you liked this post consider subscribing to my newsletter to get monthly updates on my posts.
[convertkit form=2303042]
If this guide is helpful to you and you like what I do, please support me with a coffee!
Discussion (0)
Related Posts